Why You Should Install New Gutters Before Water Damage Spreads
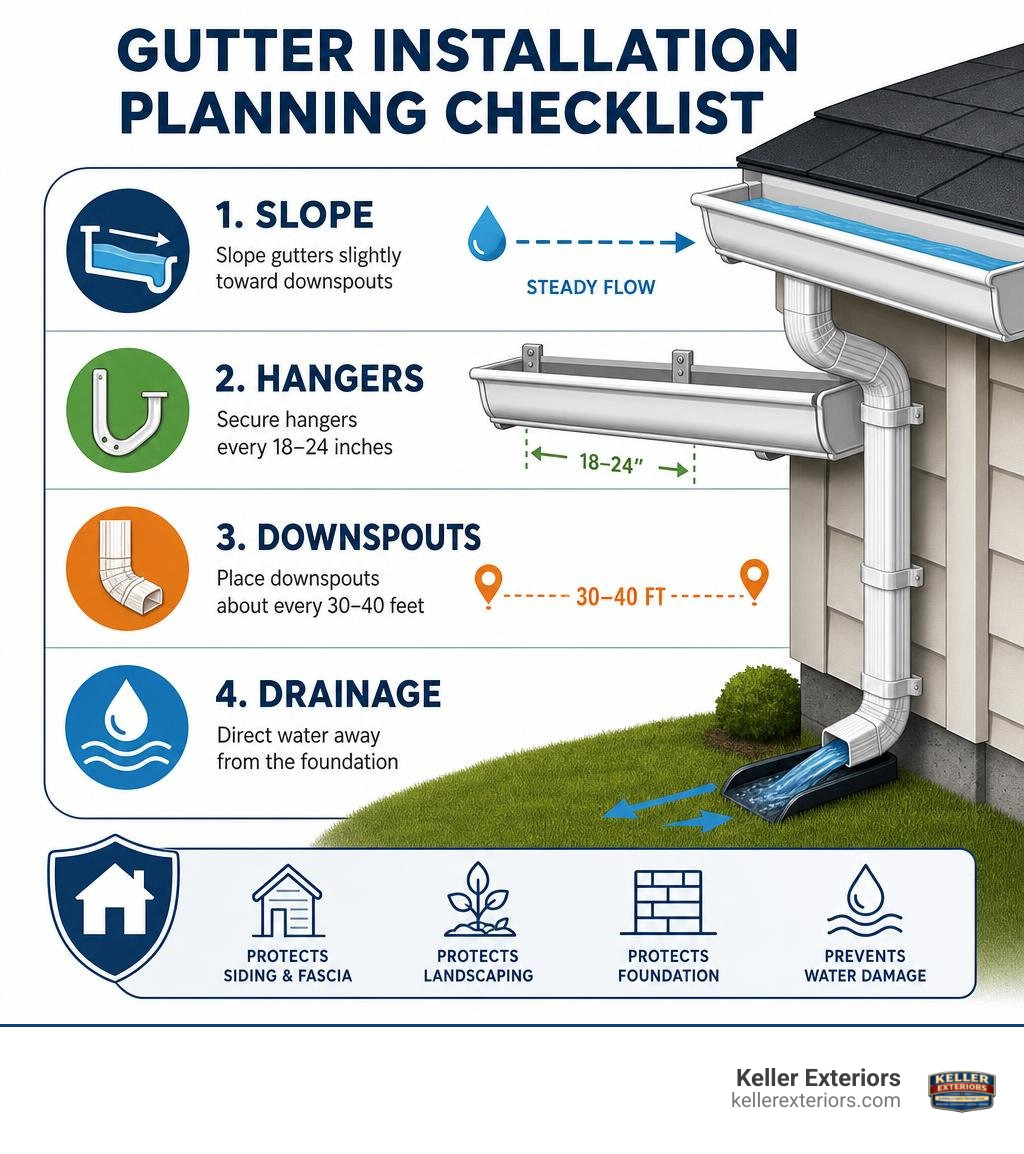
Install new gutters to collect roof runoff and direct it safely away from your siding, fascia, landscaping, and foundation. A well-designed system needs the right gutter size, a steady slope toward each outlet, secure hangers, and downspouts that carry water away from the house.
| Quick gutter installation checklist | What it protects against |
|---|---|
| Choose a gutter material and profile that fit your home | Cracks, rust, sagging, and premature wear |
| Plan a slope toward downspouts | Standing water and overflow |
| Use a downspout about every 30 to 40 feet | Heavy-rain backups |
| Secure hangers every 18 to 24 inches | Sagging under water, ice, or snow |
| Send discharge away from the foundation | Soil erosion, basement leaks, and foundation moisture |
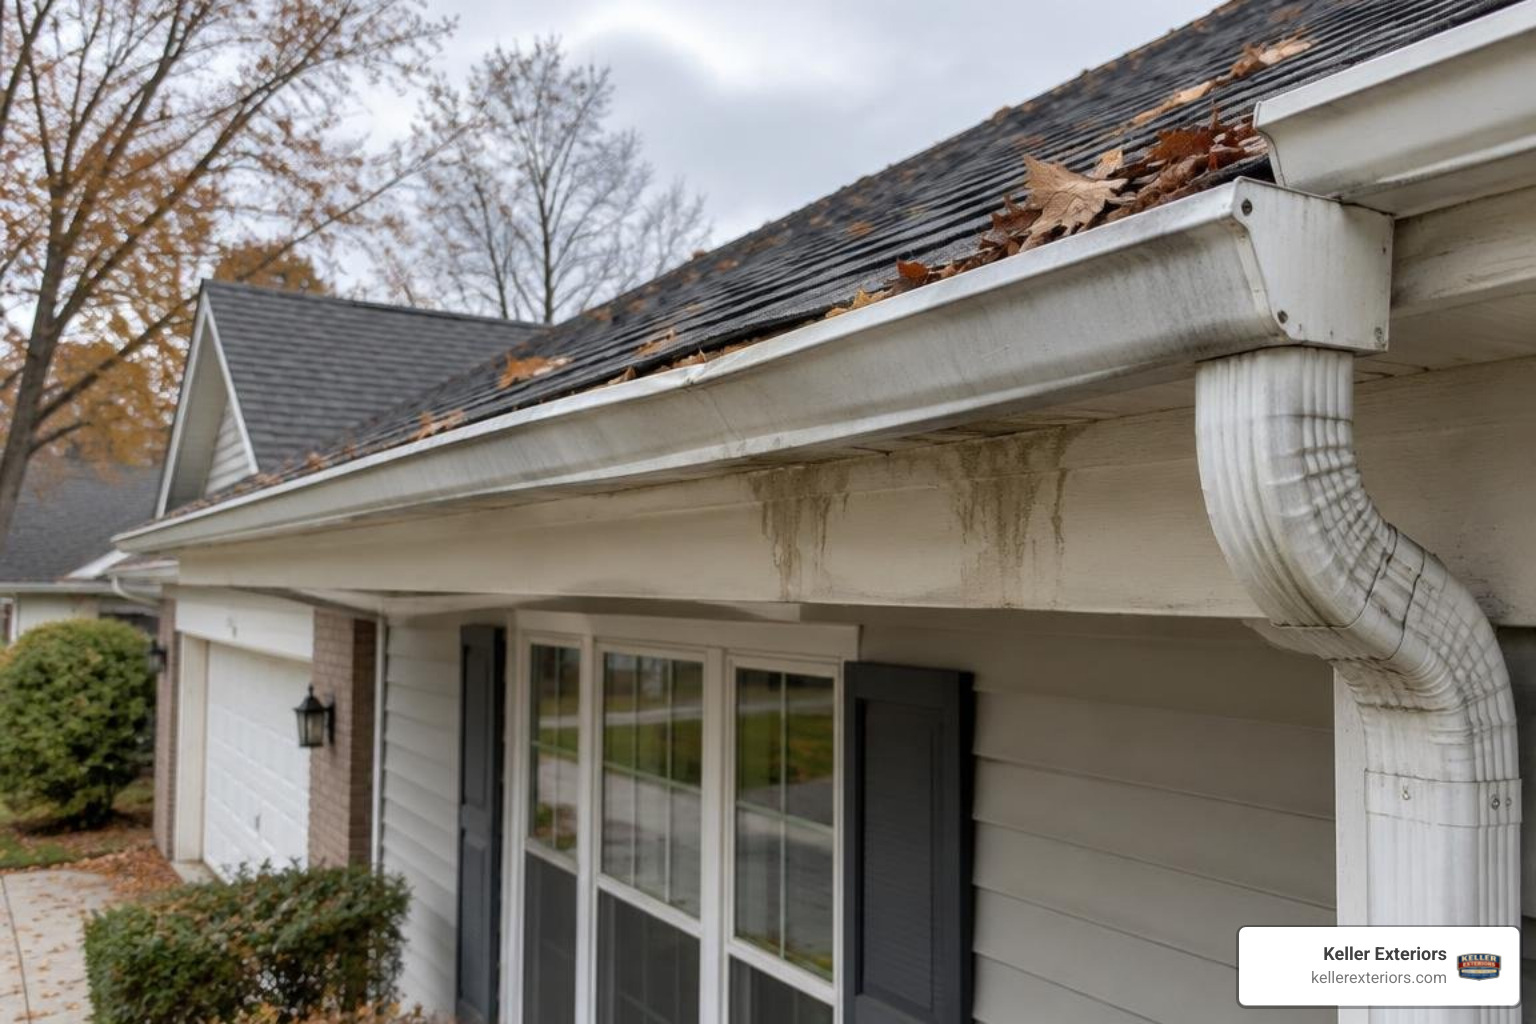
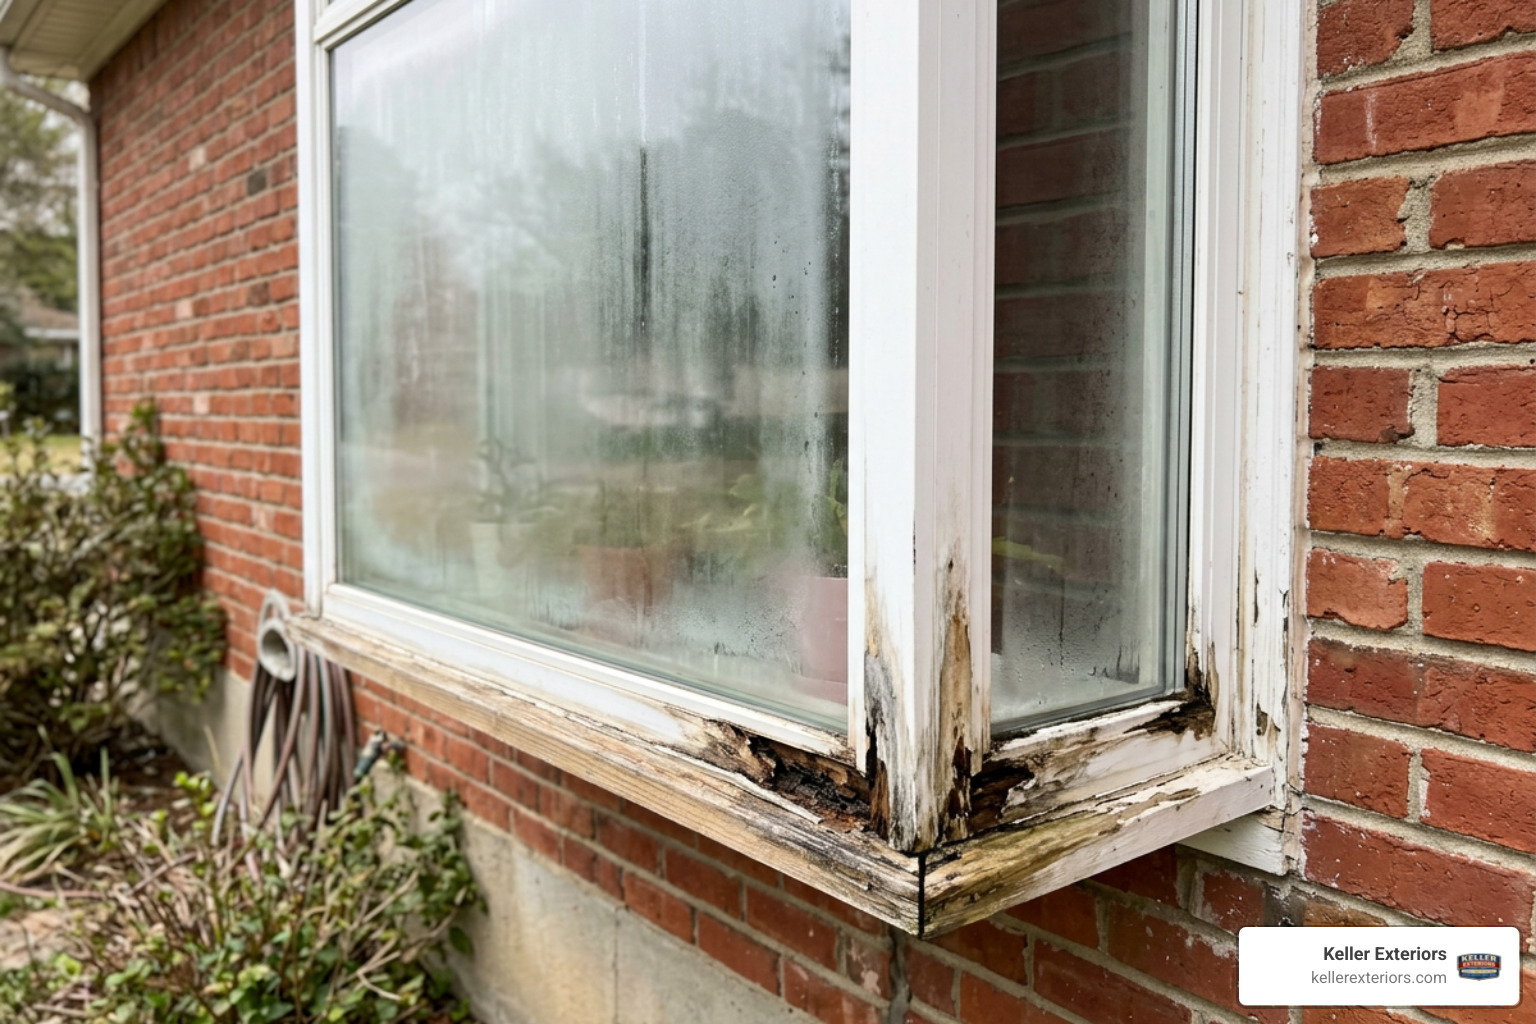
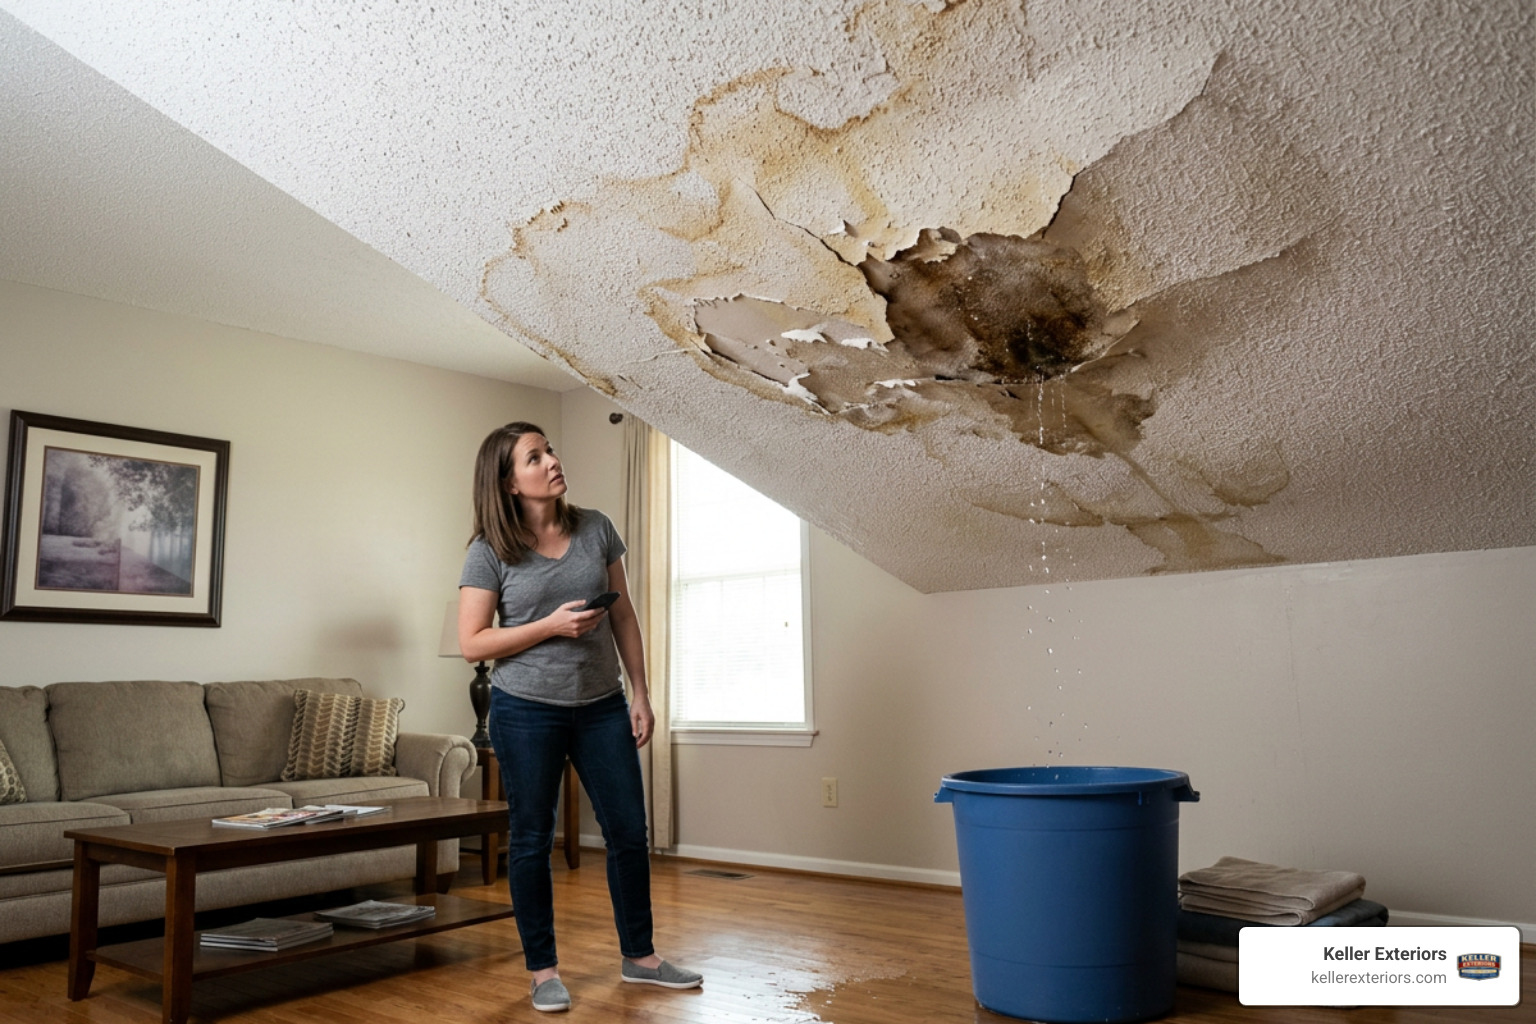
Old, loose, or poorly pitched gutters can let water run behind the fascia, stain siding, wash out flower beds, and collect near the foundation. In the Tulsa, OK area, intense seasonal rain and fast-changing weather make drainage planning especially important.
This guide compares the choices that matter before you install new gutters, including materials, profiles, seamless versus sectional systems, installation methods, and when professional help makes sense.
At Keller Exteriors, our team has more than 25 years of hands-on experience across exterior trades. We have helped homeowners evaluate and install new gutters as part of a complete plan to protect the home exterior and manage rainwater reliably.
Planning Your Layout: Slope, Pitch, and Downspout Placement
Proper rainwater control begins long before anyone climbs a ladder or cuts a single piece of metal. When we plan a new gutter installation, calculating precise layout lines ensures water travels directly toward downspouts without overflowing or standing still.
A gutter that looks straight to the naked eye often suffers from standing water. Water weighs roughly eight pounds per gallon, so static water pools create unnatural weight stress that causes metal troughs to sag, pull away from fascia, and corrode early.
Establishing the correct pitch requires a calculated drop rate. The baseline standard for proper drainage is a downward drop of 1/4 inch for every 10 feet of linear run toward the designated downspout outlet. For shorter sections or specific architectural profiles, a drop of 1/2 inch per 10 feet guarantees rapid flow.
When eave runs exceed 40 linear feet, pitching a gutter in a single direction creates an awkward visual angle where the gutter hangs significantly lower on one end. To solve this, we pitch the center of long runs high and slope downward toward downspouts positioned on both ends.
Downspout placement depends on several core variables:
- The surface area of the roof feeding water into that specific eave line.
- The steepness of the roof pitch, which accelerates water runoff speed.
- Local storm patterns, such as intense downpours in Claremore, OK and Owasso, OK.
- Overall eave length, aiming for at least one downspout every 30 to 40 linear feet.
We always position downspout discharge locations thoughtfully. Water must drain into safe runoff zones at least five to ten feet away from foundation walls. We avoid sending runoff onto concrete footpaths, direct entryway steps, or sloped flower beds prone to soil erosion.
Measuring Rooflines and Estimating Linear Footage
Calculating exact measurements eliminates material waste and ensures full perimeter coverage. You can measure straight eave runs from the ground using precision laser measuring meters, physical long tapes, or telescopic measuring rods.
When calculating linear footage, start by measuring each straight edge along the roof line, skipping gable ends where water does not drain. Add up the total length of all eaves and include a 5 percent to 10 percent allowance for overlap cuts, miter joints, and end caps.
To estimate downspout requirements, measure the height from the roof eave down to the ground for each planned outlet location. Add four to five extra feet per downspout to account for the upper S-curve elbow assembly, wall clearance, and ground splash block or drain pipe extension.
Roof size and pitch determine trough sizing. Standard 5-inch K-style troughs manage rainwater effectively for average single-family homes with moderate roof slopes. However, for large roof surfaces, steep pitches, or metal roof panels that shed water rapidly, 6-inch troughs provide roughly 40 percent more water volume capacity.
For multi-level roofs or complex architectural designs in Broken Arrow, OK, aerial roof measurement tools and architectural blueprints help establish accurate eave lengths without risking unnecessary ladder trips.
Essential Tools and Materials to Install New Gutters
Having the right hardware and specialized equipment on hand keeps the installation safe and accurate. A complete installation requires reliable structural components and specialized sheet metal hand tools.
Key hardware items include:
- Heavy-duty hidden hangers equipped with pre-loaded stainless steel screws.
- Drop outlets, end caps, and slip-joint connectors.
- A-style and B-style downspout elbows.
- Mounting straps, masonry anchors, and splash blocks.
- Commercial-grade elastomeric sealant designed specifically for metal seams.
The necessary tool set includes quality left, right, and straight aviation snips, a hand seam crimper, a cordless driver drill, a pop rivet tool, pop rivets, self-tapping sheet metal screws, a chalk line, a torpedo level, and ladder standoff stabilizers for safety.
Using structural materials built for long-term weather tolerance is vital. Heavy-gauge aluminum coil stock with a thickness of 0.027 or 0.032 inches resists denting under heavy ice loads. Stainless steel or hot-dipped galvanized fasteners prevent galvanic corrosion between dissimilar metals. If you are reviewing complete exterior protection, exploring comprehensive gutter solutions helps tie drainage planning into overall roofing and siding health.
Comparing Materials and Profiles for Your Home
Selecting the ideal metal material and shape balances structural durability, overall home appearance, and long-term maintenance demands. Different materials handle environmental stress, temperature swings, and structural loads differently.
| Gutter Material | Expected Lifespan | Climate Tolerance | Structural Rigidity | Maintenance Needs |
|---|---|---|---|---|
| Heavy-Gauge Aluminum | 20 – 30 Years | Excellent in high heat and freezing rain | High (with proper hidden hangers) | Low (occasional cleaning) |
| Vinyl / Plastic | 10 – 15 Years | Poor in sudden freeze-thaw cycles; becomes brittle | Low (tends to sag under heavy load) | Moderate (frequent seam checks) |
| Galvanized Steel | 15 – 25 Years | Good impact resistance; subject to eventual rust | Very High | Moderate (requires paint touch-ups) |
| Copper | 50 – 100+ Years | Outstanding in all weather conditions | Extremely High | Low (develops protective patina) |
Aluminum remains the top choice for residential drainage systems. It is naturally rustproof, lightweight, and available in many factory-baked colors. In contrast, vinyl is easy for basic DIY handling but quickly becomes brittle under direct UV exposure and cracks in freezing winter temperatures.
Galvanized steel offers exceptional impact strength against falling tree limbs in wooded areas like Bartlesville, OK, but eventual rust makes ongoing painting necessary. Copper provides unmatched longevity and visual elegance, forming a natural green patina over time, but requires advanced soldering skills to install.
K-Style vs. Half-Round Gutter Profiles
The profile, or cross-sectional shape, of a gutter trough changes both water flow speed and architectural style.
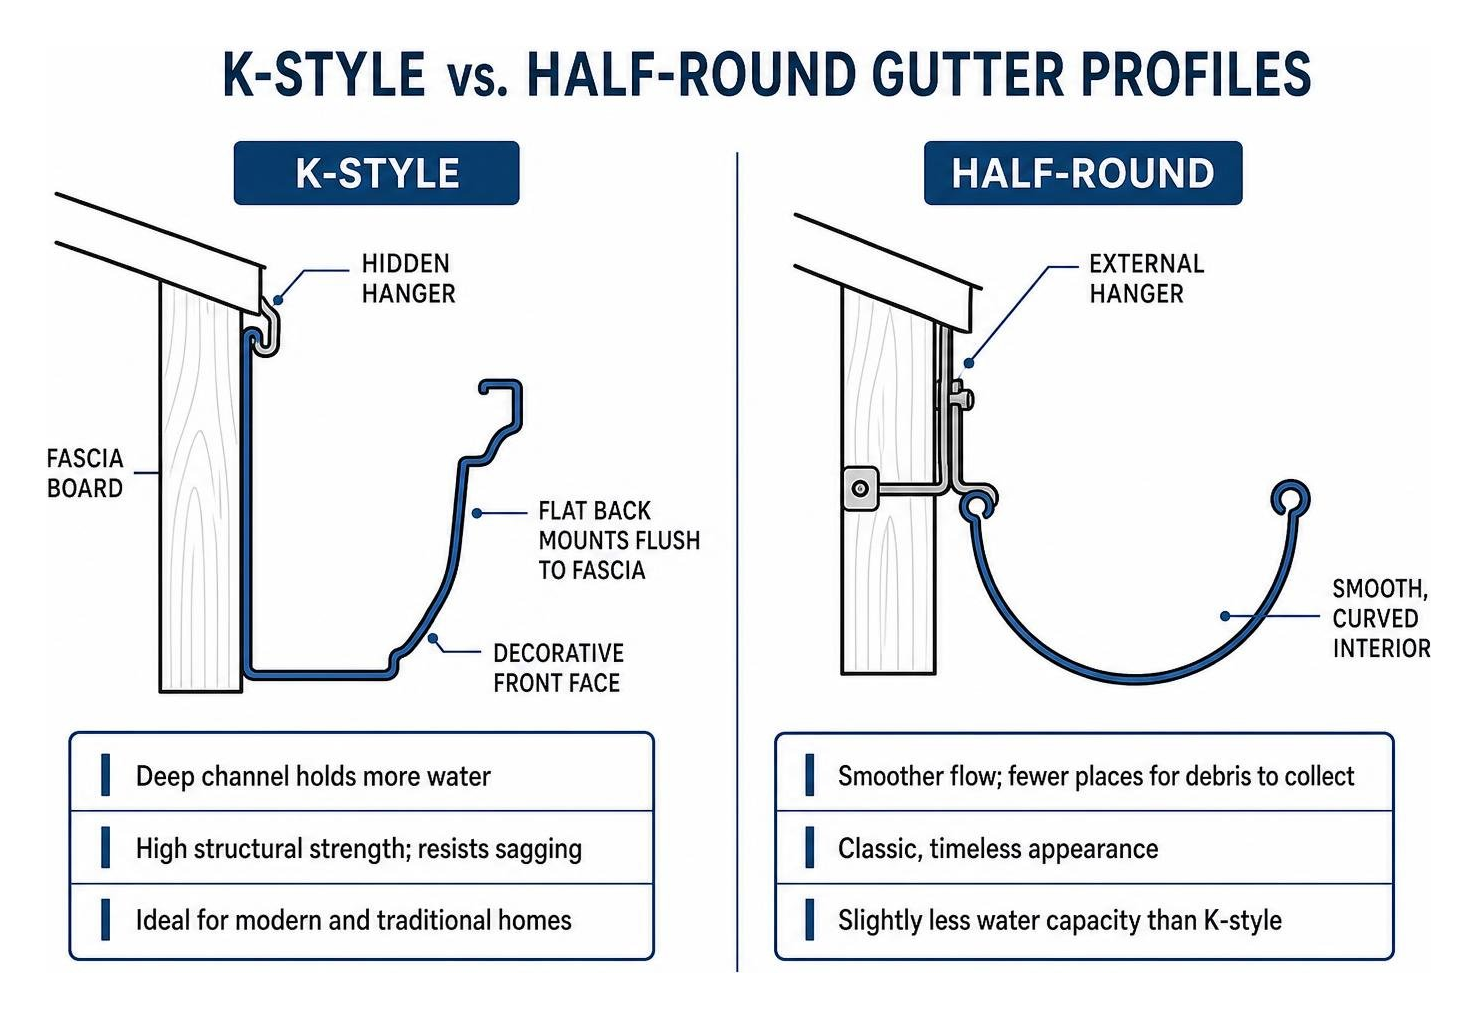
K-style gutters feature a flat back that mounts directly flush against the fascia board, accompanied by a decorative outer face mimicking interior crown molding. Their rigid geometry provides outstanding structural strength against sagging under snow and ice. The deep channel handles immense volumes of water during severe summer cloudbursts.
Half-round gutters present a smooth, semi-circular trough. Their curved interior lacks sharp bottom corners, allowing leaves and dirt to wash through easily instead of trapping silt. Half-round profiles complement classic, historic, and brick architectural designs in Midtown, OK and Jenks, OK.
However, half-round troughs carry slightly less water volume than same-width K-style troughs and require specialized mounting hardware, such as external brass brackets or roof-mounted hanger rods.
Seamless vs. Sectional Gutter Systems
Understanding the structural difference between seamless and sectional gutters is critical before deciding how to install new gutters.
Sectional systems consist of pre-cut 10-foot or 20-foot trough lengths purchased from retail home centers. You join these pieces together along the roof line using slip connectors, screws, and sealant. Every connection point creates a spot where continuous expansion, contraction, and trapped debris can breach the seal, leading to leaks over time.
Seamless gutters eliminate mid-section joints completely. A portable roll-forming machine shapes heavy-gauge aluminum coil on site, creating custom trough runs built to the exact fractional inch of your roofline.
Continuous seamless troughs look cleaner along the fascia and eliminate leak points along the run. For homeowners comparing long-term options, choosing professional seamless gutter installation options guarantees a precise fit that lasts for decades.
Step-by-Step Guide: How to Install New Gutters
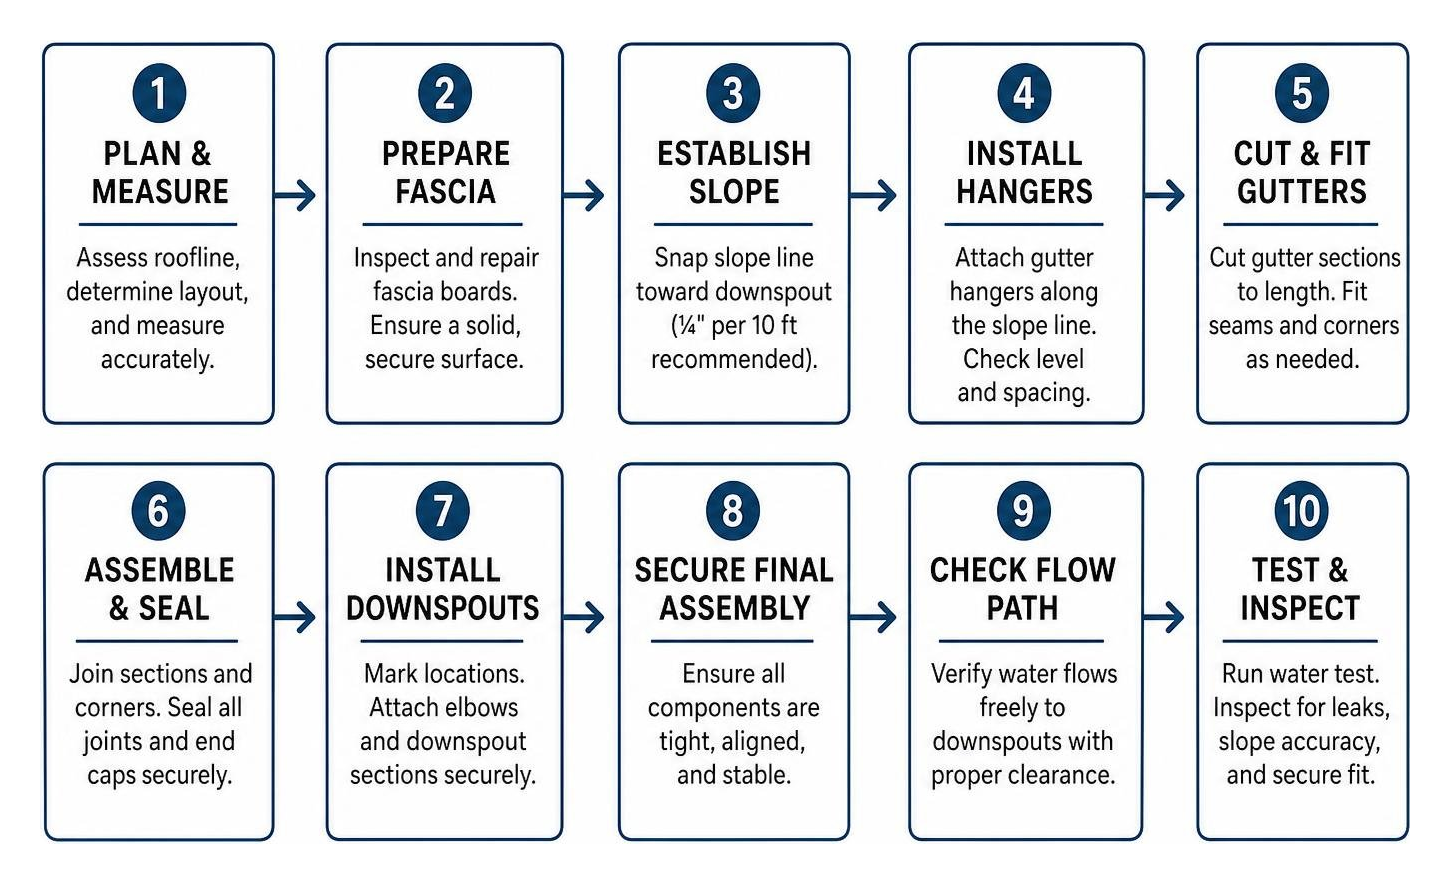
Installing gutters requires systematic accuracy, solid structural anchors, and proper safety steps. The process follows a clear flow from structural preparation to final water testing.
Preparing Fascia Boards and Snapping Slope Lines
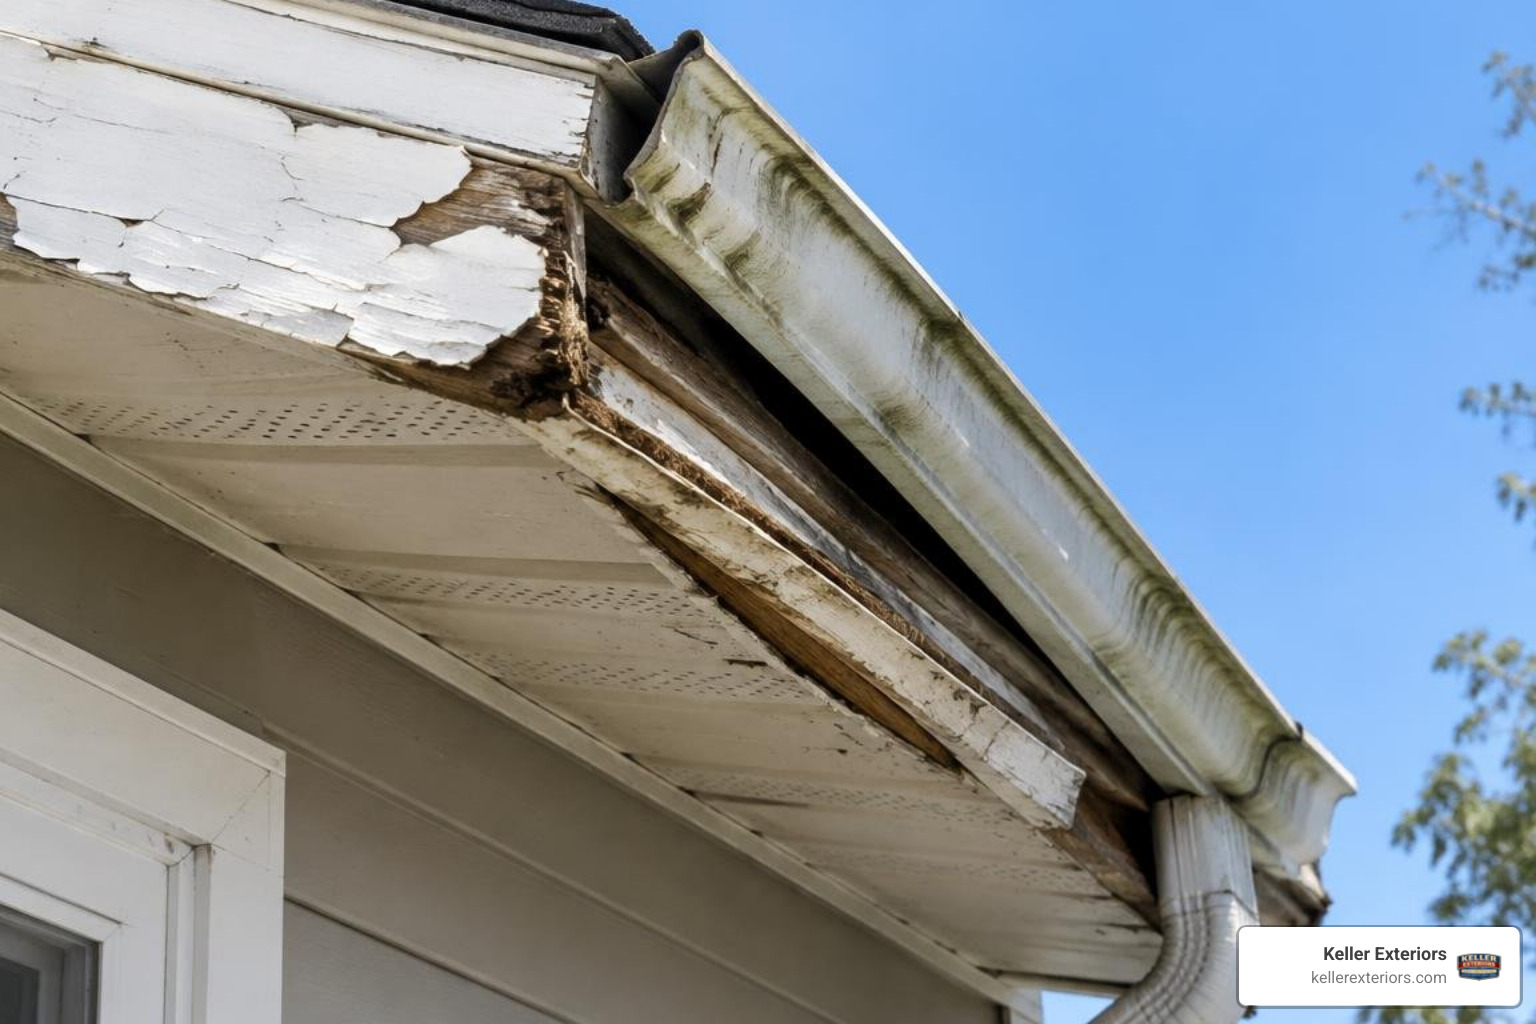
Never install new metal troughs over damaged wood fascia. Inspect all underlying fascia boards, soffits, and exposed rafter tails for wood rot, soft spots, termite activity, or peeling paint. If you discover structural rot while removing old gutters, address it immediately. We recommend reviewing expert techniques on repairing damaged fascia boards before mounting new hardware.
Once the fascia wood is solid, establish the slope line:
- Locate the highest point of the gutter run on the fascia, about 1/4 inch below the roof edge drip flashing.
- Mark the lowest point at the downspout location, dropping the level down 1/4 inch for every 10 feet of horizontal run.
- Drive a small reference nail at both marks and stretch a string line tightly between them.
- Verify the continuous downward angle with a line level.
- Snap a bright chalk line along the fascia to serve as your visual mounting guide.
Assembling Troughs, End Caps, and Outlets
Working on the ground to cut and assemble pieces makes installation far easier than trying to join components on top of a ladder.
Cut aluminum troughs cleanly using compound miter saws fitted with non-ferrous carbide blades or sharp aviation snips. Deburr trimmed metal edges to prevent cut hazards and rough edges that trap leaf debris.
Attach end caps by sliding them onto the trough ends, crimping the outer edges tight with hand seamers, and driving pop rivets through the sides. Apply a thick bead of commercial elastomeric sealant inside the joint. Avoid placing rivets or screws along the bottom channel, as bottom holes invite slow leaks.
Cut drop outlet holes in the bottom trough while the gutter sits securely on saw horses. Trace the outlet outline, drill a starter hole, and cut the circle with tin snips. Insert the drop tube flange from the inside, secure it with pop rivets, and seal around the internal rim. If you ever experience drips on existing systems, learning about fixing leaky gutter seams fast can help resolve emergency seal leaks.
Hanging Sections and Connecting Downspouts
With pre-assembly complete, lift the trough into position, aligning its top back rim along your snapped chalk line.
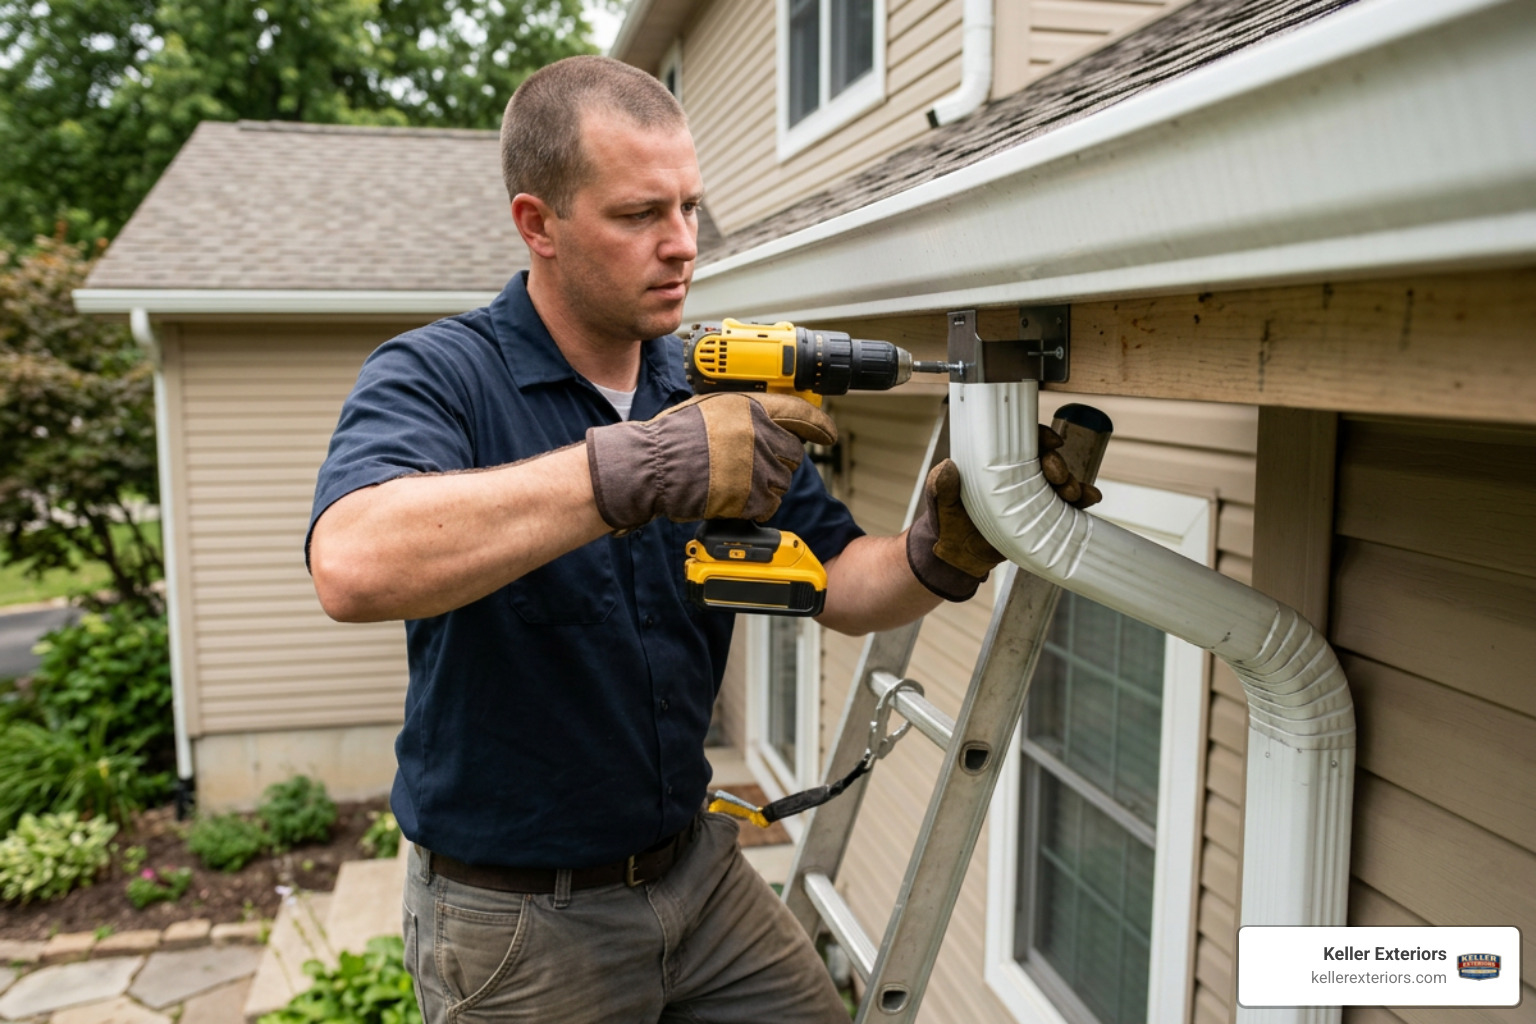
Drive heavy-duty hidden hangers into the fascia using pre-loaded stainless steel screws. Space hidden hangers every 24 inches on center. In snow-prone areas or roof sections subject to heavy ice buildup in Sand Springs, OK, tighten hanger spacing to 16 or 18 inches on center. Ensure screws pass through the fascia board and penetrate at least two inches directly into solid structural rafter tails.
Secure corner connections using box miters or strip miters wrapped tightly over corner joints. Fasten miter joints with pop rivets on the vertical walls, and seal all interior seams with high-performance elastomeric caulk.
Assemble downspout drops by fitting upper A-elbows or B-elbows onto the drop outlet tube to form an S-curve back toward the exterior wall wall. Connect corrugated downspout pipe sections, overlapping top pieces into lower pieces so water flows freely inside the pipe without leaking outward.
Anchor downspout straps to exterior brick or siding every five feet using wall anchors and stainless steel screws. Finish by placing splash blocks or flexible extensions at the base to direct discharge water away from the foundation.
Cost Factors and DIY vs. Professional Installation
Every home brings unique conditions that influence overall installation requirements. Major project cost drivers include:
- Total linear footage of gutters and vertical downspouts required.
- Selected material type, profile geometry, and metal gauge thickness.
- Building height, access restrictions, and roof pitch steepness.
- Necessary wood repairs, fascia painting, or soffit replacement.
- Old gutter removal, jobsite cleanup, and disposal fees.
- Integration of leaf guards or underground extension piping.
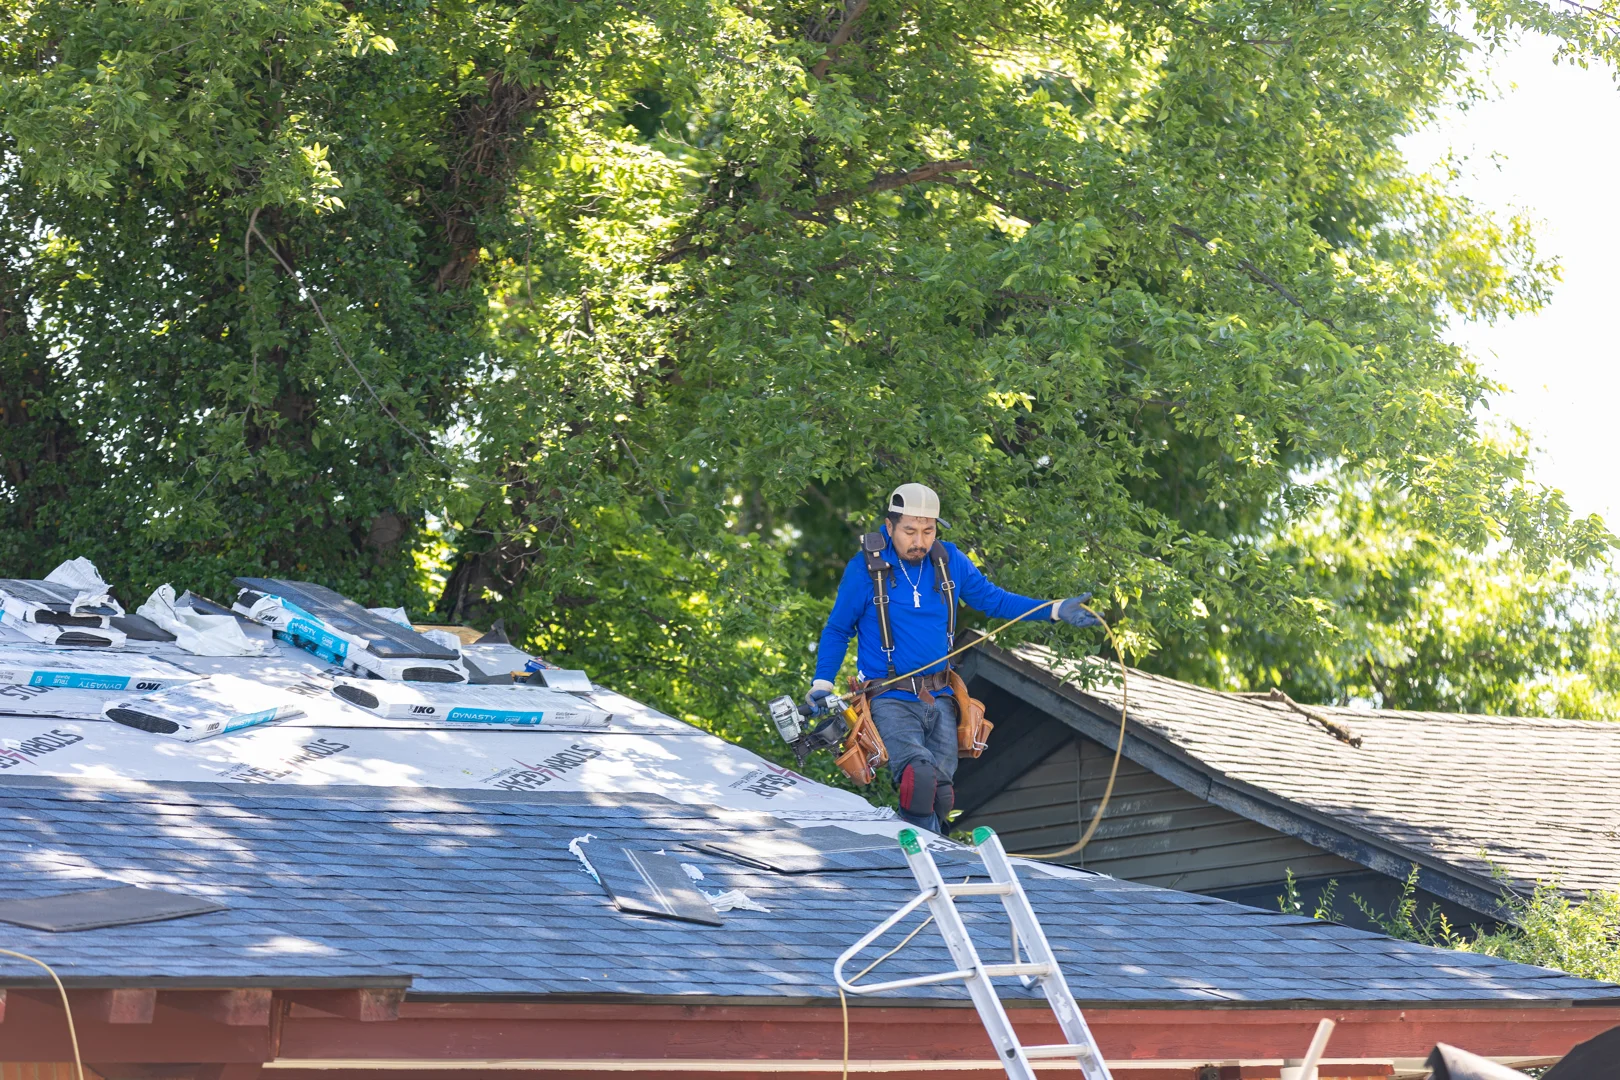
Working elevated on ladders presents severe fall risks. Moving long, unwieldy 20-foot metal pieces near overhead power lines requires steady balance and proper safety gear, such as ladder standoff stabilizers and safety harnesses.
Cost Analysis: Should You DIY or Hire Pros to Install New Gutters?
DIY installation offers potential savings on initial labor expenses, but requires purchasing specialized equipment, including snips, crimpers, ladder stabilizers, high-grade sealants, and safety harnesses.
Sectional DIY troughs rely on multiple seam joins along eaves, which increases future maintenance needs. Making inaccurate pitch measurements or improper cut angles can lead to wasted materials and performance issues.
Hiring experienced professionals delivers continuous custom seamless aluminum troughs formed on site to exact dimensions. Professional installations include labor and material warranties, correct pitch guarantees, structural fastening into rafter tails, and efficient single-day completion.
Correct pitch setting and proper corner joint sealing are the most important factors for long-term gutter performance. For major projects, reviewing complete gutter replacement services provides clarity on full exterior upgrades.
Adding Gutter Guards and Maintenance Accessories
Gutter guards filter out leaves, twigs, and pine needles before they can enter the trough. Fine stainless steel micro-mesh guards offer superior protection by blocking small roof grit while accepting high-volume rain. Perforated aluminum screens provide budget-friendly filtration against large autumn leaves in Bixby, OK and Collinsville, OK.
Leaf protection reduces the need to climb ladders for manual cleaning, prevents clog-induced water overflows, and extends overall system lifespan.
Additional accessories enhance rainwater management:
- Decorative rain chains that visually direct water down from eaves.
- Rain barrels with diverter valves for lawn and garden watering.
- Cleanout adapters installed at lower downspout levels for quick flush maintenance.
- Heavy-duty downspout boots that protect lower downspout ends from impact.
Maintain your drainage system by performing spring and autumn inspections. Flush out fine debris with a hose, inspect hidden hangers for tightness, check downspouts for obstructions, and inspect corner sealants annually.
Common Gutter Installation Mistakes to Avoid
A single layout oversight can compromise an entire rainwater collection system. Recognizing common mistakes helps ensure your system functions reliably for years.
Common errors include:
- Incorrect or backward pitch: Creates standing water, attracts mosquitoes, causes rusting, and leads to unsightly trough sagging.
- Excessive hanger spacing: Spacing hangers wider than 24 to 36 inches leads to trough bowing and structural detachment under heavy rain or ice loading.
- Unsealed or improperly riveted joints: Triggers continuous water leaks that rot fascia wood, stain exterior siding, and erode soil beneath eaves.
- Poor downspout outlet locations: Discharging water too close to foundation walls leads to basement moisture and foundation settling.
- Galvanic corrosion: Direct physical contact between incompatible metals, such as copper touching aluminum or raw steel screws, causes rapid chemical corrosion.
Ensuring Proper Water Drainage Away From the Foundation
The primary job of a rain gutter system is protecting foundation footings and concrete slabs from water damage. Concentrated water pooling along foundation walls creates hydrostatic pressure, which causes basement cracking, wall shifting, and interior moisture buildup.
Extend downspout outlets at least five to ten feet away from the building foundation using rigid PVC drain lines, flexible extenders, or heavy-duty splash blocks.
Connecting downspouts to underground French drains, catch basins, and pop-up emitters safely discharges rainwater far away onto lower lawn slopes. Maintain a positive ground slope away from your home foundation, dropping at least one inch per foot for the first six feet of surrounding soil.
Frequently Asked Questions About Gutter Installation
How much slope is required when installing gutters?
Gutters require a minimum downward slope of 1/4 inch for every 10 linear feet of run toward the downspout. For long runs over 40 feet, slope the gutter down from the high center point toward downspouts at both ends to prevent an overly deep profile on one side.
How many downspouts do I need for my gutter system?
Plan for at least one downspout for every 30 to 40 linear feet of gutter trough. Large roof surface areas, steep roof pitches, or regions subject to intense summer downpours benefit from additional downspout outlets or larger 3×4 inch downspouts.
What is the average cost per linear foot to install gutters in 2026?
Project costs vary based on selected material type, home height, roof accessibility, fascia repairs, and local labor markets. Lightweight sectional vinyl sits at the low end of material costs, heavy-gauge seamless aluminum represents the standard mid-range value, and custom copper sits at the top end.
Should I choose 5-inch or 6-inch K-style gutters?
A standard 5-inch K-style system handles typical residential roof surface areas effectively. Upgrade to 6-inch K-style gutters if you have a steep roof pitch, large roof surface area, metal roofing panels, or severe rainfall volume, as 6-inch troughs hold 40 percent more water.
How far apart should gutter hangers be spaced?
Space hidden hangers every 24 inches on center under standard weather conditions. In regions subject to heavy winter ice buildup or intense wind forces, narrow hanger spacing down to 16 or 18 inches on center, driving screws through fascia into solid rafter tails.
Can I install gutters without a drip edge or gutter apron?
Installing gutters without a drip edge or gutter apron flashing is risky. Roof runoff can seep behind the back wall of the gutter trough, rotting fascia wood, ruining soffit structures, and staining exterior siding.
How long do aluminum gutters last compared to vinyl or copper?
Heavy-gauge aluminum gutters last 20 to 30 years with routine care and offer excellent rust resistance. Vinyl gutters typically last 10 to 15 years before becoming brittle under UV exposure. Copper systems can easily last 50 to 100 years or more.
What are the main causes of leaks in newly installed gutters?
New gutter leaks usually stem from using inadequate sealant, failing to clean and dry metal joints before applying sealant, placing pop rivets through the bottom floor of the trough, or establishing incorrect slope that forces water over back edges.
Is it safe to install rain gutters on a two-story home myself?
Installing gutters on multi-story homes carries high fall hazards. Handling long metal sections while balanced 20 feet above ground requires specialized extension ladders, standoff stabilizers, fall-arrest harnesses, and experienced spotters. Hiring professionals is the safest choice for multi-story buildings.
How do gutter guards affect overall installation cost and maintenance?
Adding leaf guards increases initial material expenses, but substantially reduces routine ladder cleaning, prevents clog-induced water damage, and keeps water flowing freely. Over time, guards pay for themselves by protecting overall home structure.
Protecting Your Home With Expert Gutter Solutions
Choosing the ideal materials, establishing precise pitch lines, and installing proper downspout extensions protects your siding, fascia, landscaping, and foundation against costly water damage. Whether you are upgrading old worn sectional troughs or installing continuous seamless gutters on a new home, careful planning ensures your drainage system performs reliably through every season.
If you prefer to avoid the safety risks of elevated ladder work, our experienced team at Keller Exteriors is ready to help. With more than 20 years of local hands-on craftsmanship across Coweta, OK, Glenpool, OK, Catoosa, OK, Pryor, OK, and surrounding communities, we deliver custom seamless systems tailored precisely to your roofline. You can schedule a free consultation for your project with our experts today to protect your home with confidence.