Start With Balanced Roof Ventilation
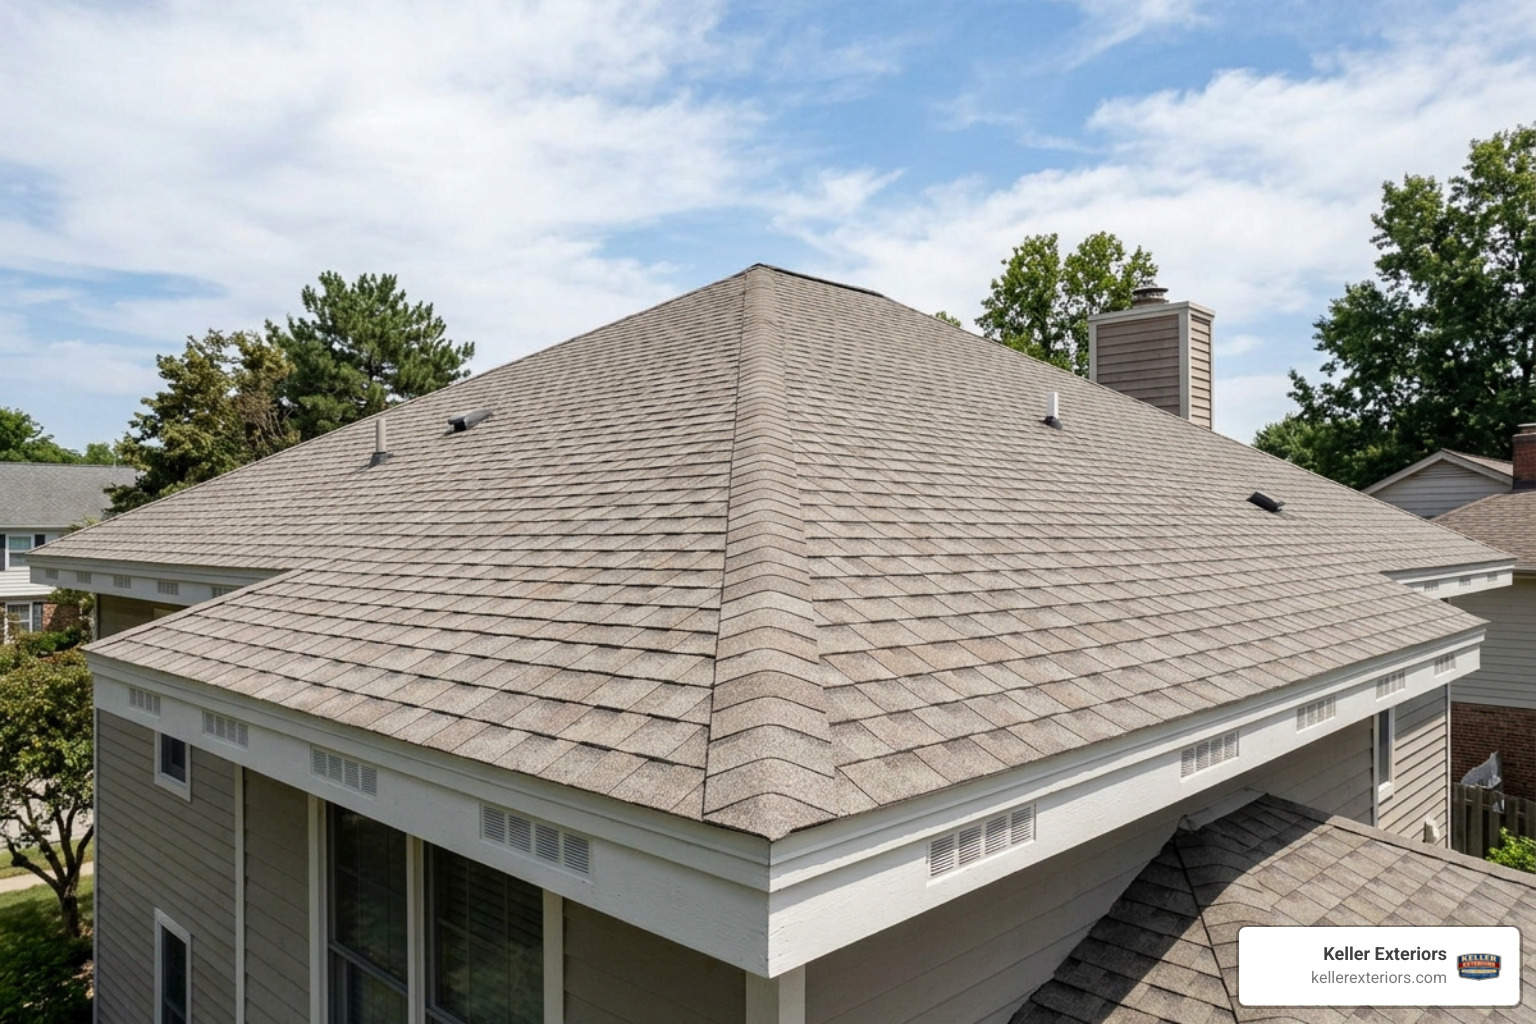
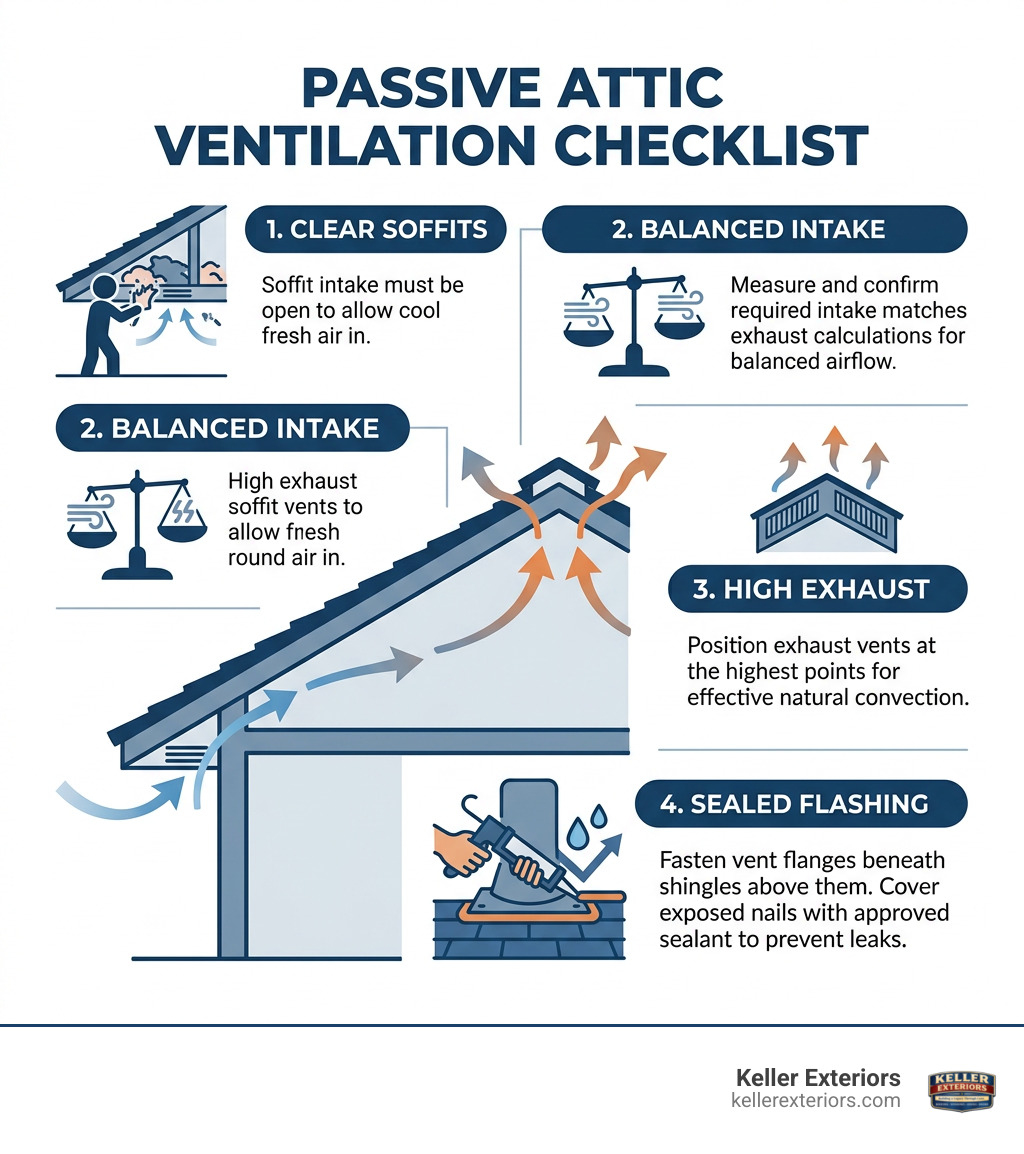
The installation of roof vents works best when you create a complete airflow path: fresh air enters low at the soffits, then warm and moist attic air exits high near the roof ridge. Before cutting into an existing roof, measure the attic, calculate the required net free ventilating area, confirm the soffit intake is open, and choose one properly sized exhaust vent system.
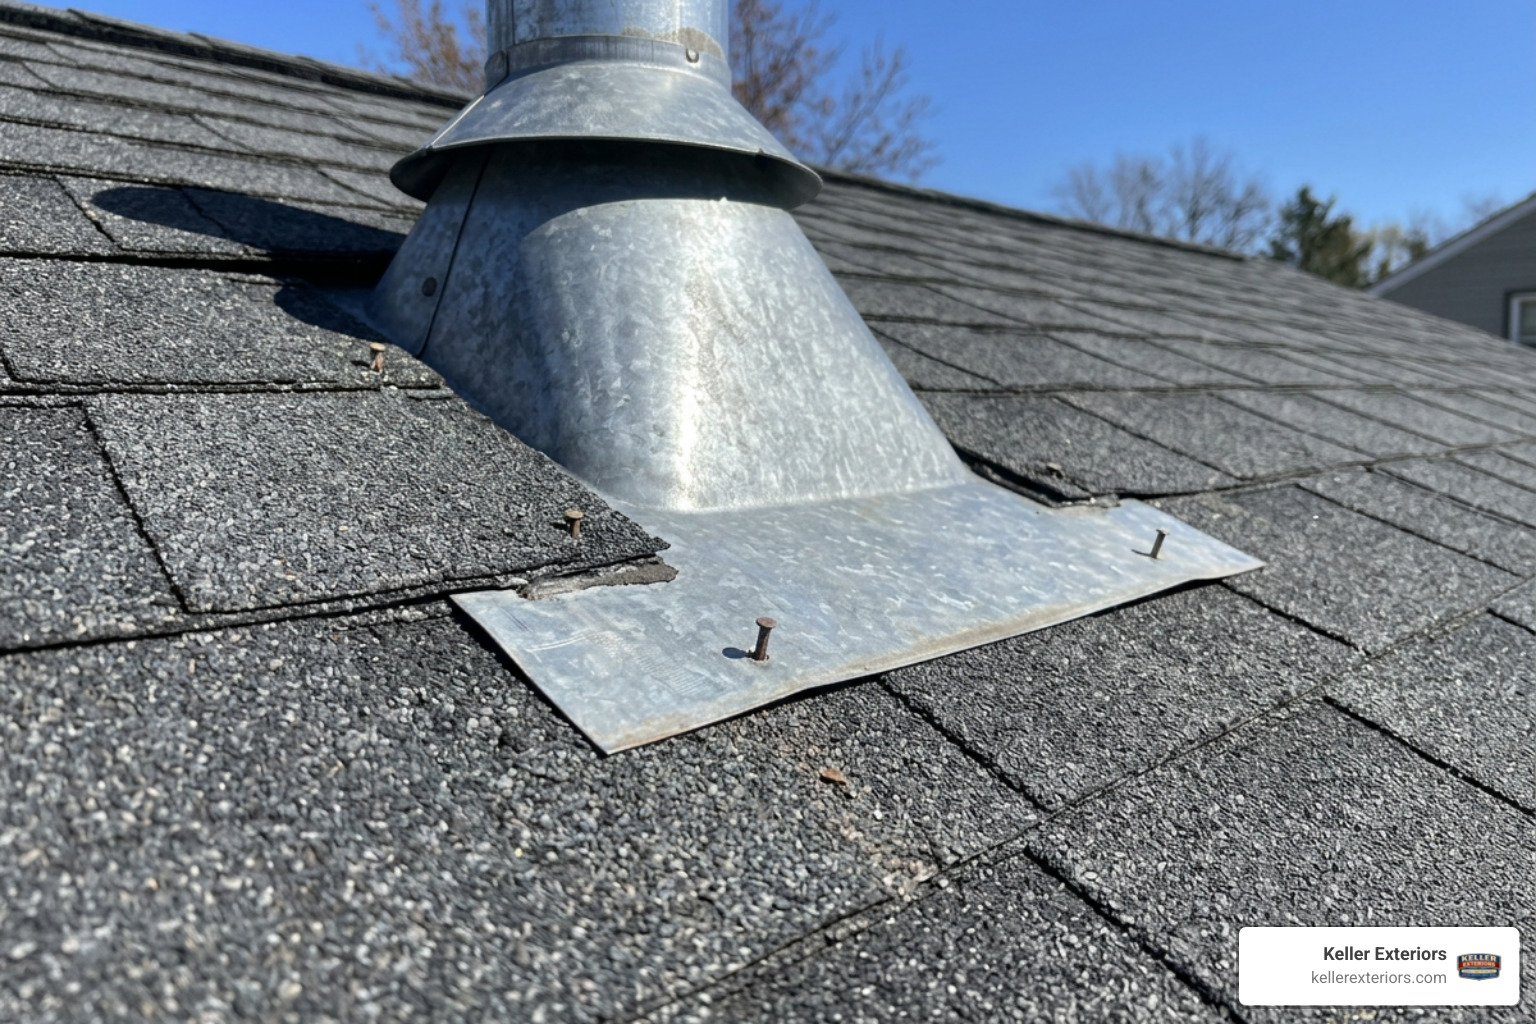
A sound installation also depends on careful flashing. Vent flanges must slide beneath the shingles above them, fasteners must penetrate the roof deck, and exposed nail heads need roofing cement or the vent maker’s approved sealant. These details help prevent leaks while protecting the attic from trapped heat and moisture.
For many homes, a passive ridge-and-soffit system is a practical option because it uses natural convection rather than electricity. However, roof shape, attic layout, existing vents, insulation, and local code rules all affect the right approach. Do not add a new exhaust vent until you know it will not compete with another exhaust type or pull air from the living space instead of the eaves.
At Keller Exteriors, our team brings more than 20 years of exterior improvement experience to roofing details, attic airflow concerns, and practical ventilation decisions. We help homeowners understand when a roof vent project is appropriate and when a professional evaluation is the safer choice.
Understanding Roof Vent Types and Airflow Mechanics
Attic ventilation operates on basic physics: warm, moist air naturally rises toward the peak of your roof through natural convection. To establish continuous airflow, your roofing system requires two distinct components working together: intake vents positioned at the lowest points of the roof, such as the eaves or soffits, and exhaust vents positioned near the roof peak.
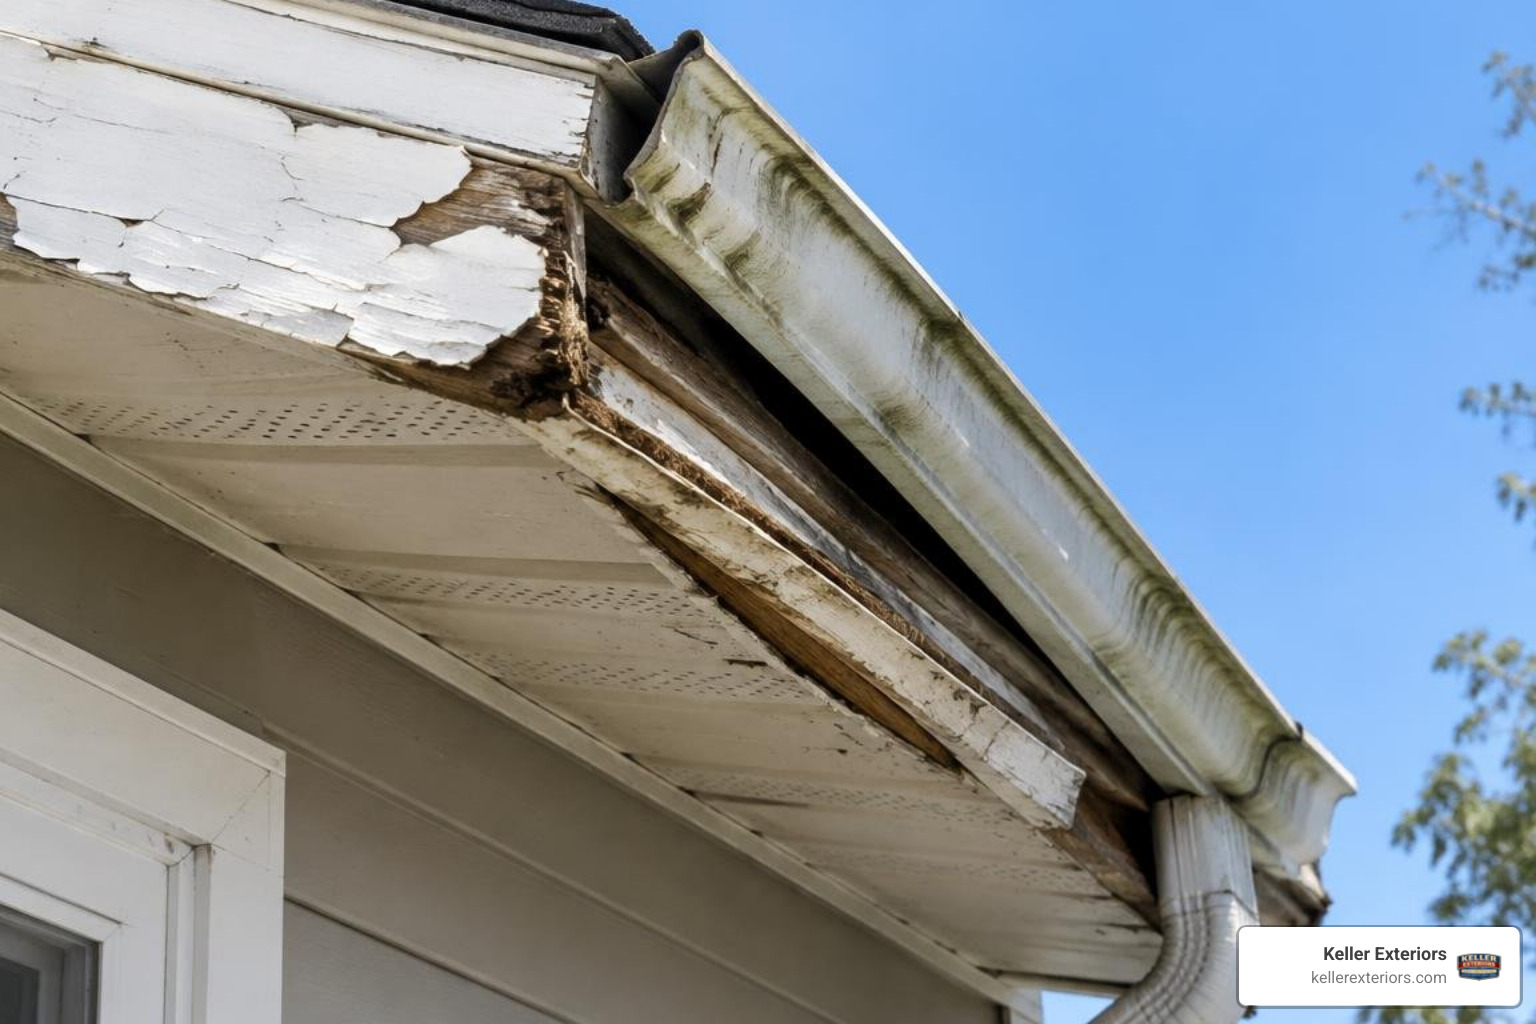
When outside breezes blow over the roof crest, they create negative pressure that draws warm attic air out through the exhaust openings. This suction pulls fresh, ambient outdoor air in through the soffit grilles. Without a properly balanced intake pathway, exhaust vents cannot cycle air effectively, leading to heat accumulation, elevated cooling loads, and trapped humidity that degrades roof decking.
Different architectural designs require specific vent styles. Modern residential roofing systems rely on several core exhaust and intake configurations:
| Vent Style | Ventilation Mechanism | Airflow Efficiency | Ideal Roof Pitch Range | Primary Advantage |
|---|---|---|---|---|
| Continuous Ridge Vent | Passive convective exhaust | Very High (Continuous along peak) | 3:12 to 16:12 | Uniform temperature across roof deck; low profile |
| Static Box Vent (Turtle Vent) | Passive point exhaust | Moderate (Localized airflow) | 4:12 to 12:12 | Excellent for complex hips or sections without long ridges |
| Wind Turbine (Whirlybird) | Wind-assisted mechanical exhaust | High (Increases with wind speed) | 3:12 to 12:12 | Draws high air volumes without electrical wiring |
| Powered Attic Ventilator (PAV) | Motorized mechanical exhaust | High (Forced mechanical draw) | 3:12 to 10:12 | Thermostat-controlled evacuation for tight spaces |
| Undereave / Continuous Soffit | Passive continuous intake | Critical foundation (Supplies 50% system) | All standard slopes | Prevents stagnant hot air pockets along lower roof deck |
Homeowners who are weighing ventilation changes alongside broader roof work can have Keller Exteriors assess the system as part of a residential roofing evaluation. This helps identify intake restrictions, damaged flashing, and roof conditions that could affect the installation.
For more practical maintenance and weather-readiness information, browse our roofing articles for guidance that applies to homes throughout the Tulsa, OK, area.

Calculating Attic Net Free Area (NFA) Requirements
Attic ventilation sizing is determined by Net Free Ventilating Area (NFVA or NFA), which measures the unobstructed physical opening through which air can freely travel. Most residential building codes reference two fundamental standards:
- The 1:300 Rule: If your ceiling features a continuous vapor retarder, or if 40% to 50% of the required ventilation is provided by exhaust vents located at least three feet above the eaves, you must provide 1 square foot of total NFA for every 300 square feet of attic floor area.
- The 1:150 Rule: If your attic lacks a vapor retarder or cannot achieve balanced high-and-low vent distribution, you must provide 1 square foot of total NFA for every 150 square feet of attic space.
To calculate your home’s requirements under the standard 1:300 rule:
- Measure the attic floor footprint (e.g., a 40 ft by 50 ft attic equals 2,000 sq. ft.).
- Divide the total square footage by 300 (2,000 / 300 = 6.67 sq. ft. of total required NFA).
- Convert square feet to square inches by multiplying by 144 (6.67 x 144 = 960 sq. in.).
- Divide the result evenly between intake and exhaust (480 sq. in. for soffits, 480 sq. in. for ridge/roof vents).
Steep roof pitches contain higher total air volumes beneath the rafters. When calculating NFA for roofs with pitches between 7:12 and 10:12, increase the calculated ventilation area by 20%. For steep pitches of 11:12 or greater, add 30% more ventilation area to accommodate the larger interior air mass.
Ensuring Unobstructed Intake Airflow at the Eaves
An exhaust vent cannot discharge air that was never allowed to enter. Inadequate intake is the most frequent cause of attic ventilation failure. When soffits lack sufficient openings, hot exhaust vents can depressurize the attic, drawing air-conditioned air up from living spaces through light fixtures, plumbing penetrations, and ceiling bypasses.
To keep intake airflow moving freely:
- Install rigid foam or plastic rafter baffles (insulation dams) at every rafter bay along the eaves before blowing in loose-fill fiberglass or cellulose insulation.
- Maintain a minimum 2-inch clear air space between the top of the insulation and the underside of the roof sheathing.
- Regularly inspect exterior soffit grilles to ensure house paint, pollen, and spiderwebs have not sealed the perforations.
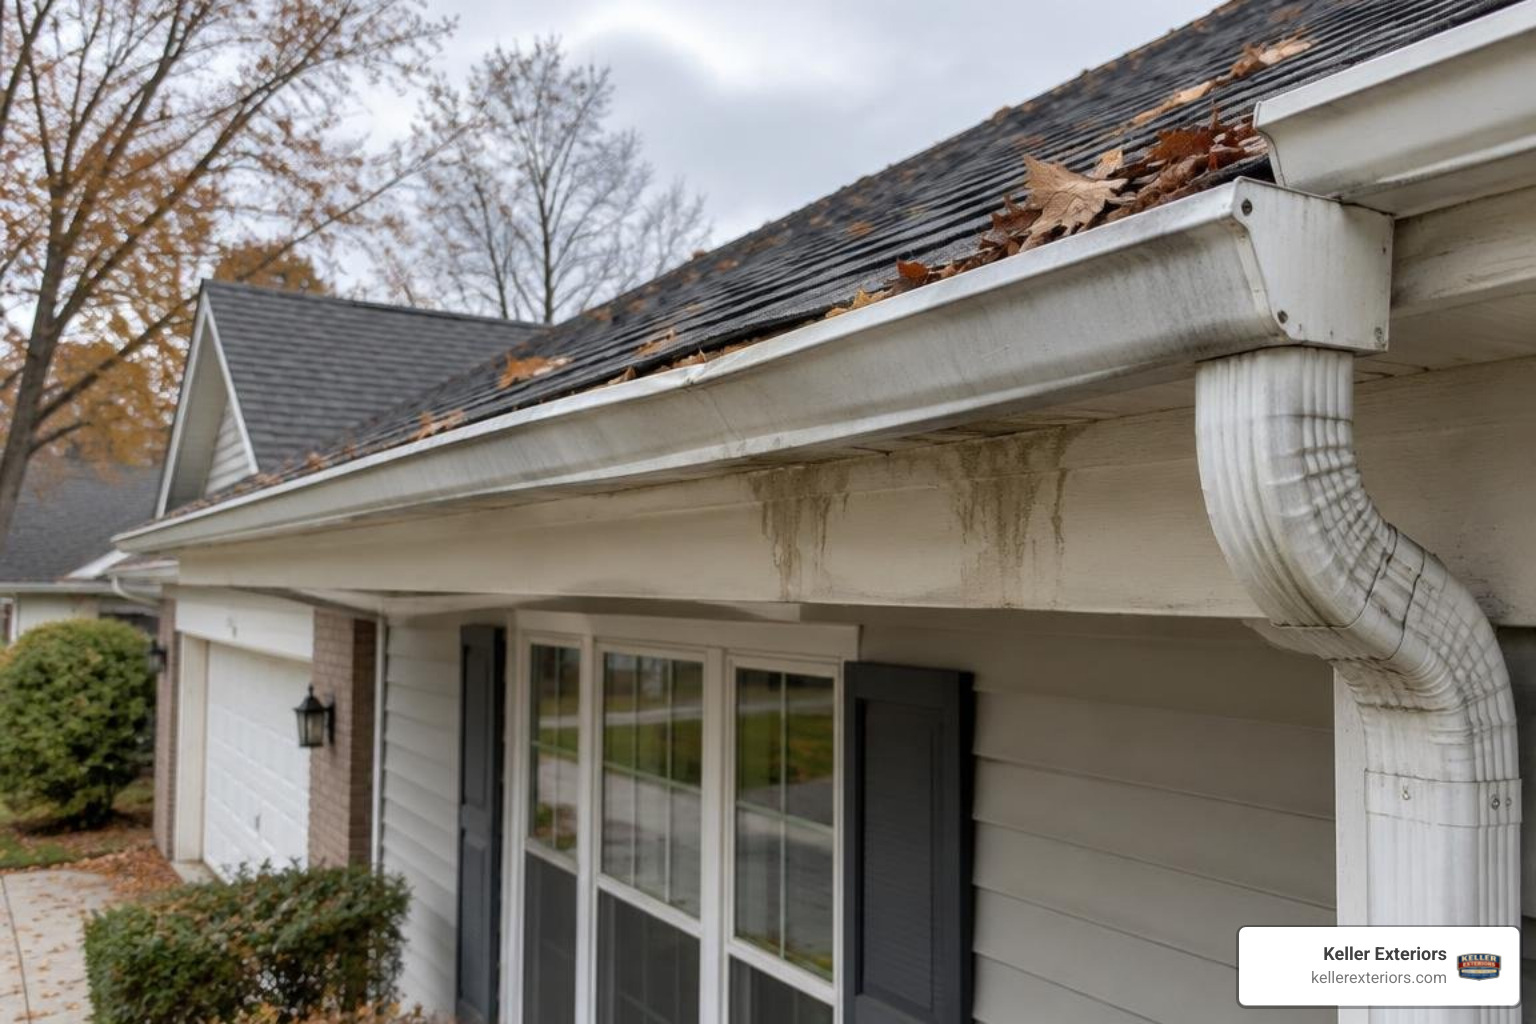
Keeping eaves clear protects your home year-round. In freezing weather, proper intake airflow prevents warm indoor air from warming the upper roof deck, which stops snow from melting and refreezing into destructive ice dams at the cold gutters.
Step-by-Step Guide to the Installation of Roof Vents on Existing Shingles
Retrofitting new vents into an existing shingle roof requires patience, clean cuts, and accurate integration with existing underlayment. If your roof deck shows signs of rotted wood, widespread shingle brittleness, or storm damage, arrange professional roof repair before adding penetrations.
Always work on dry roof surfaces during mild weather, and set up your ladder and fall-arrest equipment securely before lifting materials.
If you are planning related exterior upkeep, the Keller Exteriors home improvement blog offers additional seasonal guidance that can help you spot roof and ventilation concerns before they grow.
Required Tools and Materials for the Installation of Roof Vents
Gather the following professional-grade tools and materials before starting your project:
- Safety Equipment: OSHA-compliant full-body harness, roof anchor bracket, shock-absorbing lanyard, and slip-resistant work boots.
- Cutting Tools: Circular saw with carbide framing blade (for ridge slots), reciprocating saw (for circular box openings), and heavy-duty utility knife with hook blades.
- Hand Tools: Flat pry bar (for loosening shingle sealant tabs without tearing), framing hammer, chalk line, tape measure, and cordless drill.
- Fasteners & Sealants: 1-1/4 inch to 1-3/4 inch hot-dipped galvanized roofing nails (must penetrate fully through the roof decking) and premium ASTM D4586 asphalt plastic roof cement.
- Ventilation Units: Intake vents, ridge vent sections, or static vent assemblies sized to match your calculated NFA.
Installing Ridge Vents Along the Peak
Continuous ridge vents provide clean sightlines and dependable passive airflow along the roof peak. When installing ridge vents on an existing asphalt shingle roof, follow the vent manufacturer’s instructions to protect product warranties and maintain code compliance.
- Remove Old Ridge Cap Shingles: Carefully slide a flat pry bar beneath the existing cap shingles along the ridge. Remove the old shingles and pull or drive flush any remaining exposed nails.
- Mark the Cut Lines: Snap a chalk line along both sides of the ridge. For standard roofs with a central ridge board, mark a slot width of 3/4 inch on each side of the center line (1-1/2 inches total opening). On truss roofs without a ridge board, mark a total single slot opening of 1-1/2 inches to 1-3/4 inches. Stop your cut lines 6 to 12 inches inside the exterior gable end walls or hip intersections to maintain structural stability and keep driving rain out.
- Cut the Roof Sheathing: Set your circular saw blade depth so it cuts only through the roof decking without scoring the underlying rafters or roof trusses. Cut along the chalk lines and remove the wooden strips. Clear all sawdust, wood chips, and loose debris from the opening.
- Fasten Vent Sections: Center the ridge vent sections over the open peak slot. Pre-fasten the pieces using galvanized roofing nails driven through the pre-formed nail bosses. When joining sections in cold weather, leave a 1/8-inch expansion gap between end-joints to allow for thermal expansion during summer heat.
- Install Cap Shingles: Place new matching ridge cap shingles directly over the shingle-over ridge vent. Use long galvanized roofing nails (typically 1-3/4 inches) to ensure the fasteners pass completely through the cap shingle, the vent body, and the roof sheathing underneath.
Installing Static Box Vents and Exhaust Caps
Static box vents, often called turtle vents, work well on roof planes where a continuous ridge is unavailable. For exhaust caps connected to bathroom or dryer ducts, follow the vent manufacturer’s installation instructions and local code requirements.
- Locate Vent Position: From inside the attic, choose a location between two framing rafters, positioned within the upper 25% of the roof plane. Drive a single pilot nail upward through the roof sheathing and shingles to mark the center point. Ensure the spot is at least 2 feet away from valleys, hips, chimneys, or plumbing pipes.
- Mark and Loosen Shingles: On the roof surface, center your vent template over the pilot nail. Use a flat pry bar to carefully release the adhesive seal on the shingle tabs directly above and around the installation area. Remove the roofing nails securing the shingles in the upper half of the cutout zone.
- Cut the Deck Opening: Scribe the vent opening onto the shingles, making the cutout roughly 1/2 inch larger than the vent throat. Use a reciprocating saw or utility knife to cut through the shingles and roof decking, taking care not to nick structural rafters.
- Bed and Position the Flange: Coat the underside of the metal vent flange with a 1/4-inch bead of asphalt roofing cement. Carefully slide the top and side edges of the flange underneath the loosened upper shingles, while letting the bottom edge of the flange rest on top of the shingles below it.
- Fasten and Weatherproof: Secure the flange to the decking with a minimum of four to six galvanized roofing nails driven through the pre-punched flange holes. Seal every exposed nail head and all shingle overlap joints with a dab of roofing cement.
Installing Wind Turbine Vents
Wind turbine vents use spherical vanes that spin in light breezes, drawing trapped heat and stale air out of the attic.
- Select Placement and Cut Opening: Choose a location on the rear roof slope just below the peak. Mark the rafter spacing, cut the circular opening through the roof deck, and slide the upper half of the turbine base flashing beneath the higher shingle courses.
- Level the Collar: Turbine bases feature an adjustable, rotating collar to compensate for different roof pitches. Place a small torpedo level across the top rim of the base collar and rotate it until the mounting surface sits level.
- Fasten the Base and Seal: Fasten the wide base flashing securely to the decking using galvanized roofing nails. Apply asphalt cement along the hidden perimeter of the flashing and encapsulate every exposed nail head.
- Mount and Test the Turbine Head: Slide the spinning turbine head over the leveled collar. Secure the head with the included locking screws or crimp tabs. Spin the turbine by hand to confirm it rotates silently without wobbling or rubbing.
Installing Powered Attic Ventilators (PAVs)
Powered attic ventilators use an electric motor or solar panel to pull large volumes of air through the roof. If you are venting conditioned spaces or specialized ducts, follow applicable installation specifications to ensure the assembly meets building and safety guidelines.
When mounting a roof-mounted powered ventilator:
- Place the unit high on the rear roof slope, centered between rafters.
- Seal the broad flashing flange beneath the upper shingle courses using asphalt roof cement, fastening the base with heavy-duty galvanized hardware.
- Connect the unit to a dedicated electrical circuit with an adjustable thermostat and humidistat control box mounted inside the attic.
- Check that your home’s ceiling plane is air-sealed. If an attic floor has unsealed plumbing chases or recessed light openings, a powerful fan can pull conditioned air out of your living space, increasing your summer electric bills.
Weatherproofing and Preventing Roof Vent Leaks
Water always flows downward along the path of least resistance. Preventing roof leaks around vent penetrations depends entirely on correct shingle layering and dependable flashing details.
When integrating vent flashing into an existing roof:
- The Layering Rule: The top edge and side flanges of any roof vent must always sit beneath the felt underlayment and upper shingles. The bottom apron must sit on top of the lower shingles to direct running water safely across the roof surface.
- Seal Fasteners: Every nail driven through an exposed metal flange creates a potential leak path. Apply a generous dab of asphalt roof cement over every nail head, completely encapsulating the metal fastener.
- Inspect the Surrounding Field: Check nearby shingles for torn underlayment, loosened tabs, or pulled nails. If an older roof needs broader work, plan those improvements with a roof replacement project rather than relying on a new vent to solve underlying roof damage.
A professional roof inspection from Keller Exteriors can confirm whether flashing, decking, and existing ventilation are ready for a new penetration before work begins.
Critical Mistakes to Avoid During the Installation of Roof Vents
Avoid these common mistakes when installing vents:
- Mixing Different Exhaust Types: Never combine ridge vents, box vents, turbine vents, or powered fans within the same common attic space. The larger or motorized vent will pull air from the adjacent roof exhaust vent rather than drawing fresh air from the soffits, creating a short circuit that pulls rain and snow into the attic.
- Cutting Ridge Slots Too Long: Never cut ridge vent slots all the way to the gable edges. Running the opening past the interior attic space lets wind-driven rain blow into the exterior wall framing.
- Ignoring Blocked Soffit Vents: Adding exhaust vents to an attic with clogged or missing soffit vents creates negative attic pressure, reducing airflow and straining exhaust fan motors.
- Over-Using Roof Cement: Roofing cement provides a secondary water barrier, not a replacement for proper flashing. Applying thick mounds of sealant over unlapped shingles traps moisture on the roof deck, leading to hidden rot.
Frequently Asked Questions About Roof Vent Installation
How many roof vents do I need for my attic size?
Calculate your attic floor square footage and apply the 1:300 ventilation rule. Divide the total calculated square inches of Net Free Area (NFA) equally so that 50% comes from lower soffit intake vents and 50% comes from upper roof exhaust vents.
Can I mix different types of exhaust vents on the same roof?
No. Mixing different exhaust vents in a shared attic space causes short-circuiting. The higher or stronger exhaust vent pulls air inward through the neighboring exhaust vent instead of drawing fresh air up from the soffits, allowing moisture and blowing rain inside.
What is the 1:300 rule in attic ventilation?
The 1:300 rule is a standard building code guideline requiring 1 square foot of net free ventilating area for every 300 square feet of attic floor space, provided the ventilation is balanced between intake and exhaust openings and an interior vapor retarder is present.
How do I prevent leaks when cutting into existing roof shingles?
Always slide the top and side metal flanges underneath the overlapping upper shingles and roofing underlayment, while resting the bottom flange on top of the lower shingles. Bed the flange perimeter in roof cement and seal every exposed nail head.
Why are my soffit intake vents blocked, and how do I clear them?
Soffit vents are commonly blocked by blown attic insulation, exterior house paint, or dirt buildup. Clear them by installing rigid rafter baffles between framing members inside the attic and vacuuming dirt away from exterior vent grilles.
Is it better to install passive roof vents or powered attic fans?
Continuous passive ventilation systems using ridge and soffit vents are generally superior for residential properties. They operate silently without electricity, require minimal maintenance, and eliminate the risk of pulling air-conditioned air from the living spaces below.
Can I add roof vents to an existing roof without replacing shingles?
Yes. Using a flat pry bar, you can carefully unseal existing asphalt shingle tabs, lift them slightly to cut decking holes, slide new vent flashing underneath, and nail the assembly in place without disturbing the surrounding roof field.
How far should roof vents be placed from chimneys and valleys?
Roof vents should be installed at least 2 feet away from roof valleys, chimneys, dormers, and parapet walls. This clearance prevents water buildup from heavy roof runoff and avoids turbulent airflow zones.
Do local building codes require permits for installing roof vents?
Most local building authorities require permits when making structural cuts to roof sheathing or adding powered electrical circuits. Always verify local municipal codes and roofing manufacturer requirements before cutting into your roof.
How often should roof vents and attic ventilation be inspected?
Inspect your attic ventilation system at least once a year and following major wind or hail storms. Look for loose flashing, cracked sealant, rusted screens, animal nesting, or signs of moisture on the attic sheathing.
Next Steps for Your Roof Ventilation Project
Balanced attic ventilation protects your roofing system, reduces interior heat buildup, and extends the lifespan of your shingles. Whether you are retrofitting ridge vents, adding intake grilles, or replacing static box vents, taking precise measurements, cutting cleanly, and flashing every joint correctly ensures your attic breathes easily through every season.
If you are unsure about your attic’s ventilation balance, notice signs of moisture buildup, or prefer to avoid working on steep roof pitches, Keller Exteriors can help. Contact our roof ventilation specialists to evaluate your ventilation system, protect your home against leaks, and keep your roof performing at its best.