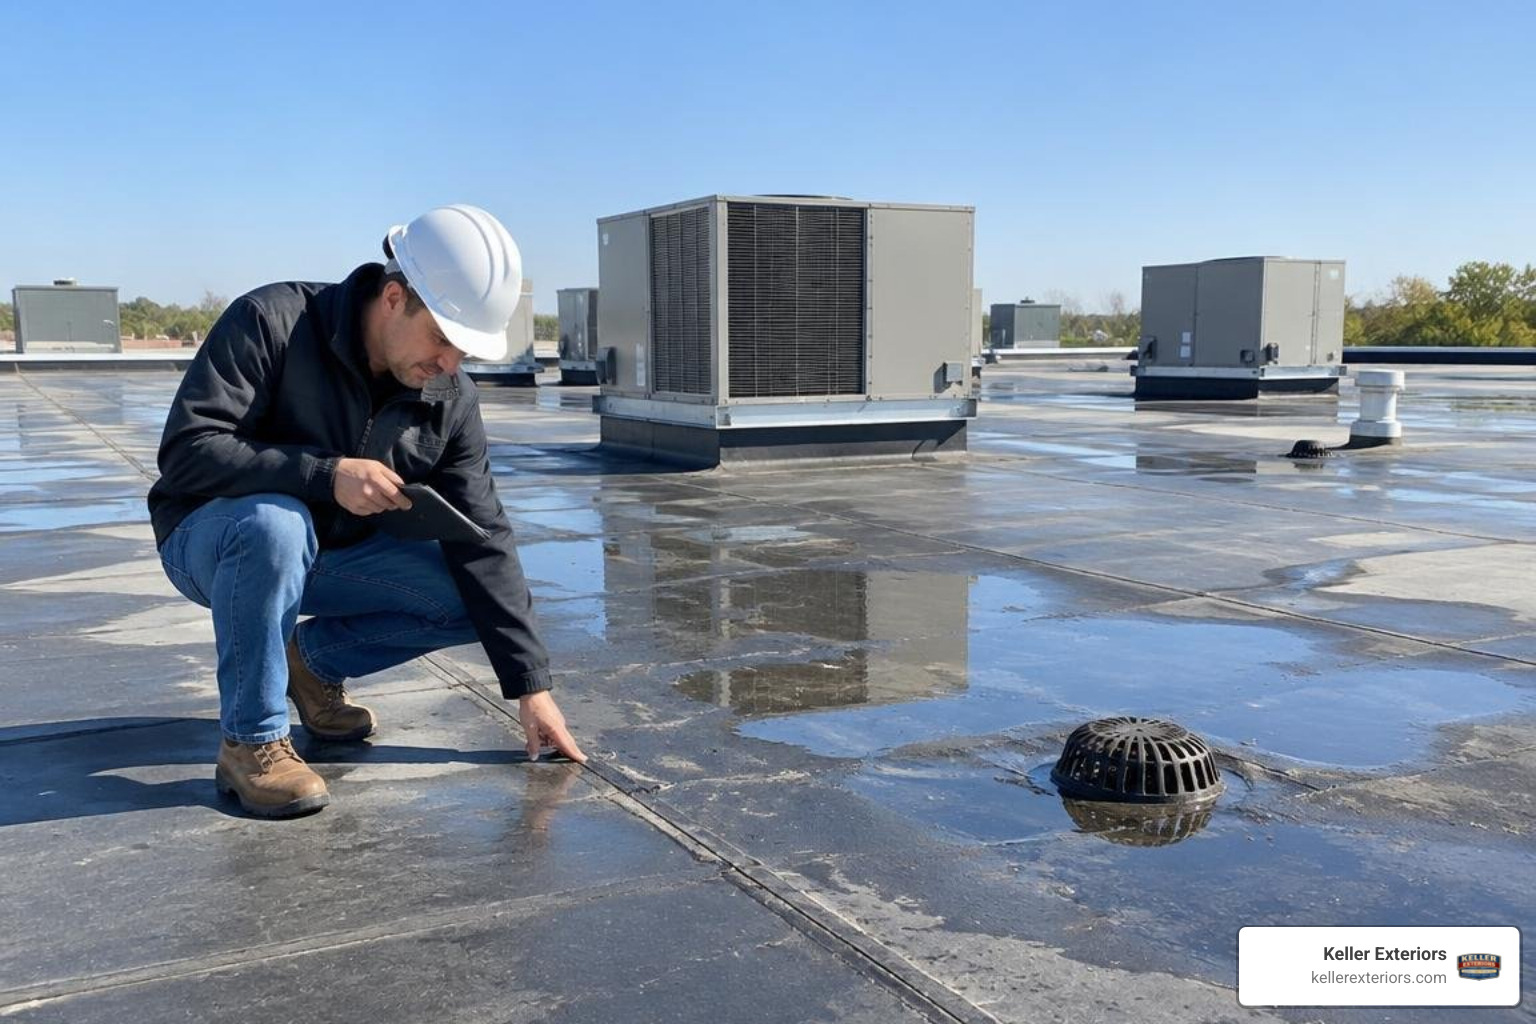
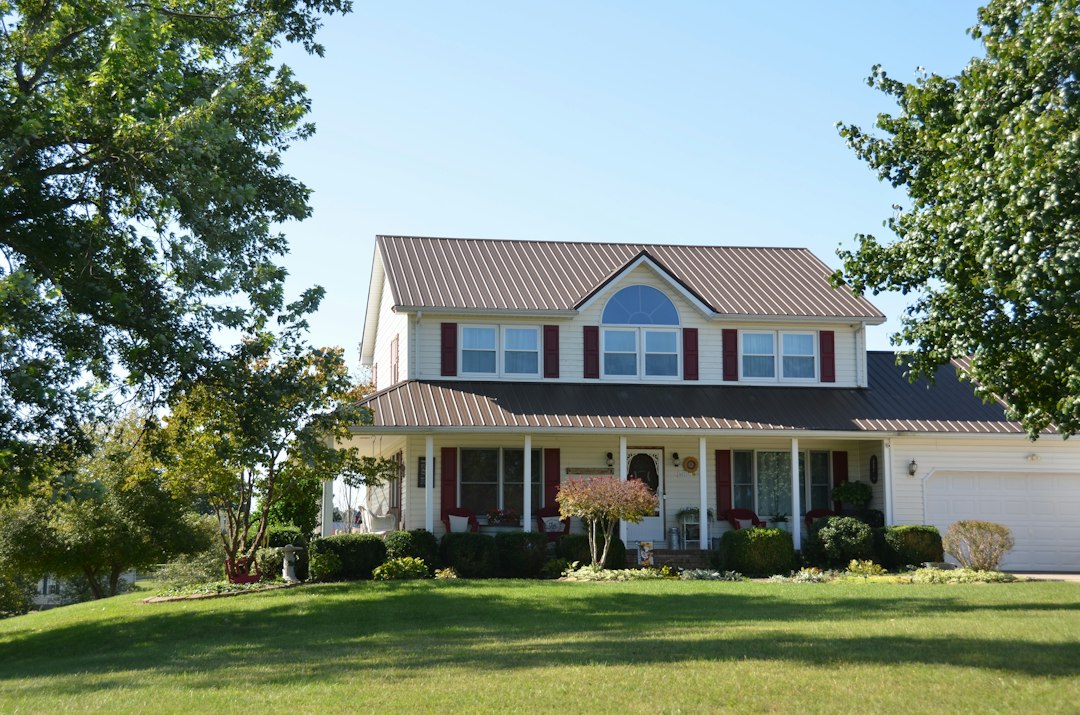
How Corrugated Roofing Installation Works
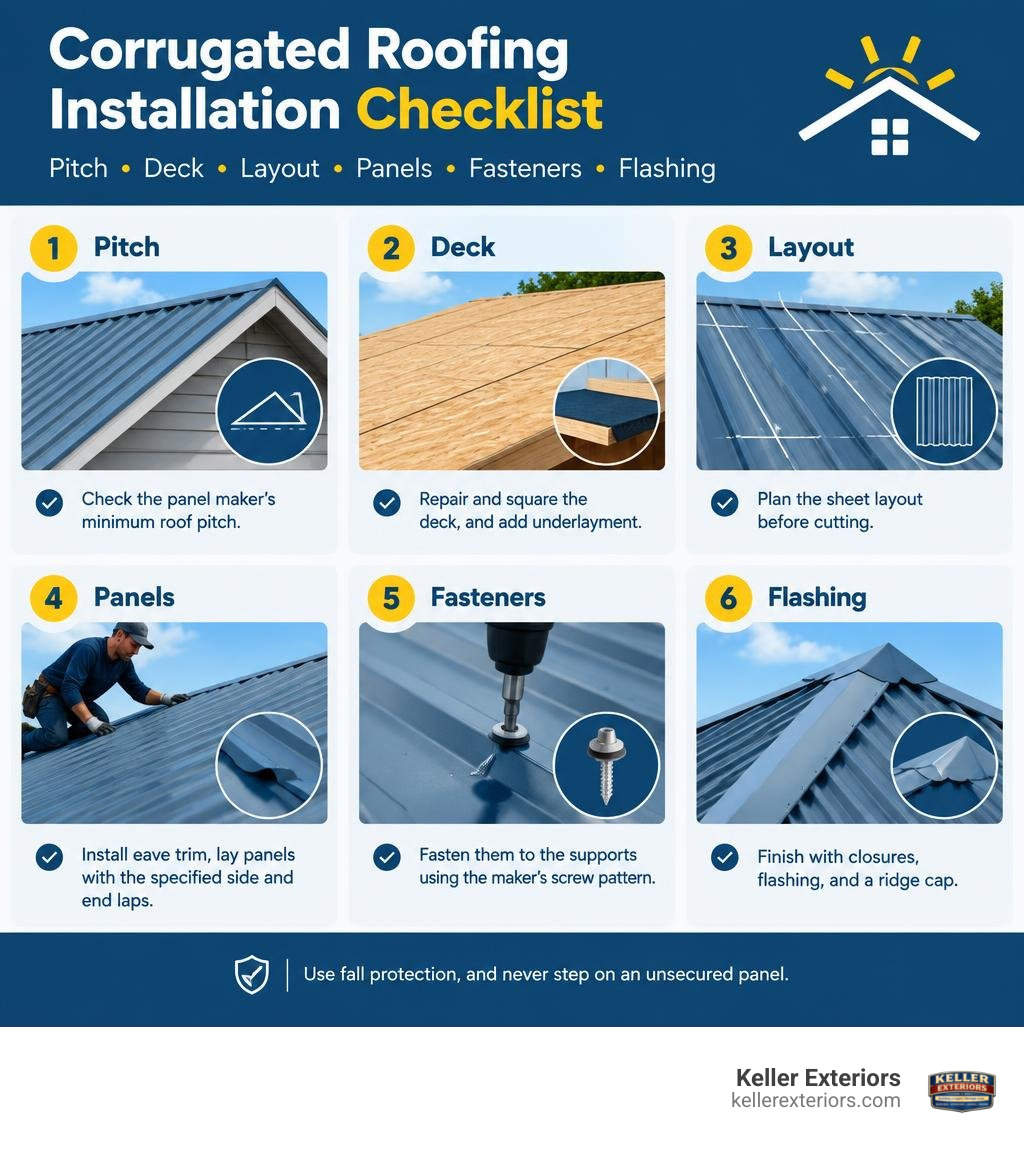
To install corrugated metal roofing, check the panel maker’s minimum roof pitch, repair and square the roof deck, and add the required underlayment. Plan the sheet layout before cutting. Install eave trim, lay panels with the specified side and end laps, and fasten them to the supports using the maker’s screw pattern. Finish with closures, flashing, and a ridge cap. Use fall protection, and never step on an unsecured panel.
Unlike standing seam roofing, corrugated metal has exposed fasteners. That makes sound overlaps, properly seated screw washers, and well-fitted flashing especially important for keeping water out.
I’m Robert Keller, owner of Keller Exteriors, with more than 25 years of experience in home improvement and exterior trades. I’ll help you understand the key choices in corrugated roofing installation, from roof pitch to the final trim.
Corrugated roofing installation vocab explained:
- best roof replacement
- finding a roof leak
- gutter fascia repair
Understanding Corrugated Roofing Materials and Profiles
Selecting the right metal system begins with understanding the distinct structural and aesthetic differences between exposed-fastener corrugated sheets and standing seam panels. Both systems deliver long-lasting protection against severe weather, yet their fabrication, installation method, and fastener mechanics vary considerably. A metal roof is a broad roofing category, and exposed-fastener corrugated panels are screwed directly through the exterior face into the underlying substrate, while standing seam panels interlock at raised seams to conceal the fasteners underneath.
For property owners deciding between these styles, it helps to compare installation demands, maintenance needs, and long-term performance before choosing a system. Planning becomes easier when the project sequence accounts for the roof replacement options that affect tear-off, decking repairs, and material selection. A flat seam metal roof provides a useful point of comparison for property owners weighing concealed-panel construction against exposed-fastener corrugated roofing.
| Feature | Exposed-Fastener Corrugated Roofing | Concealed Standing Seam Metal Roofing |
|---|---|---|
| Fastener System | Screws driven directly through metal face | Hidden clips fastened beneath the seam |
| Material Profiles | Sinusoidal wave (7/8 inch), U-panel, R-panel | Vertical standing ribs with flat pans |
| Minimum Pitch Requirement | 1:12 (with sealant) to 3:12 (standard) | 1:12 or lower with mechanical double-lock |
| Washer Maintenance | Periodic inspection and replacement needed | No exposed washer seals to maintain |
| Thermal Expansion | Restricted at each direct screw point | Free-floating clips allow panel movement |
| Installation Complexity | Straightforward, DIY-friendly with tools | Highly specialized, requires seaming equipment |
Metal Panel Materials and Coatings
Corrugated metal panels are typically manufactured from structural-grade galvanized or Galvalume steel, often in 26-gauge or 24-gauge thickness. Thinner 29-gauge sheets exist for light utility structures, but heavier gauges provide the necessary strength to resist denting from severe hail storms. Galvalume substrates combine zinc and aluminum to create a self-healing protective barrier that resists oxidation and edge rust over decades of sun exposure.
Modern factory finishes use advanced polyvinylidene fluoride (PVDF) or silicone-modified polyester (SMP) paint systems. These baked-on resin coatings reflect ultraviolet radiation, maintain color integrity without chalking, and preserve surface temperature control during hot summer months.
Structural Profiles: 7/8” Corrugated vs. Ribbed Panels
The wave height and profile shape directly determine a panel’s spanning ability and load capacity. A classic 7/8 inch corrugated profile features continuous, flowing sinusoidal waves. This continuous geometry distributes mechanical stress evenly across the panel, delivering high wind uplift resistance and excellent structural rigidity over open framing.
Because the wavy shape provides structural stiffness throughout the panel width, 7/8 inch corrugated sheets naturally minimize visible oil canning, which is the slight, wavy distortion common in flat-pan sheet metal. In contrast, sharp-ribbed panels like R-panels or U-panels feature wide, flat sections between narrow trapezoidal ribs, making them popular for agricultural and industrial buildings.
Roof Pitch Requirements and Structural Framing Preparation
A dependable corrugated roof requires a solid, correctly sloped foundation. The pitch of your roof determines how quickly rainwater sheds, how wide your sheet overlaps must be, and whether you need open purlins or a continuous solid deck. Installing corrugated sheets below recommended pitch minimums can cause water to pool, back up through side laps, and damage the underlying framing. According to the National Roofing Contractors Association, low-slope roofs require extra attention to lap sealing and drainage to avoid moisture intrusion.
When planning structural updates, match your roof slope to the proper deck requirements and fastener schedule.
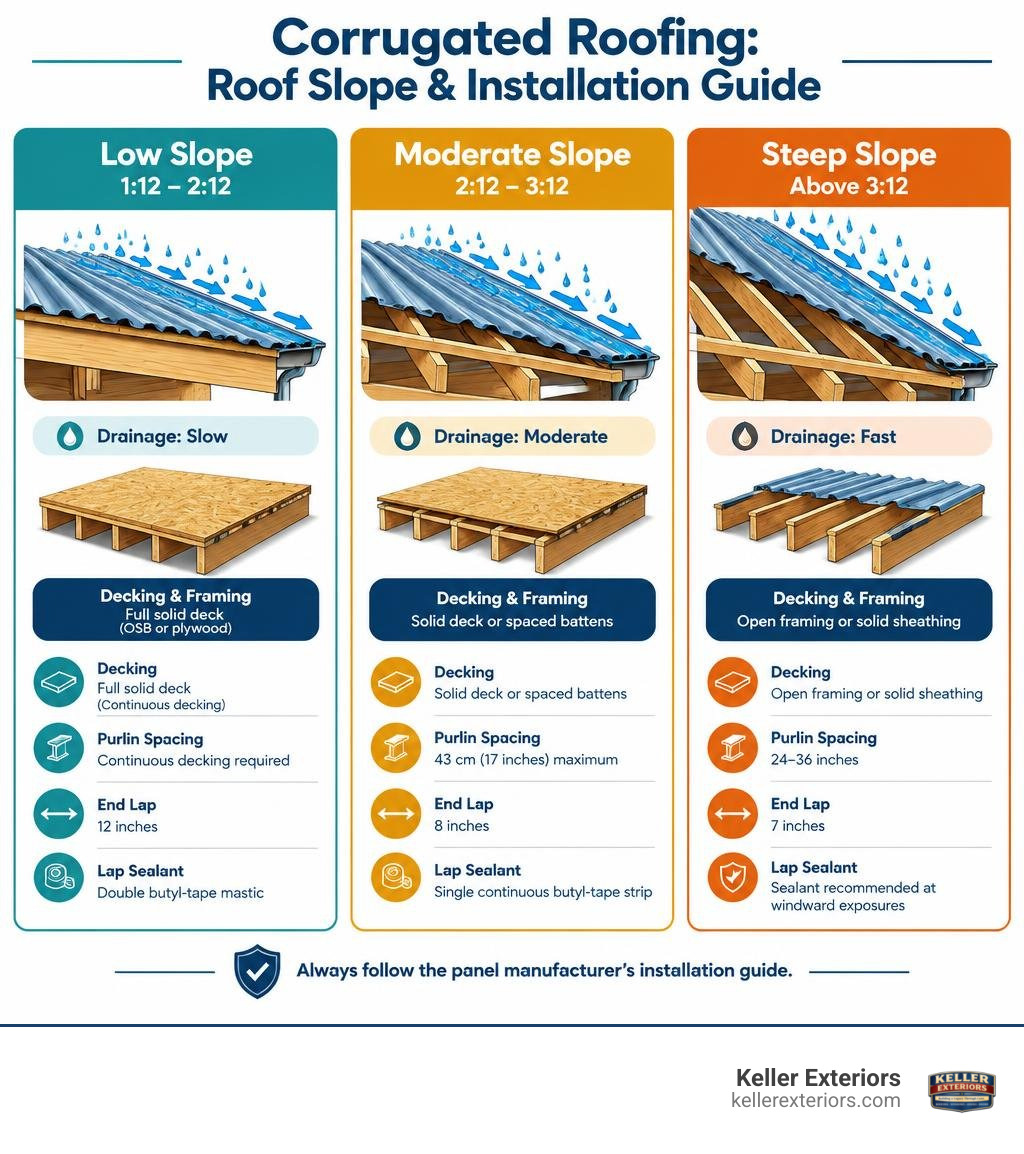
| Roof Slope Range | Decking Requirement | Maximum Purlin Spacing | Minimum End Lap Depth | Required Lap Sealant |
|---|---|---|---|---|
| 5° to 10° (1:12 to 2:12) | Full solid deck (OSB or Plywood) | Continuous decking required | 30 cm (12 inches) | Continuous double butyl tape mastic |
| 10° to 15° (2:12 to 3:12) | Solid deck or spaced battens | 43 cm (17 inches) | 20 cm (8 inches) | Single continuous butyl tape strip |
| > 15° (Above 3:12) | Open framing or solid sheathing | 61 cm to 90 cm (24 to 36 inches) | 17 cm (7 inches) | Recommended at windward exposures |
Minimum Slope and Purlin Spacing Calculations
Corrugated metal panels should not be installed on a roof pitch below 1:12 (roughly 5 degrees). For roof slopes between 1:12 and 3:12, standing water can linger during torrential rainfall, so you must use continuous solid decking alongside heavy-duty butyl mastic sealant along all lap seams.
On slopes exceeding 3:12 (15 degrees), gravity quickly sweeps runoff away, allowing installers to mount panels directly over dimensional lumber purlins spaced 24 to 36 inches on center. When calculating purlin spacing, factor in local wind uplift zones, snow load capacities, and the specific gauge of your metal panels. For lighter 0.5 mm or 29-gauge sheets, purlin spans should never exceed 24 inches to avoid panel sagging under live loads.
Squaring the Roof Deck and Installing Underlayment
Before lifting the first metal panel onto the roof, verify that the framing is completely square. If you install panels on an out-of-square deck, your roof sheets will develop an uneven, saw-tooth edge along the eaves and ridge lines. Use the classic 3-4-5 triangle method: measure 3 feet along the eave from a corner, 4 feet up the rake edge, and confirm the diagonal distance between those points equals exactly 5 feet. For larger roofs, scale this up to 6-8-10 or 9-12-15 feet for greater precision.
Once the deck is square and free of protruding nails or debris, install your waterproofing underlayment. Start at the bottom eave with a self-adhering, peel-and-stick ice-and-water barrier along high-risk zones, such as eaves, valleys, and penetrations. Cover the remaining decking with heavy-duty synthetic roofing underlayment, maintaining a minimum 2-inch horizontal side lap and a 6-inch vertical end lap. Fasten the membrane using corrosion-resistant roofing nails fitted with plastic caps.
Step-by-Step Guide to Corrugated Roofing Installation
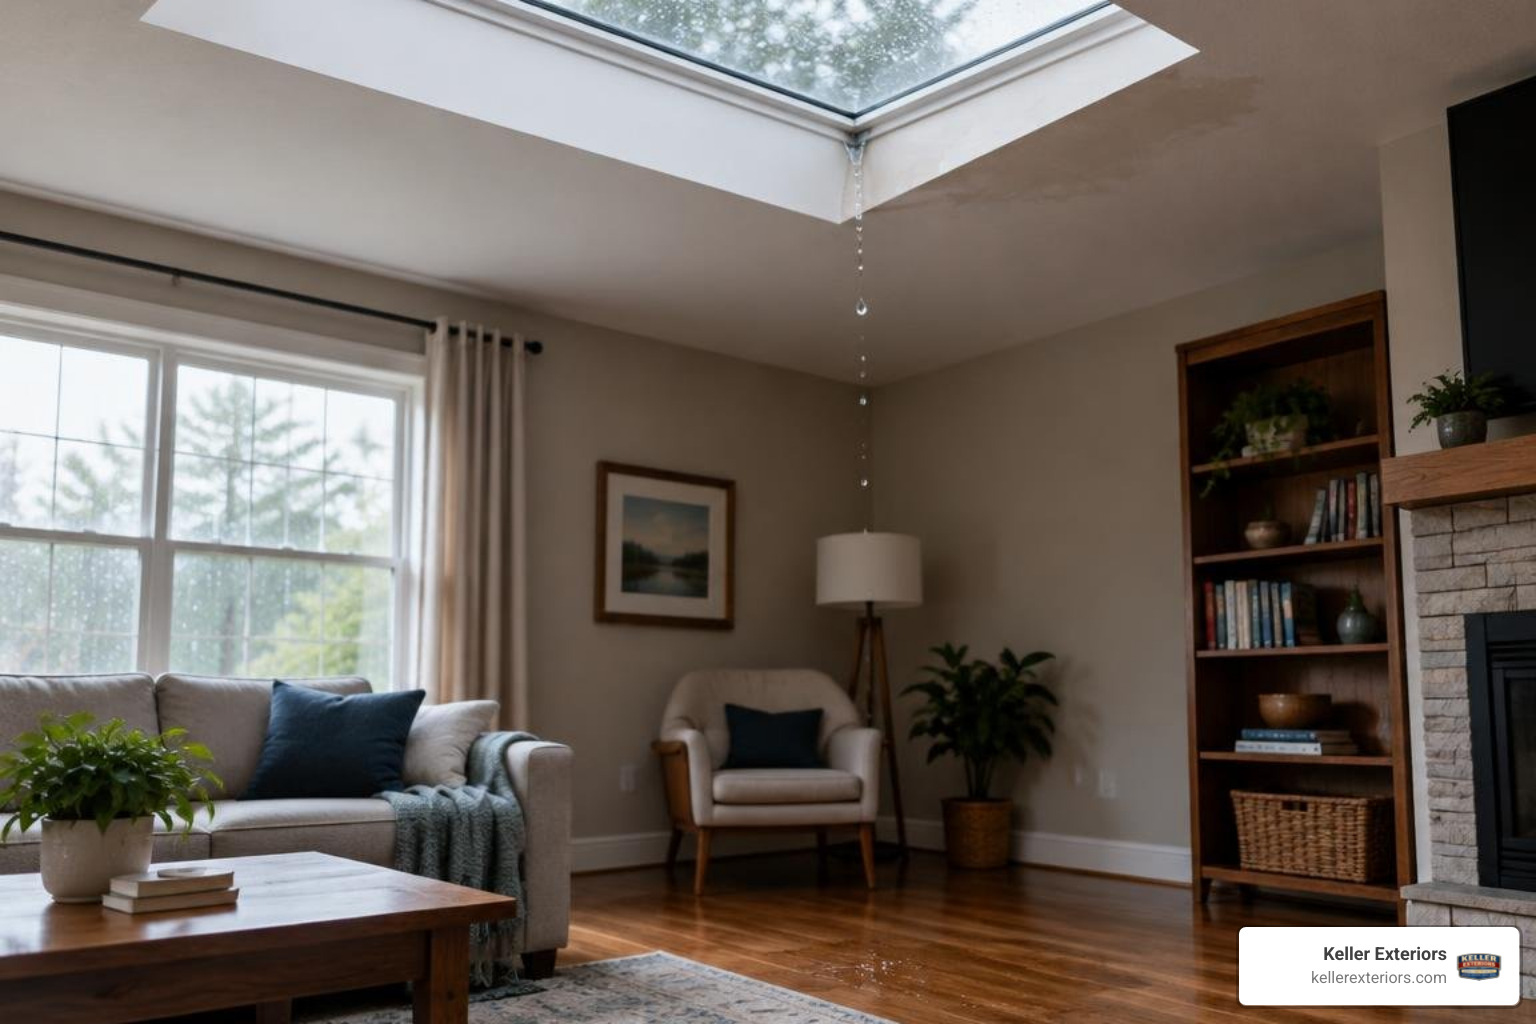
Careful panel alignment, clean cutting, and correct fastener depth ensure a weather-tight corrugated-roofing installation. Taking the time to properly measure each sheet and verify lap patterns prevents moisture intrusion and protects your roof against high-wind uplift. If water appears inside after a storm, early signs of a roof leak, such as ceiling staining or damp insulation, can help limit further damage.
Tools and Cutting Techniques for Corrugated Roofing Installation
Using the correct cutting tools is essential for maintaining panel longevity. High-speed abrasive cutoff wheels or friction discs generate excessive heat that burns away the protective zinc Galvalume coating, leaving the cut edge vulnerable to premature rust. Instead, use cold-cutting tools designed for sheet metal:
- Electric metal nibblers or turbo shears: Cleanly slice through corrugated curves without warping ribs or throwing sparks.
- Circular saw fitted with a carbide-tipped metal blade: Produces clean, straight cuts through multiple stacked panels without generating heat.
- Aviation snips (left, right, and straight cuts): Ideal for trimming flashing profiles, valley angles, and rake edges by hand.
When cutting panels on the ground or roof deck, tiny hot metal shavings, known as swarf, can settle across the painted surface. Sweep or blow away this metal debris immediately. If left behind, moist morning dew will oxidize these shavings overnight, creating unsightly surface rust spots. After cutting your panels to length, seal all exposed bare metal edges with matching manufacturer-approved acrylic touch-up paint.
Staggering Layouts and Overlapping Sheets Properly
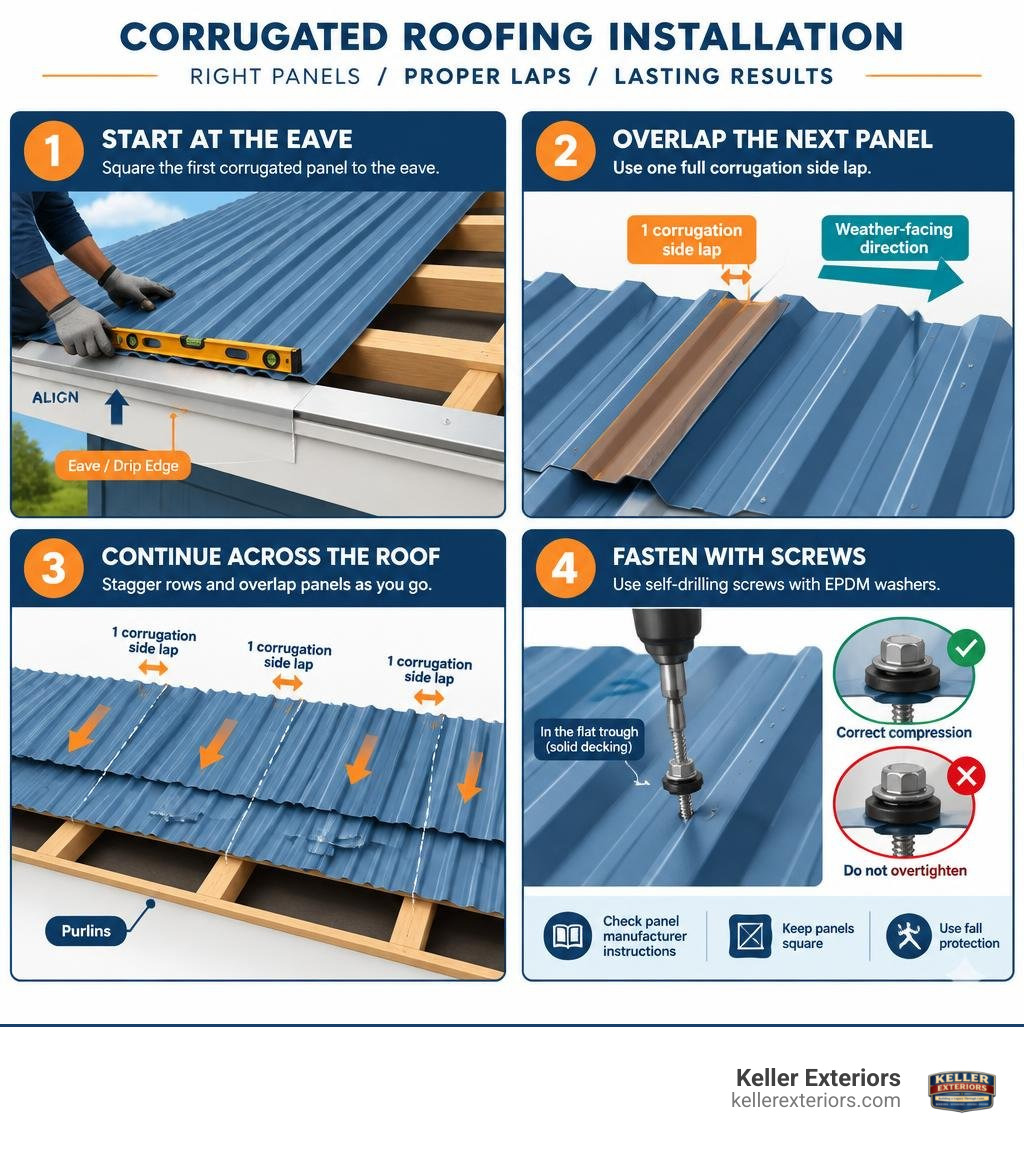
Begin laying panels at the lower eave corner on the side of the roof facing away from prevailing weather patterns. This ensures that blowing rain rolls smoothly across the overlapping seams rather than forcing its way underneath the panel lips.
When a roof slope requires multiple vertical sheet runs from eave to ridge, always use a broken-bond (staggered) layout. Start the first row at the eave with a full-width panel, but start the second row above it with a half-width panel. Staggering the seams prevents four panel corners from stacking directly on top of each other at a single joint, which would create a thick, unsealable gap known as a four-ply lap.
All horizontal end laps must overlap by at least 4 inches (10 cm) on steep slopes, increasing to 8 to 12 inches (20 to 30 cm) on lower pitches. Apply a continuous strip of 1-inch butyl mastic tape between overlapping metal surfaces just below the fastener line.

Fastening Patterns and Screw Placement in Corrugated Roofing Installation
Proper screw placement makes the difference between a leak-free roof and costly water damage. Use 1.5-inch to 2-inch self-drilling, hex-head roofing screws equipped with integrated EPDM rubber washers.
Follow these essential fastener placement guidelines:
- Placement for solid wood decking: Drive fasteners through the flat trough (valley) of the corrugation directly into the solid wood deck. Fastening in the trough pulls the panel tight against the substrate and underlayment, providing maximum holding power against wind uplift.
- Placement for open framing or plastic sheets: When installing over open purlins or using translucent polycarbonate panels, drive longer fasteners through the crest (ridge) of the wave to prevent overtightening and sheet distortion.
- Fastening frequency: Plan for approximately 20 to 25 fasteners per sheet. Place screws across every third corrugation rib on internal rows, and across every rib along the eaves, ridge lines, and end laps.
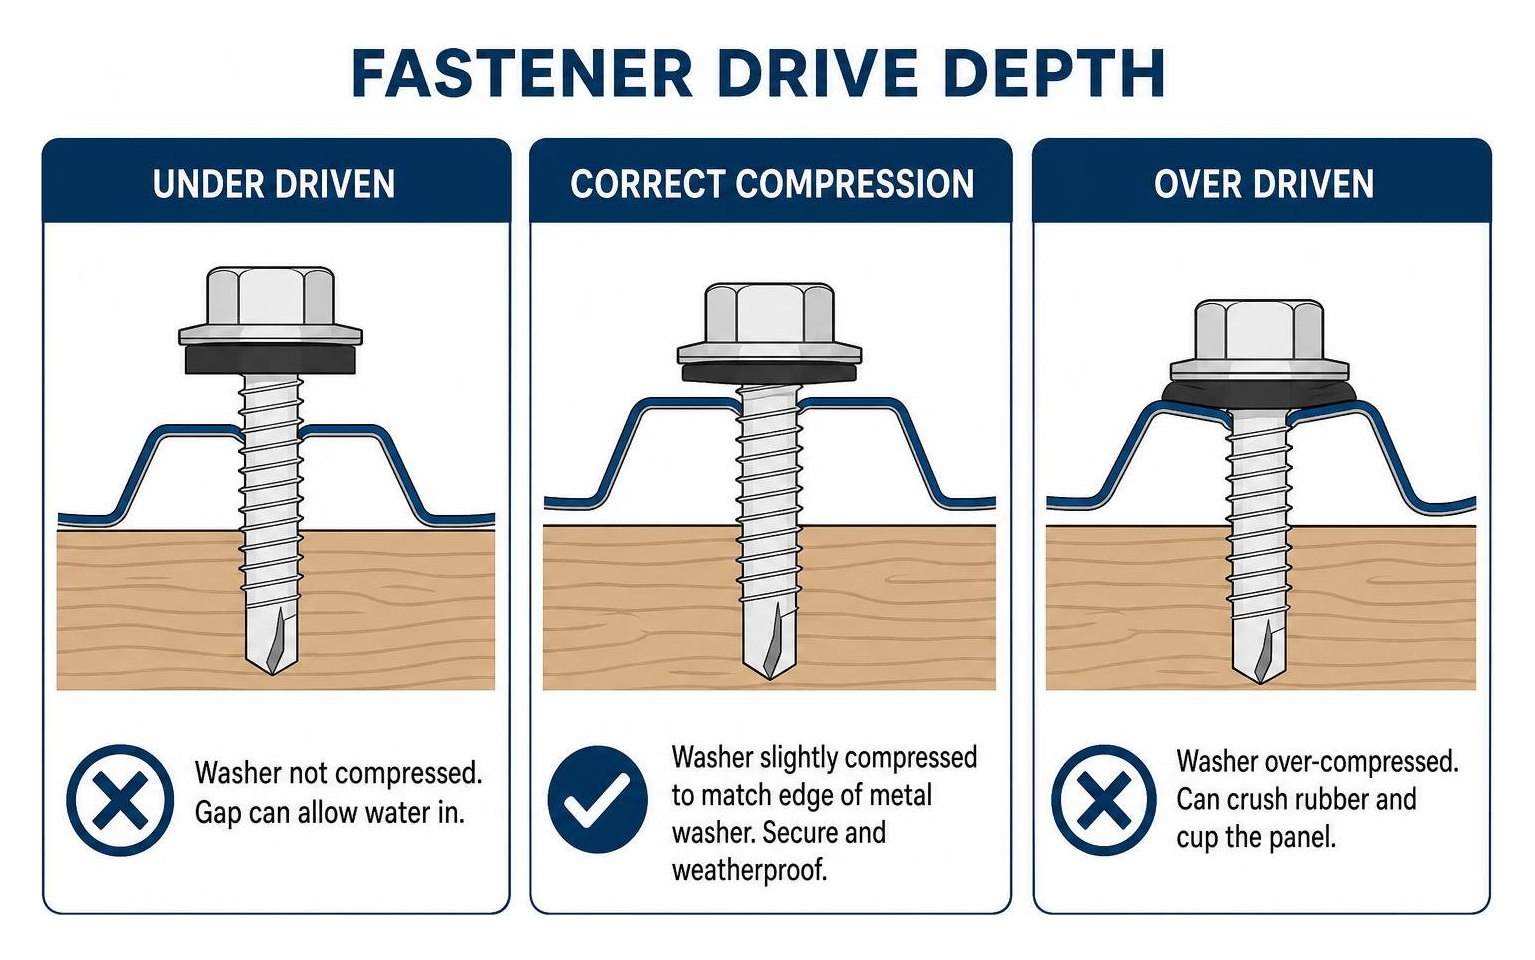
- Torque control: Drive screws strictly perpendicular (at a 90-degree angle) to the roof deck. Tighten each fastener until the EPDM rubber washer expands slightly to match the edge of the metal washer cap. Avoid overtightening, which crushes the rubber and cups the panel, and avoid under-tightening, which leaves a gap for water to enter.
Flashing, Ridge Caps, and Weatherproofing Accessories
Flashing components redirect water away from roof joints, walls, and transitions, keeping moisture from penetrating the building envelope. Every exposed edge, change in pitch, and ridge line requires pre-bent metal trims installed in the proper order.
Eave, Gable, Rake, and Transition Flashing Details
Trim installation begins along the bottom perimeter before panels are laid down. Install eave trim directly over the underlayment, fastening it with wafer-head screws every 5 feet on center. This provides a clean drip edge that directs runoff cleanly into properly sized gutters without rolling down the wooden fascia board.
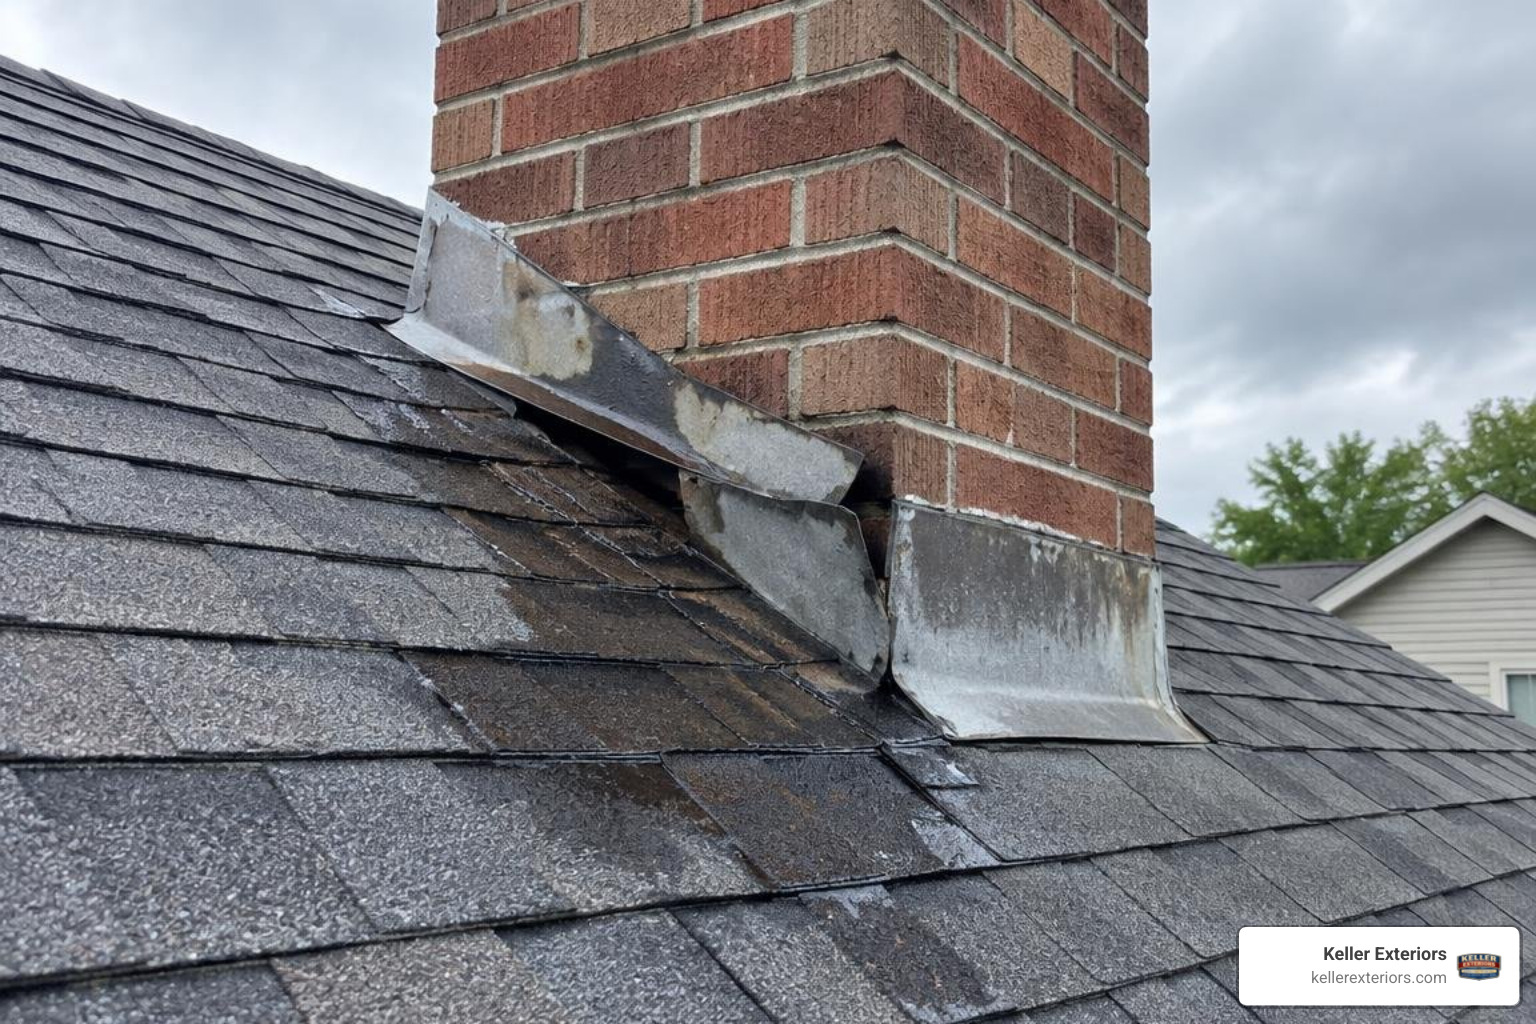
Along the roof edges, fit rake and gable trims over the outer panel ribs. Fasten gable trim through the top of the outer corrugation into the fascia at 12-inch intervals. Where the roof meets an exterior vertical wall, apply sidewall or endwall flashing with butyl mastic tape along the bottom flange, counter-flashing the upper lip into the wall’s moisture barrier or siding. All custom trims should feature hemmed edges, which add structural stiffness, eliminate razor-sharp metal borders, and prevent water from siphoning upward.
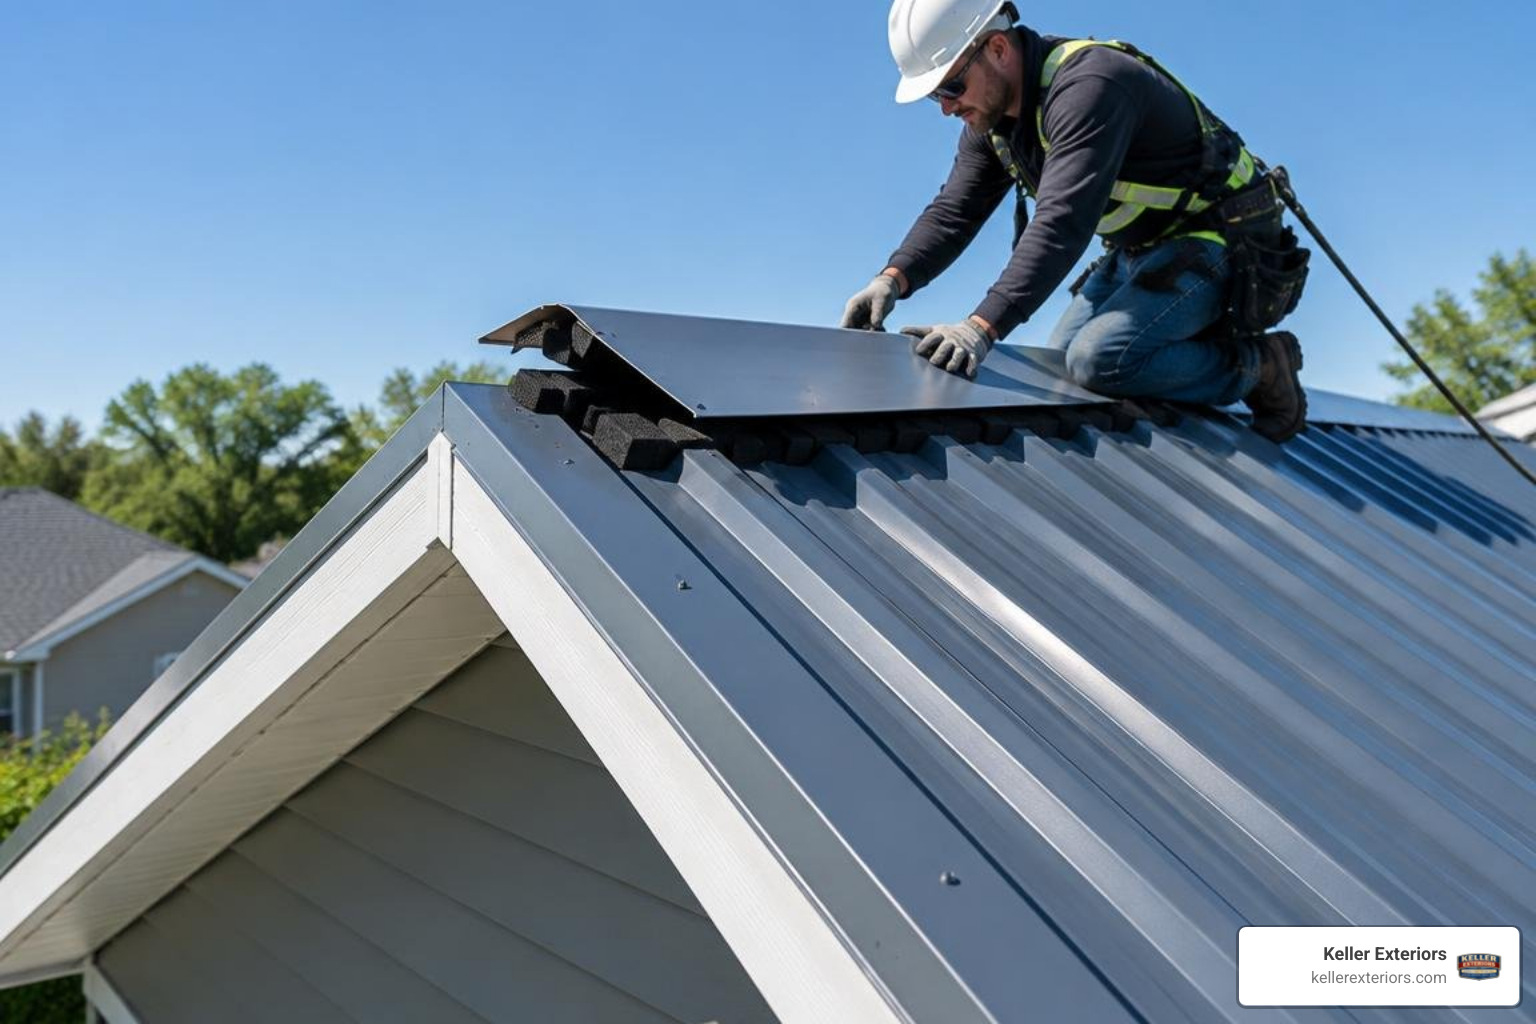
Ridge Roll, Closures, and Roof Drainage Integration
The peak of the roof requires continuous weather protection that allows attic air to escape while blocking rain and insects. Fit solid or vented foam closure strips matching the 7/8 inch corrugated wave profile along the top edge of the panels, setting them into a continuous bed of butyl tape. Place the ridge cap centered over the peak, overlapping individual ridge sections by at least 8 inches (200 mm), and fasten through the crest of every other panel rib into the ridge purlin.
At the eaves, secure properly sized gutters to handle heavy runoff. Completing a professional gutter installation prevents high-volume water shedding from eroding your landscaping, washing out foundation soils, or damaging basement walls. In regions subject to severe weather, pairing corrugated metal with durable drainage accessories ensures long-term protection against storm damage.
Frequently Asked Questions About Corrugated Roofing Installation
Can corrugated metal panels be installed directly over existing shingles?
Yes, corrugated panels can be retrofitted over asphalt shingles by installing a grid of 1×4-inch or 2×4-inch wood purlins across the old roof. This creates a flat, ventilated air gap, avoids the mess of a tear-off, and complies with building codes as long as the underlying roof structure can support the weight.
Where should screws be placed on corrugated panels: crest or valley?
For metal panels fastened over solid wood decking, screws should be driven into the troughs (valleys) next to the ribs for maximum holding strength. When fastening translucent plastic panels or attaching metal sheets to open purlins, screws are driven through the crests with appropriate support spacers.
How do you prevent leaks and thermal expansion damage in corrugated roofs?
Prevent leaks by using high-grade butyl mastic tape on all overlaps, driving fasteners to the correct depth without crushing the EPDM washers, and pre-drilling slightly oversized holes on plastic or long metal sheets to allow for natural thermal expansion.
What is the absolute minimum slope for installing corrugated metal roofing?
The minimum slope is 1:12 (roughly a 5-degree pitch), but roofs with pitches below 3:12 require solid plywood or OSB decking, double-sealed side laps, and stitch screws every 12 inches along the overlaps to prevent water back-up.
What is the recommended overlap for corrugated metal sheets?
Side laps should overlap by at least one full corrugation wave on steep roofs, and two full waves on low-pitch roofs. End laps where upper sheets meet lower sheets must overlap by 4 to 12 inches depending on the roof slope.
How do you safely walk on corrugated roofing during installation?
Never step on a single, unsecured panel. When walking across a fully fastened corrugated roof, wear soft, rubber-soled shoes and place your feet directly over the purlins or solid decking in the valleys of the panels rather than stepping on the raised ribs.
How often do exposed-fastener screws need maintenance or replacement?
Exposed-fastener screws should be inspected every 5 to 7 years. Over time, UV rays and thermal movement can cause EPDM rubber washers to dry out or loosen, requiring occasional screw replacement to maintain a watertight seal.
Can you cut corrugated metal sheets with an angle grinder?
Do not use an angle grinder or abrasive cutoff disc. The extreme heat burns away the protective zinc Galvalume coating, leaving the cut edge bare and vulnerable to rapid rust, while throwing hot sparks that ruin the painted finish.
Why are foam closure strips necessary beneath ridge caps and eave trims?
Foam closure strips match the undulating profile of the corrugated panels, closing the gaps between the flat trim and the wavy metal. This keeps driving rain, snow, blowing debris, insects, and nesting birds from entering the roof assembly.
How should corrugated metal sheets be stored before installation?
Store panels indoors or elevate them at least 12 inches off the ground on dry pallets. Slant the stack slightly so any condensation drains away, and cover them loosely with a waterproof tarp to ensure continuous airflow.
Choosing the Right Metal Roofing Solution for Your Property
Installing a corrugated metal roof requires attention to detail at every stage, from verifying the slope and laying underlayment to aligning panels and driving fasteners correctly. While small sheds and patio covers make manageable weekend DIY projects, installing a complete roof system on a home or commercial building demands specialized tools, safety gear, and experienced craftsmanship. If you discover structural rot in your decking or encounter complex valleys, working with seasoned professionals helps protect your building envelope against severe weather.
Our team at Keller Exteriors delivers durable exterior solutions backed by more than two decades of hands-on field experience. Whether you are upgrading your home with modern standing seam panels or planning an exposed-fastener project in Tulsa, OK, Broken Arrow, OK, Owasso, OK, or Jenks, OK, we provide high-quality workmanship from start to finish. Schedule your free roof inspection and estimate with Keller Exteriors today to discuss our complete roofing services for your property.