What Every Homeowner Should Know Before Inspecting Their Vinyl Siding
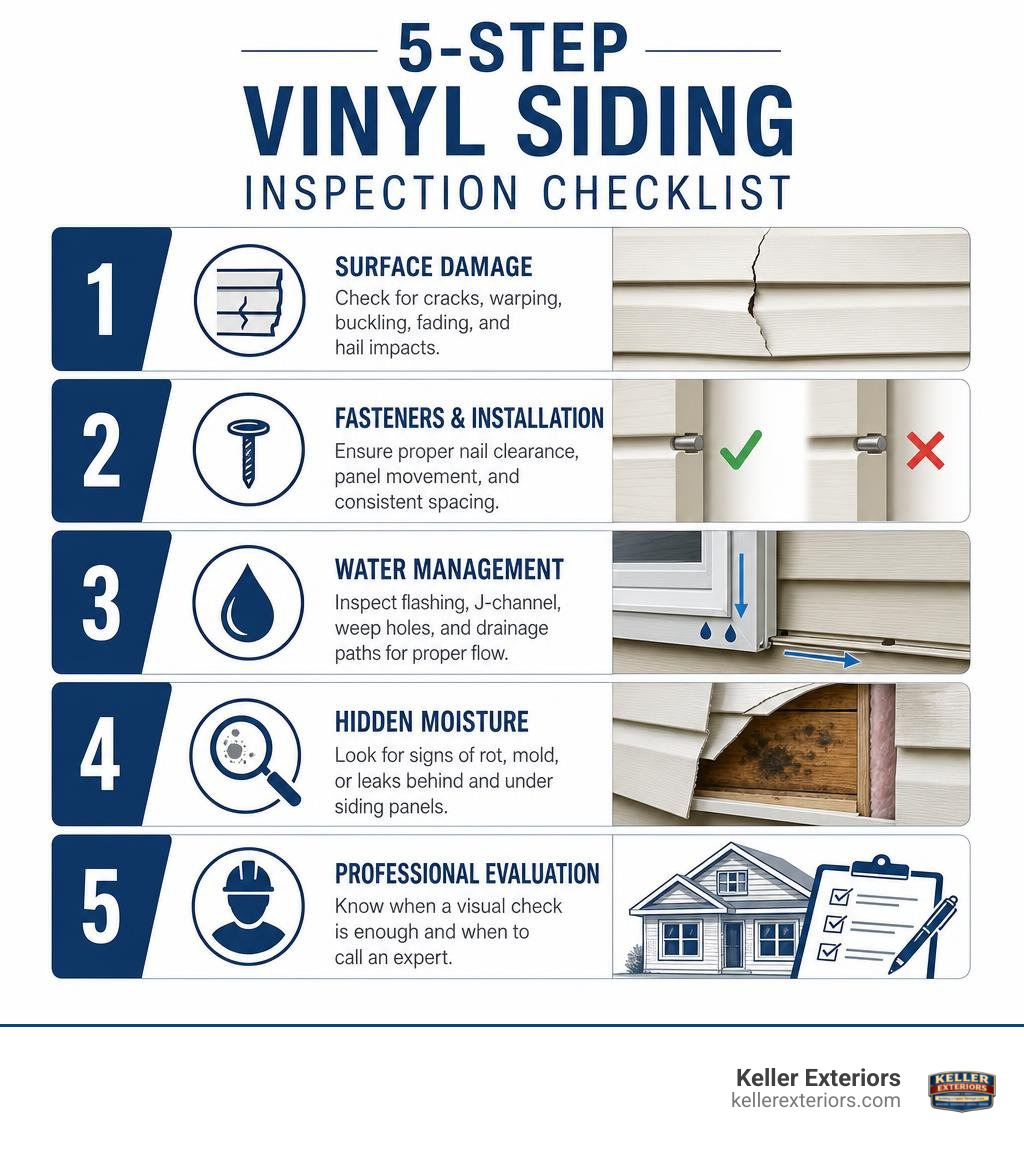
A vinyl siding inspection checklist gives you a clear, step-by-step way to catch problems before they become expensive repairs. Here is a quick overview of what a thorough inspection covers:
- Visible surface damage – cracks, warping, buckling, fading, and hail impacts
- Fastener and installation details – proper nail clearance, panel movement, and spacing
- Water management systems – flashing, J-channel, weep holes, and drainage paths
- Hidden moisture and biological growth – rot, mold, and concealed leaks behind panels
- Professional vs. DIY scope – when a visual check is enough and when to call an expert
Vinyl siding is the most common exterior cladding in the United States, covering billions of square feet of exterior walls on new and remodeled homes alike. It has earned that position for good reasons: low maintenance, durability, and a lifespan of 20 to 40 years when installed and cared for correctly. But no siding lasts that long without regular attention. Small problems like a loose panel, a cracked seam, or a missing piece of flashing can quietly let water into your walls for months before you notice anything wrong inside.
For homeowners in the Tulsa area, the stakes are even higher. Oklahoma’s intense hail seasons, summer heat, and freeze-thaw cycles put real stress on exterior cladding every single year. Catching a problem in its early stages is almost always faster, simpler, and far less disruptive than dealing with the rot, mold, or structural damage that follows a neglected leak.
I’m Robert Keller, owner of Keller Exteriors, and with more than 25 years of hands-on experience in exterior home improvement, I have walked through a vinyl siding inspection checklist on hundreds of homes across the region. In the tips below, I will walk you through exactly what to look for, how to look for it, and when it makes sense to bring in a professional.
Why a Vinyl Siding Inspection Checklist Matters for Your Home
Siding acts as the raincoat for your home. While it provides excellent curb appeal, its primary job is to shed water and protect the wood framing underneath. Because vinyl is incredibly durable, many homeowners assume it requires zero attention. However, vinyl siding is designed as a water-resistant barrier, not a completely waterproof seal.
When wind-driven rain or severe storms strike communities like Broken Arrow, OK or Owasso, OK, water can find its way behind the panels. A reliable weather-resistive barrier, or housewrap, must exist underneath to drain this water away safely. If your siding has gaps, cracks, or improper installation details, water can get trapped, leading to wood rot, mold growth, and compromised indoor air quality.
Using a structured checklist ensures you do not overlook the small details. Routine visual checks help maintain your home’s energy efficiency by ensuring wind and moisture do not penetrate the thermal envelope. Catching a loose panel today prevents a massive section of siding from blowing off during the next spring storm. For more details on what industry professionals look for, you can read the Vinyl Siding Inspection – InterNACHI® guidelines.
Tip 1: Scan for Visible Surface Damage and Material Wear
The first phase of any inspection is a thorough walk around the perimeter of your home. You want to look closely at the physical condition of the vinyl panels from different angles.
Identifying Common Siding Defects
Start by looking for physical cracks, chips, and holes. Older vinyl siding becomes brittle over time due to UV exposure from the hot Oklahoma sun. This makes it highly vulnerable to impact damage from lawnmowers, stray rocks, weed trimmers, or hail.
Warping and buckling are other common issues. If you notice panels that look wavy or distorted, it is often a sign of two things: extreme heat exposure (such as a backyard grill placed too close to the house) or improper installation that prevents the vinyl from expanding and contracting. Fading and chalky residue on the surface indicate that the protective outer layer of the vinyl has degraded under intense sunlight, which means the material is nearing the end of its useful lifespan.
Comparing Vinyl to Other Siding Materials
To understand how vinyl behaves, it helps to compare it to other popular options. Vinyl remains the most popular choice because it does not rot or require painting, but it is more susceptible to impact cracking and thermal movement than fiber cement.
| Siding Material | Average Lifespan | Primary Vulnerability | Maintenance Level |
|---|---|---|---|
| Vinyl Siding | 20 to 40 Years | Impact cracking, warping from heat | Very Low (Occasional wash) |
| Fiber Cement | 30 to 50 Years | Heavy weight, requires paint over time | Low to Medium |
| Wood Siding | 20 to 30 Years | Rot, insect damage, peeling paint | High (Frequent painting/staining) |
| Stucco | 30 to 50 Years | Cracking, moisture trapping | Medium |
If you are considering upgrading your home’s exterior, exploring low-maintenance siding options can help you choose the best fit for your budget and maintenance goals.
Tip 2: Verify Proper Installation and Fastener Clearance
Many siding failures have nothing to do with the quality of the vinyl itself. Instead, they stem from poor installation practices. Vinyl expands and contracts significantly as temperatures shift from freezing winter nights to scorching summer days in Jenks, OK and Bixby, OK.
The Dime Rule for Siding Fasteners
Vinyl siding must never be nailed tightly to the wall. It needs to “float” on the fasteners. When our team inspects a home, we look at the nailing hem. Siding installers should leave a 1/32-inch gap (roughly the thickness of a dime) between the nail head and the siding panel.
Fasteners must be driven straight and level, directly into the center of the pre-punched nailing slots. If the nails are driven too tight, or if they are bent, the siding cannot slide back and forth. This restriction causes the panels to buckle, warp, and crack as the temperature changes. A quick way to test this during a DIY check is to gently grab a siding panel and try to slide it horizontally. It should move easily about half an inch in either direction.
Essential Clearances and Trim Details
Your vinyl siding inspection checklist should also verify that the panels have room to move at the ends. Installers must leave at least a 1/4-inch clearance gap where the siding meets receiving channels, such as J-channels around windows, doors, and corner posts. If you are inspecting your home during cold weather (below 40 degrees Fahrenheit), this gap should be expanded to 3/8 of an inch to allow for summer expansion.
Additionally, pay attention to ground clearance. Siding should never be buried in the dirt. Keeping the bottom edge of the siding at least 6 inches above the soil prevents pests, moisture, and rot from creeping into your home’s foundation and framing.
Tip 3: Evaluate Water Management and Flashing Systems
Siding cannot keep water out on its own. It relies on a system of flashings, J-channels, and starter strips to direct water down and away from the house structure.
Inspecting Windows, Doors, and Roofline Transitions
The areas where different building elements meet are the most common leak sites. Check the J-channels around all windows and doors. The J-channel must be cut and tabbed correctly at the corners to act as a mini-gutter, channeling water around the window opening rather than letting it seep behind the trim.
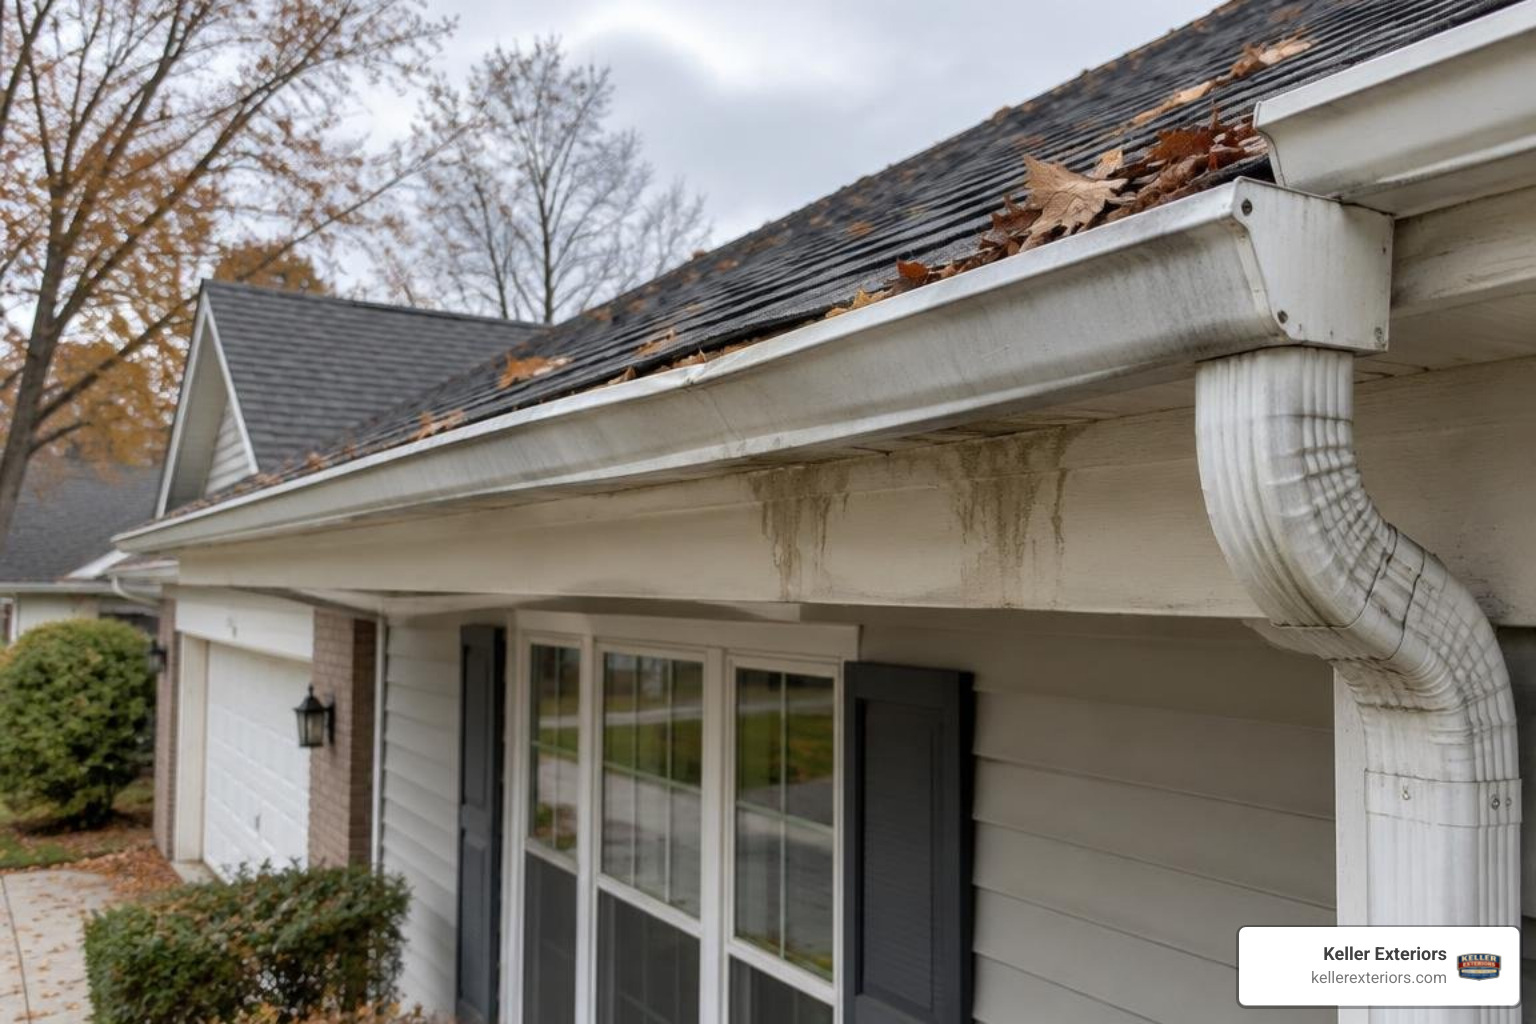
At the roofline, look for kickout flashing. This specialized flashing is installed where a roof edge meets a vertical siding wall. It diverts water away from the wall and directly into the gutter system. Without kickout flashing, water will run down the side of your house, eventually rot out the sheathing behind the siding, and potentially cause interior wall damage.
Checking Weep Holes and Drainage Paths
Vinyl siding panels have small holes punched into their bottom edges. These are called weep holes, and they serve a vital purpose: they allow any water that gets behind the siding to escape, while also providing ventilation to dry out the wall cavity.
During your inspection, make sure these weep holes are clear of dirt, paint, or caulking. A common DIY mistake is caulking the bottom seams of vinyl siding to “seal” it. This actually traps moisture inside the wall, accelerating wood rot and mold growth.
Tip 4: Probe for Hidden Moisture and Biological Growth
Because vinyl siding is made of plastic, it will not rot or show water damage on its surface. This means serious structural decay can occur behind the panels without showing any exterior signs.
Tools for Detecting Concealed Siding Damage
Professional inspectors use specialized tools to find hidden water issues. Non-invasive moisture meters can detect elevated moisture levels through the siding panels. Infrared thermal imaging cameras can reveal temperature differences caused by damp insulation or wet wood sheathing behind the vinyl.
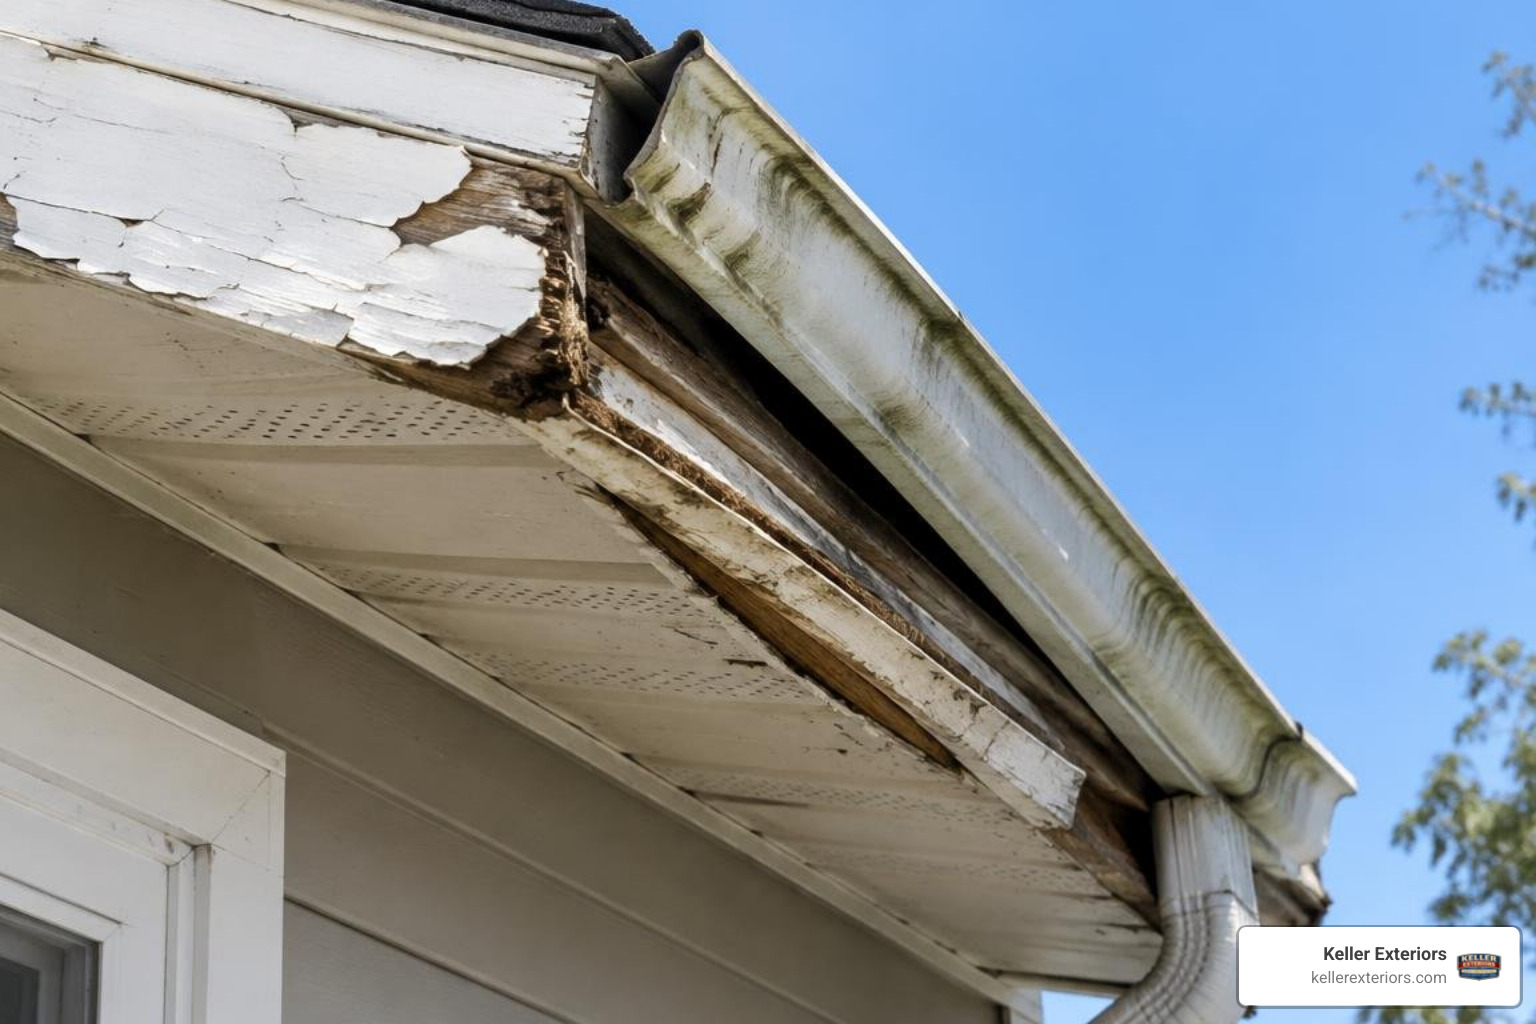
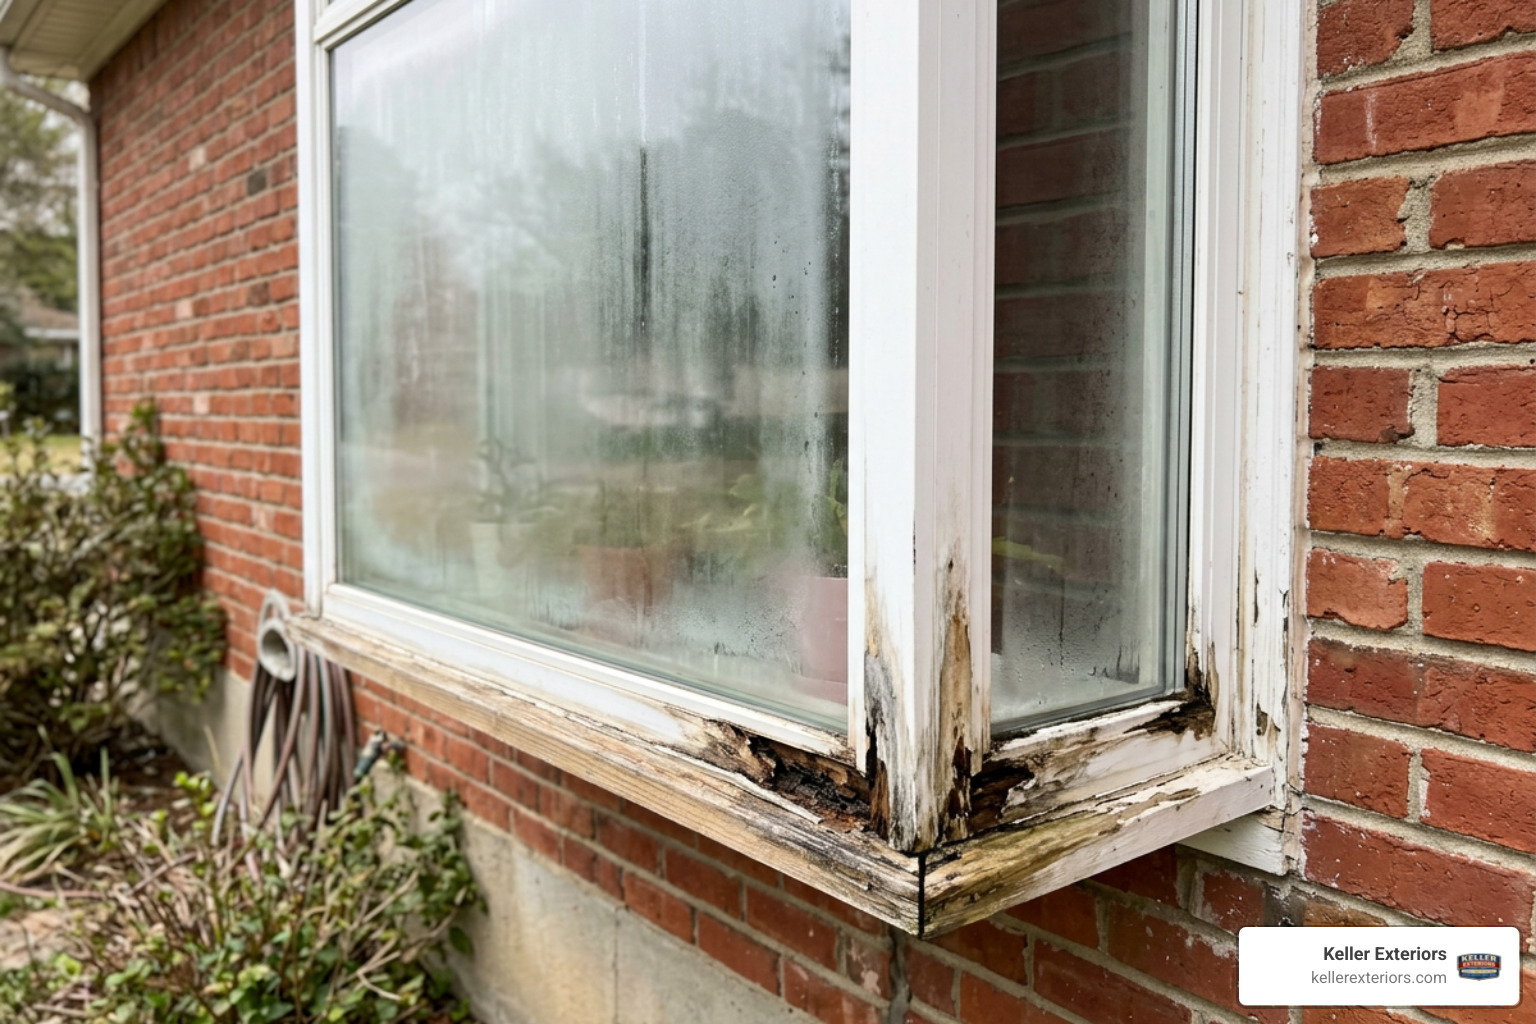
If you suspect an issue during a DIY inspection, you can use a basic probing tool, like a flathead screwdriver, to gently press along the bottom edges of wood trim, window sills, and sheathing where the siding meets the foundation. If the wood feels soft, spongy, or gives under light pressure, water has already penetrated the barrier and caused rot.
Spotting Interior Signs of Exterior Leaks
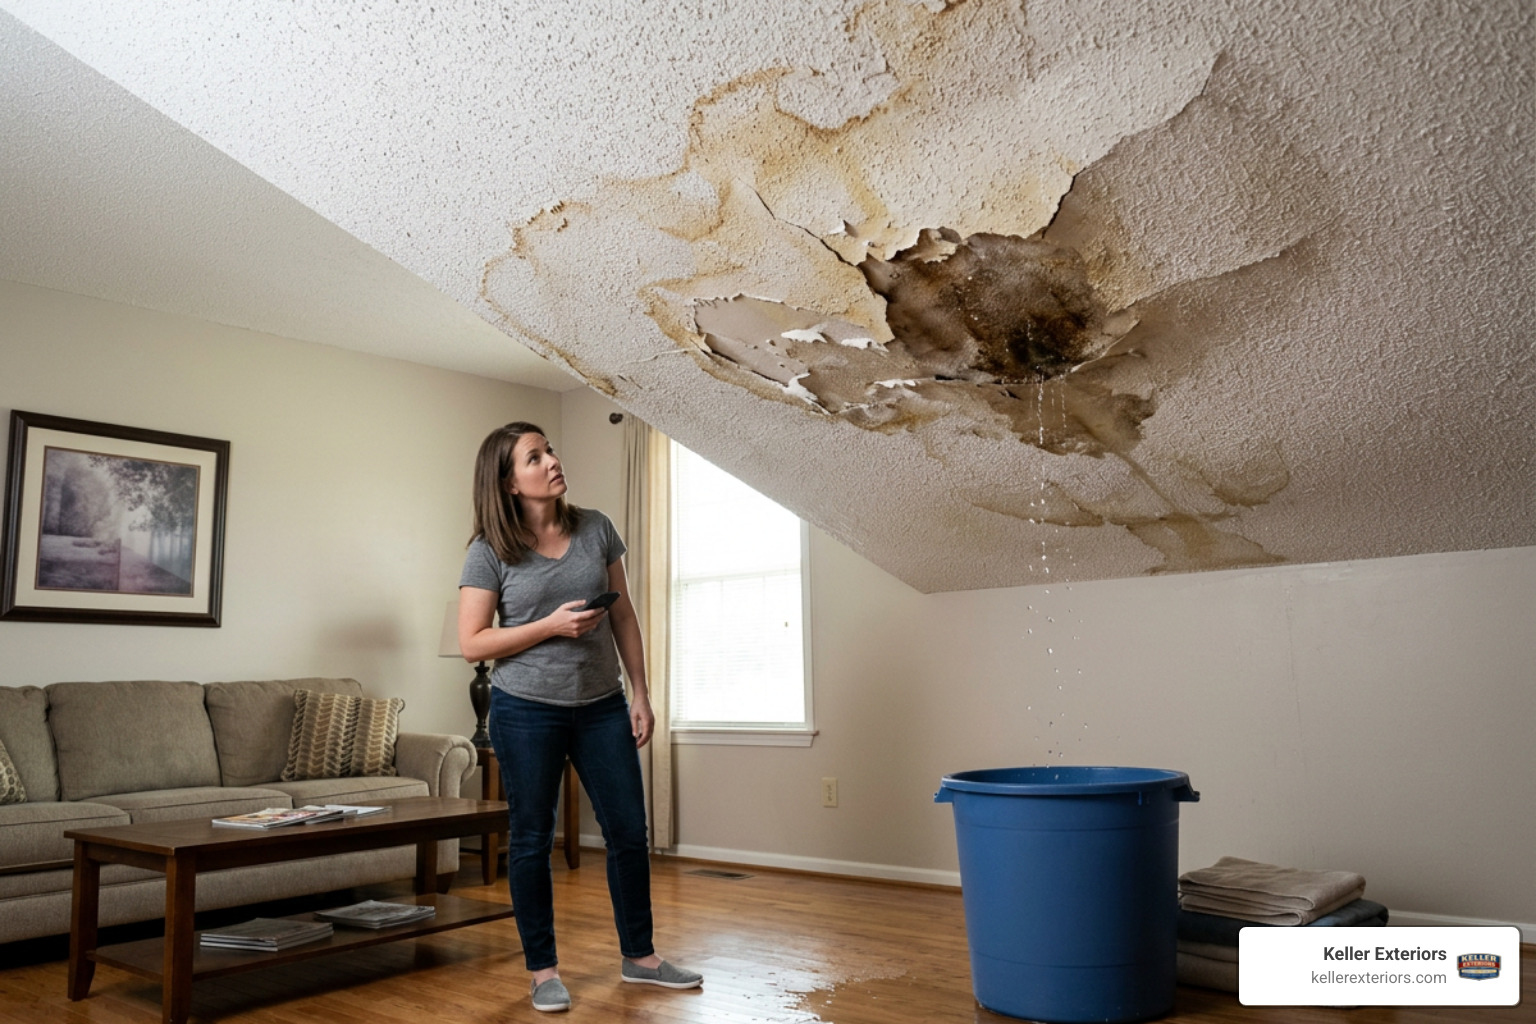
Sometimes, the best clues of siding failure are found inside your home. Take a walk through your interior rooms, particularly in areas like Sand Springs, OK or Claremore, OK where heavy storms hit. Look for:
- Water stains or discoloration on drywall, especially around window frames and exterior walls
- Peeling paint or bubbling wallpaper
- Musty odors that indicate mold or mildew growth inside the wall cavities
- Unexplained drafts or localized cold spots during the winter months
If you notice any of these signs, it is important to address them quickly to protect your home’s structural integrity.
Tip 5: Know When to Use a Professional Vinyl Siding Inspection Checklist
While a homeowner can easily spot cracked panels or loose trim, a professional inspection provides a much deeper level of protection.
How to Use a DIY Vinyl Siding Inspection Checklist
If you choose to perform your own routine check, focus on safety first. Walk the perimeter of your home on a clear day with good lighting. Use a pair of binoculars to inspect high gable ends and rooflines without climbing high ladders. Document your findings with photos, noting any areas with cracks, loose panels, or missing caulking around window trim.
Key Items on a Professional Vinyl Siding Inspection Checklist
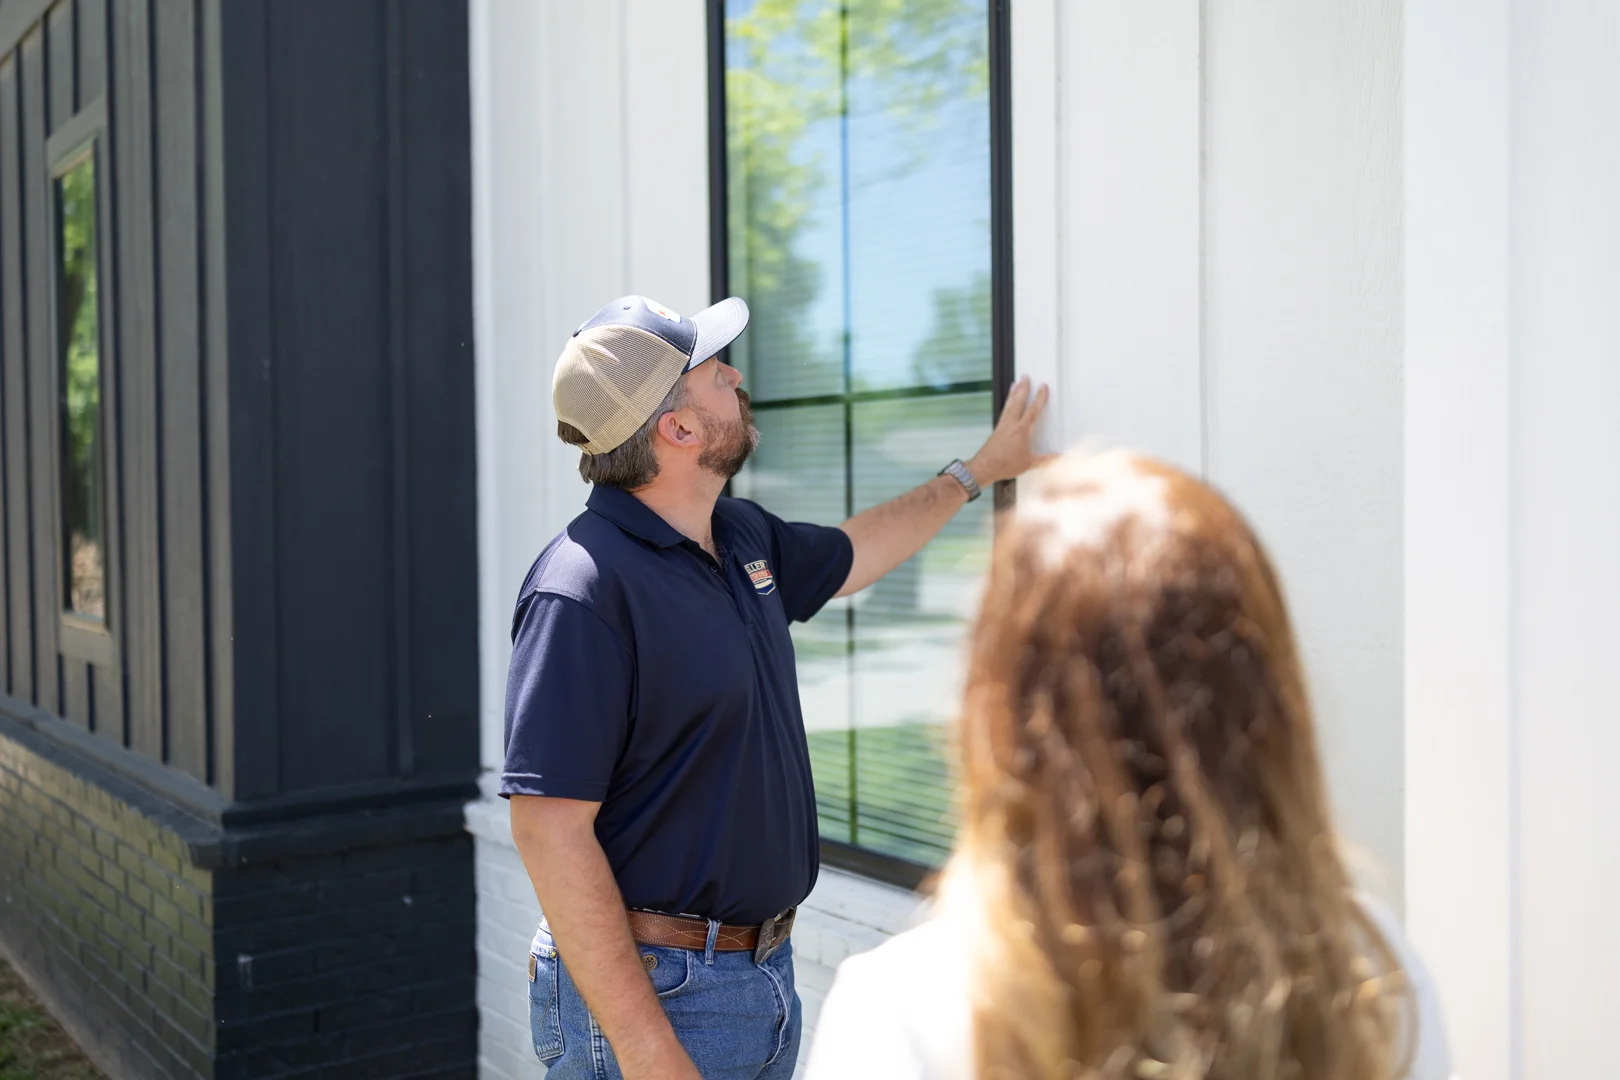
When our team at Keller Exteriors performs an inspection, we look at the entire building envelope. We inspect the integration of the housewrap, verify that all flashing details comply with local building codes, and estimate the remaining service life of your siding system.
If you are dealing with storm damage, our detailed professional reports can be used to provide clear photographic evidence for insurance claims. We help homeowners in Bartlesville, OK, Collinsville, OK, and surrounding areas navigate the repair process with peace of mind. If your current siding is worn out, investing in improving curb appeal with new siding can protect your home while dramatically increasing its value.
Frequently Asked Questions About Vinyl Siding Inspections
How often should I perform a vinyl siding inspection?
You should inspect your siding at least twice a year, ideally in the spring and fall. It is also wise to do a quick walk-around after any major storm with high winds or hail to check for impact cracks or loose panels.
What are the most common signs of vinyl siding failure?
The most common signs include warped or buckled panels, deep cracks, missing pieces, loose sections that rattle in the wind, and mold or rot appearing on the trim boards or interior walls.
Can I use a pressure washer to clean my vinyl siding?
We generally advise against high-pressure washing. High pressure can force water upward and behind the lap joints of the siding, soaking the wood sheathing and insulation. Instead, use a soft-bristle brush, mild detergent, and a standard garden hose.
Why is my vinyl siding buckling or warping?
Buckling usually happens because the siding was nailed too tightly to the wall or because there is not enough clearance at the ends of the panels. When the vinyl tries to expand in the summer heat, it has nowhere to go, causing it to bend and warp.
How much ground clearance does vinyl siding require?
Vinyl siding should have a minimum of 6 inches of clearance from the soil. If you have concrete patios or walkways, a clearance of 1 to 2 inches is acceptable, provided water drains away from the home.
Is vinyl siding completely waterproof?
No, vinyl siding is designed as a rainscreen, not a waterproof barrier. It sheds the majority of water, but wind-driven rain can get behind it. The housewrap and flashing underneath do the final job of keeping your home dry.
What is the purpose of J-channel in vinyl siding?
J-channel is a trim piece used to receive the cut ends of siding panels. It hides the raw edges around windows, doors, and inside corners, while helping to channel water down the wall.
How do I know if there is water damage behind my siding?
Look for soft or spongy wood trim, mold growth along the bottom edge of the siding, musty smells inside the house, or water stains on your interior drywall.
What tools do I need for a DIY siding inspection?
You only need a few basic tools: a flashlight to check dark corners, binoculars for high areas, a camera or phone to document issues, and a flat tool like a putty knife to gently check panel movement.
When should I replace my vinyl siding instead of repairing it?
If you only have a few cracked or loose panels, a simple repair is highly cost-effective. However, if the damage is widespread, if the panels are severely faded and brittle, or if you have systemic rot behind the siding, a full replacement is the smartest choice.
Protecting Your Home with Expert Siding Care
Regular maintenance and timely inspections are the keys to keeping your home safe from the elements. Whether you need a quick repair after a storm or are ready to upgrade your home’s exterior, working with an experienced local contractor ensures the job is done right.
If you are looking for a trusted team to evaluate your home’s exterior, Keller Exteriors is ready to help. Our team brings more than 20 years of experience to every project, serving homeowners across Tulsa, OK, Broken Arrow, OK, Owasso, OK, Jenks, OK, and the surrounding communities. Contact us today to schedule your professional siding services and protect your home for years to come.