Why Replace Siding on a House?
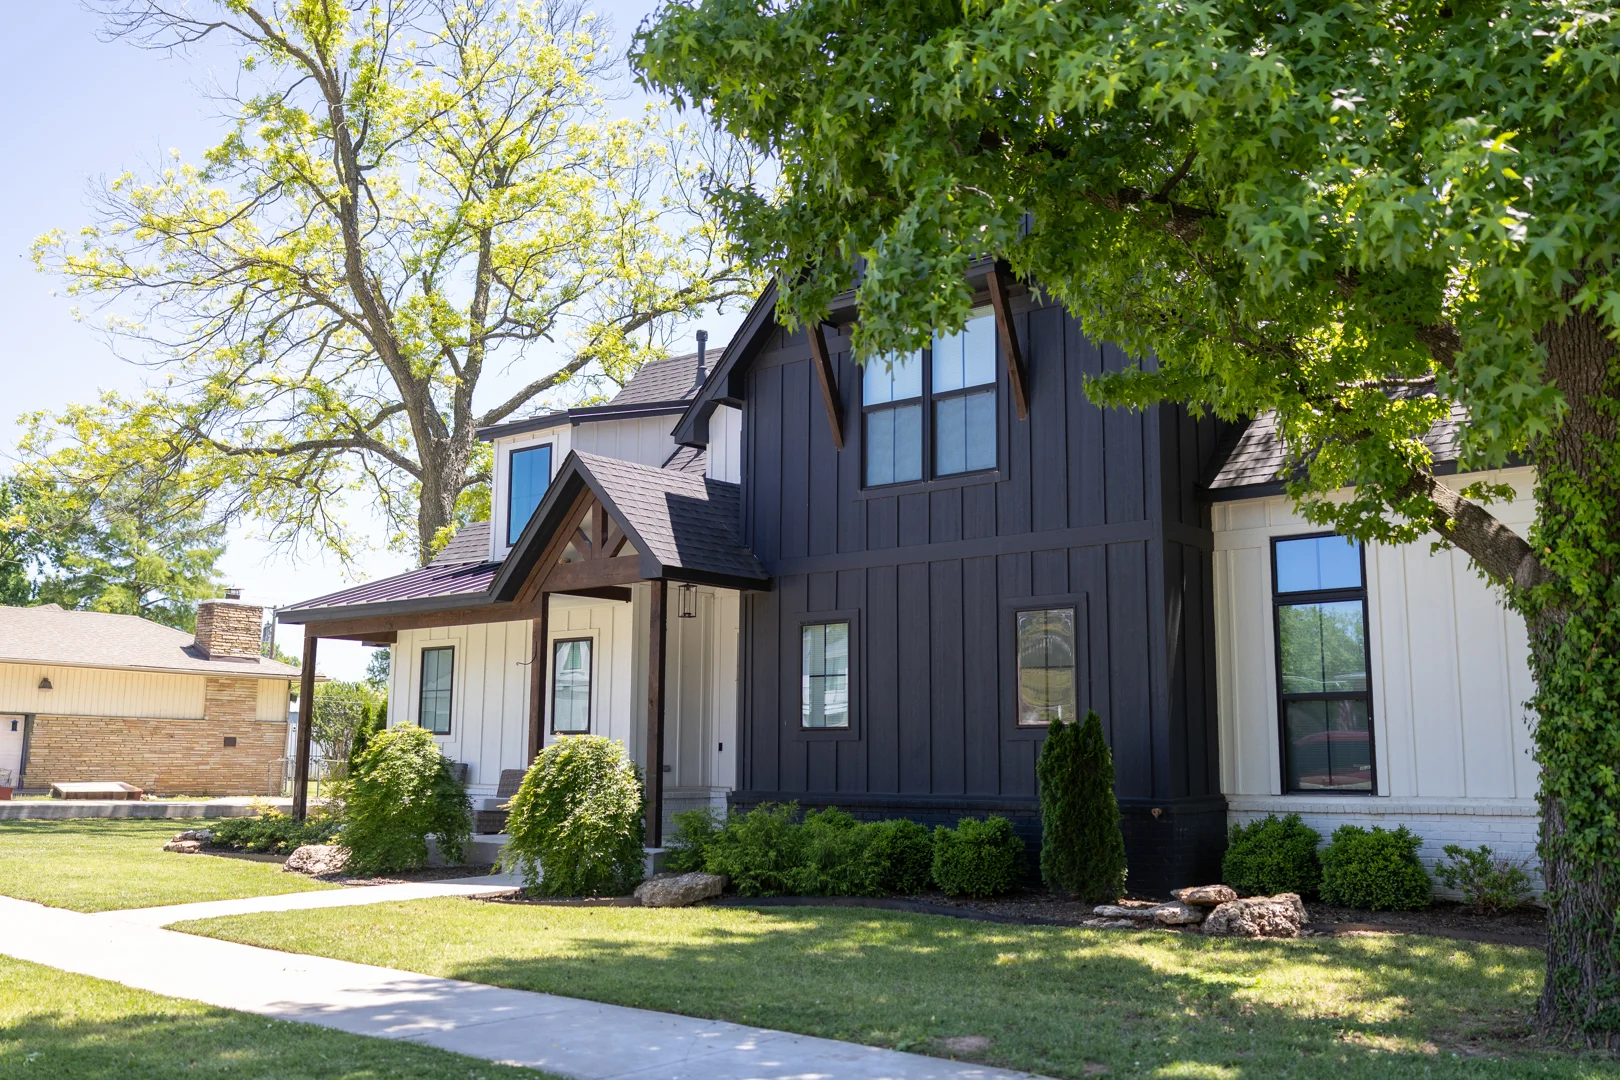
To replace siding on house exteriors is to do more than update curb appeal. New siding can help protect your walls from wind-driven rain, pests, drafts, and hidden moisture damage, while giving you a chance to improve the home’s look and energy performance.
Quick answer: Replace siding when damage is widespread, repairs keep returning, or water may have reached the wall behind it. A complete project usually includes:
- Inspecting the siding, sheathing, flashing, and house wrap.
- Choosing a material that fits your climate, maintenance goals, and style.
- Removing old siding so the crew can find and repair hidden damage.
- Installing a weather-resistant barrier, flashing, trim, and new siding.
- Completing a final inspection to confirm the exterior manages water correctly.
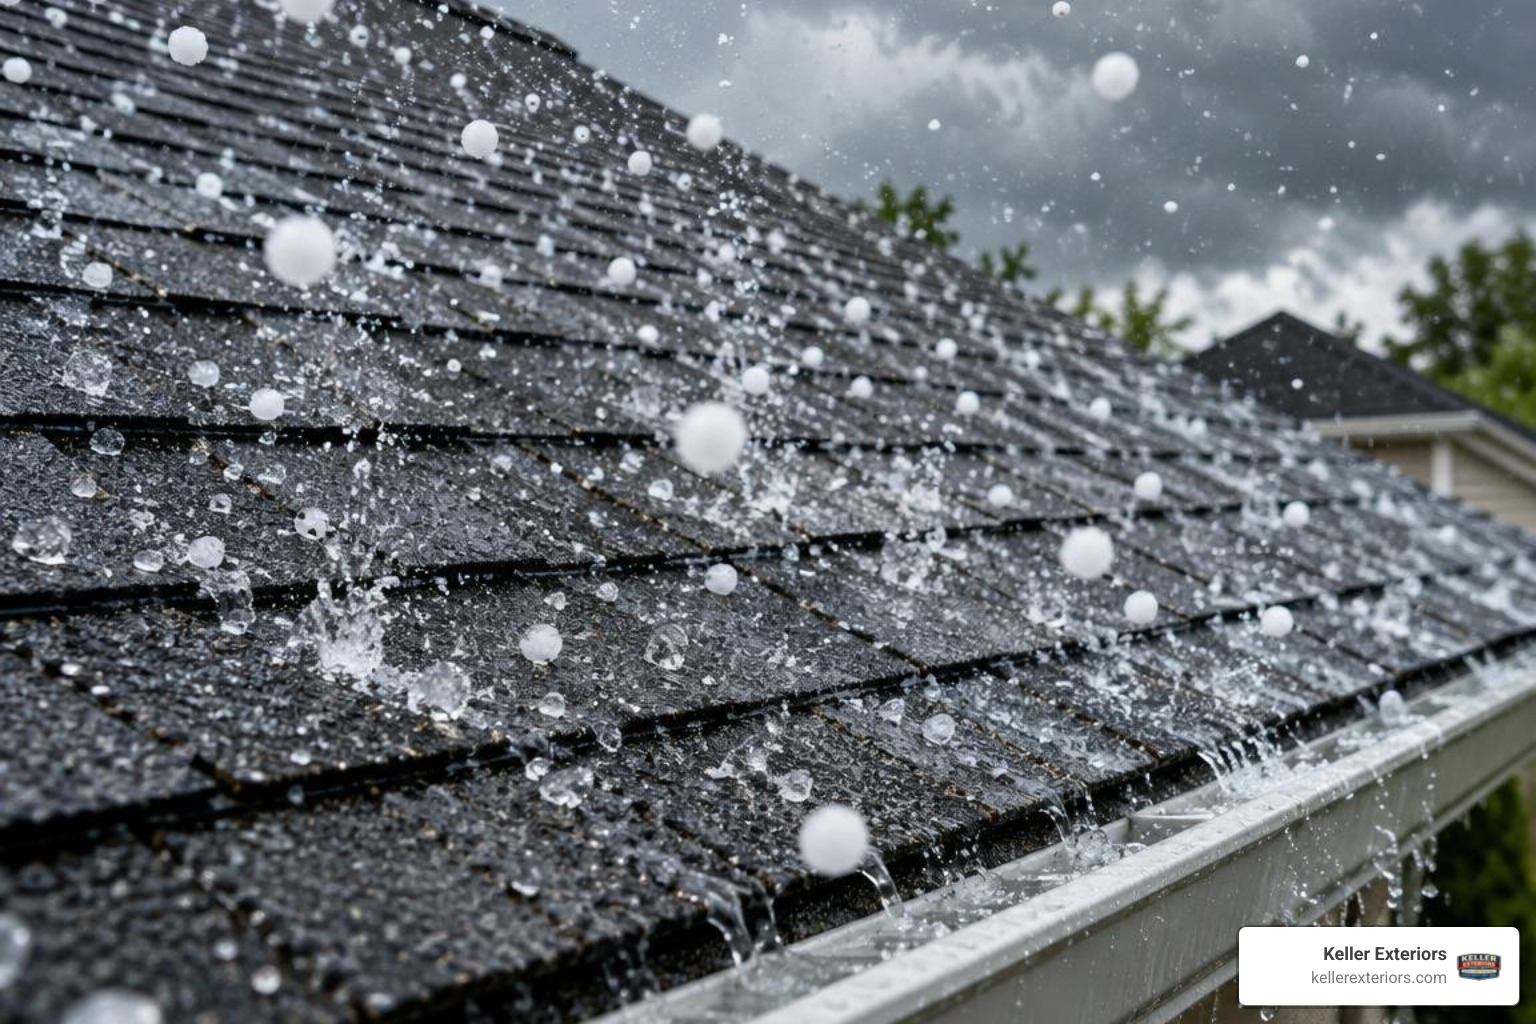
For Tulsa-area homes, hail, high winds, heat, and heavy rain can speed up siding failure. This guide explains how to spot trouble early, compare material options, understand the project process, decide between repair and replacement, and know when a professional installation makes more sense than DIY work.
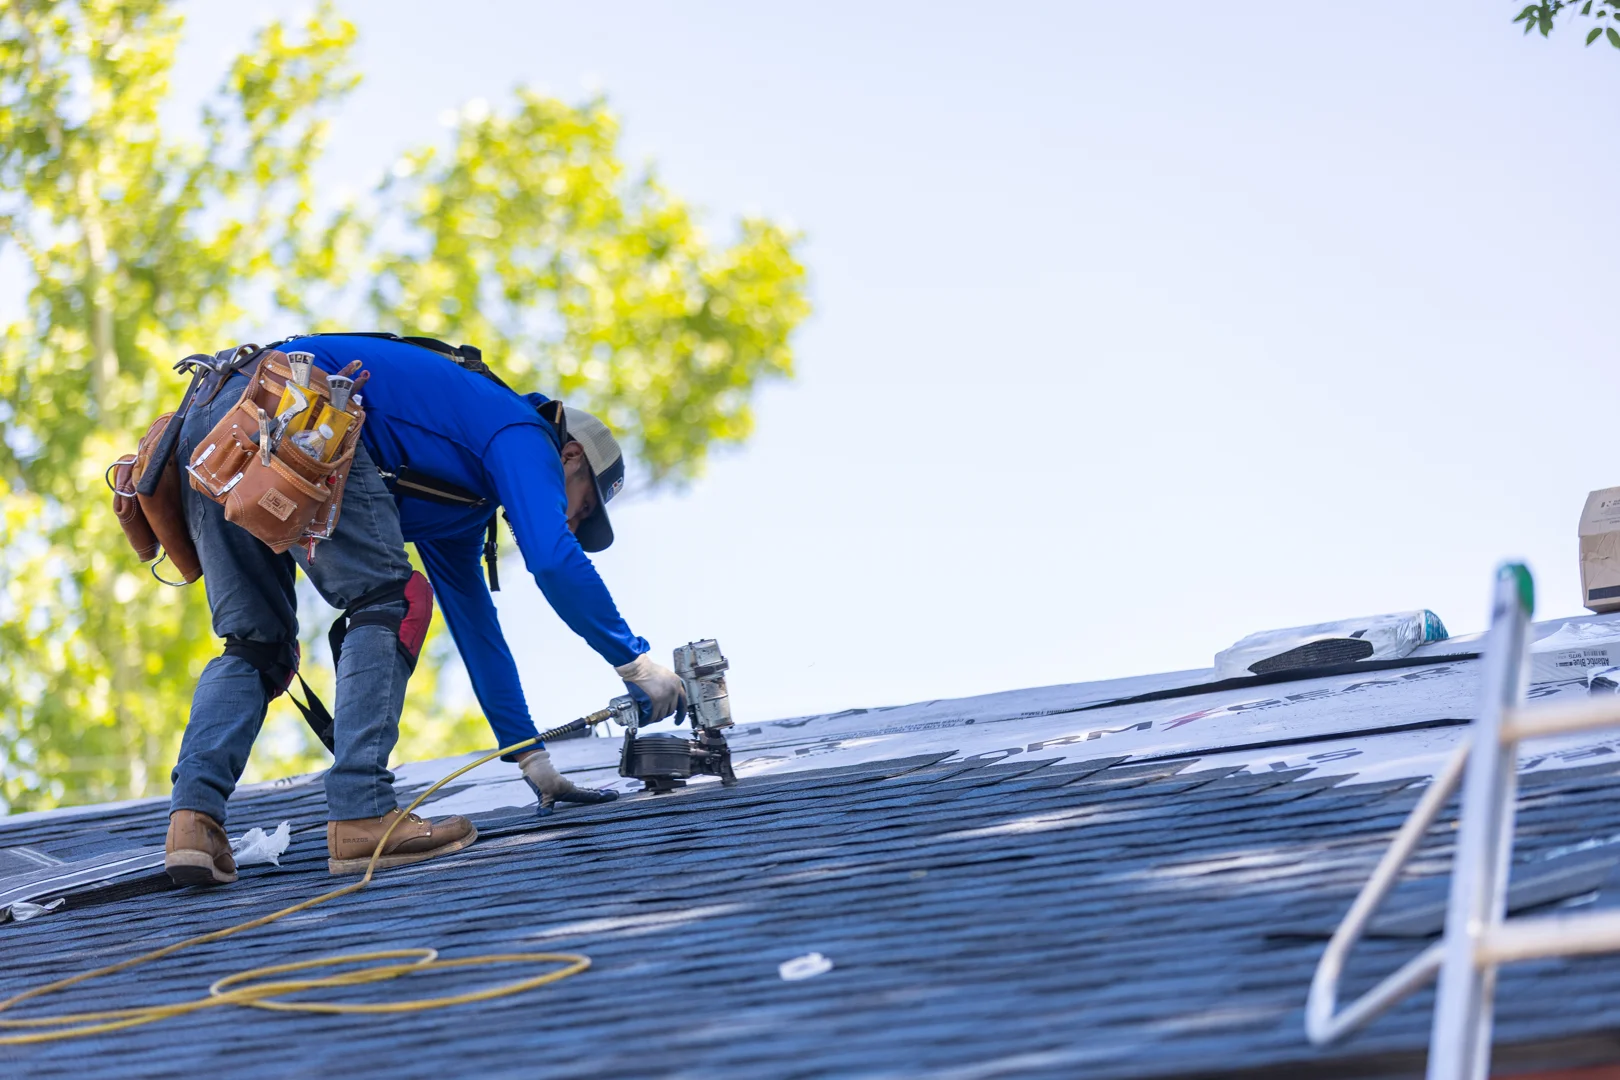
At Keller Exteriors, our team brings more than 25 years of hands-on experience in the exterior trades. We help homeowners replace siding on their house with the right scope and care, and we stay involved throughout the project, from jobsite visits to homeowner communication. The next sections cover practical details that help protect the home behind the siding.
When to Upgrade: Recognizing Signs of Siding Failure
Home exterior materials work continuously to shield your wall framing from weather. Over time, heat, freezing winter temperatures, severe hail, and high winds can break down finishes and loosen fasteners. A periodic visual inspection can help you catch small defects before water reaches the wall framing. If replacement becomes necessary, understanding insulated siding can help you compare material features, maintenance needs, and energy-performance goals without assuming it is the right choice for every home.
We recommend walking around your perimeter twice a year, especially after major storms in areas like Broken Arrow, OK and Owasso, OK. Look for warped panels, severe surface fading, wide cracks, or loose courses.
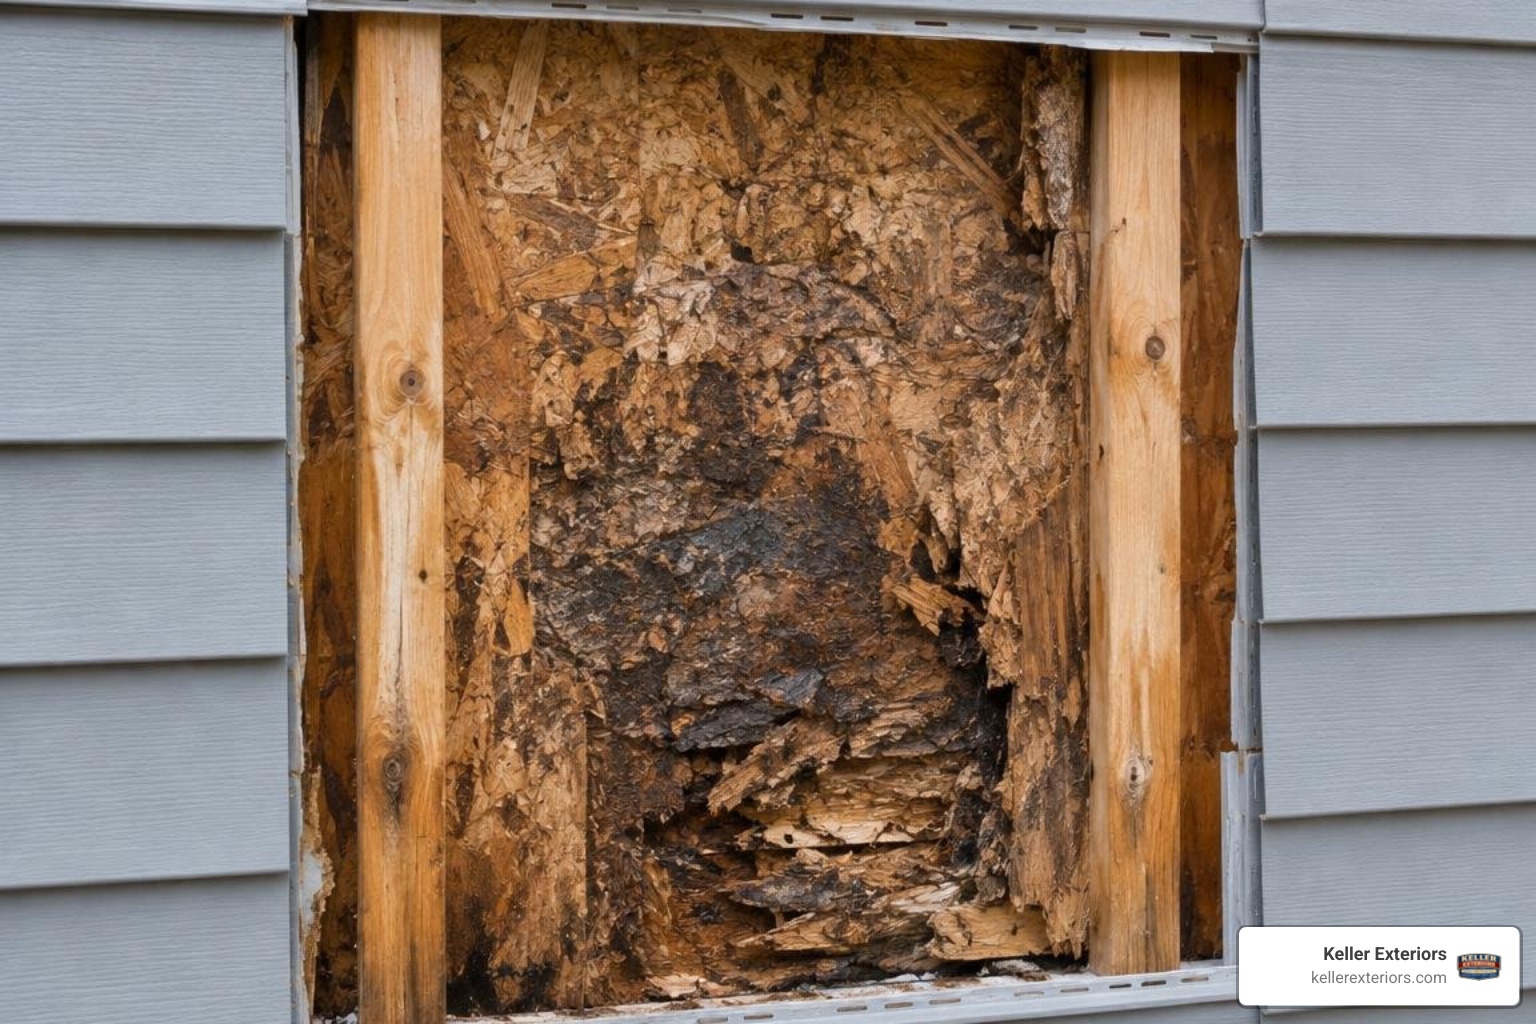
Hidden moisture damage poses a far greater risk than surface discoloration. When rain slips behind failing siding, it attacks the underlying sheathing and wood wall studs. Look for swollen trim, soft spots near ground level, damp insulation inside wall cavities, or indoor drywall staining. Water leaks inside wall assemblies also encourage mold growth and ruin heating and cooling efficiency.
A vinyl siding inspection checklist can help you spot early warning signs before rot spreads.
Key Indicators That Siding Needs Replacement
When exterior wall cladding reaches the end of its useful lifespan, physical and visual defects appear across multiple elevations. Keep an eye out for these clear indicators:
- Cracked, split, or warped panels: Broken boards or warped lap courses create open paths for wind-driven rain.
- Bubbling and blistering: Heat or trapped moisture creates raised bubbles on painted or vinyl surfaces.
- Persistent finish failure: Paint that peels, chalks, or flakes off shortly after repainting signals that the substrate no longer holds finish coatings.
- Pest infestations: Termites, carpenter ants, and woodpeckers target softened wood or hollow gaps behind loose siding.
- Mildew and rot: Soft, crumbling wood boards or persistent dark mildew stains along lower courses indicate long-term water retention.
Deciding Between Partial Repair and Full Replacement
Homeowners often wonder whether they should fix a single damaged wall or replace the entire exterior cladding. A solid rule of thumb is the 30 percent threshold. If damaged panels cover less than 30 percent of the home and the underlying weather barrier remains sound, localized section repairs are often cost-effective.
However, if damage spans multiple walls or if you discover rotten sheathing during inspection, full replacement is the smarter path. Patching old siding often leads to visible color mismatches because sun exposure fades existing boards over time.
Furthermore, replacing only surface panels without addressing degraded house wrap or improper window flashing leaves your home open to recurring leaks. Full replacement lets our team reset the entire moisture management system from the sheathing outward.
Comparing Siding Materials: Durability, Cost, and Maintenance
Choosing the right material when you replace house siding shapes your maintenance workload, energy performance, and home appearance for decades. Below is a comparative overview of common exterior siding materials.
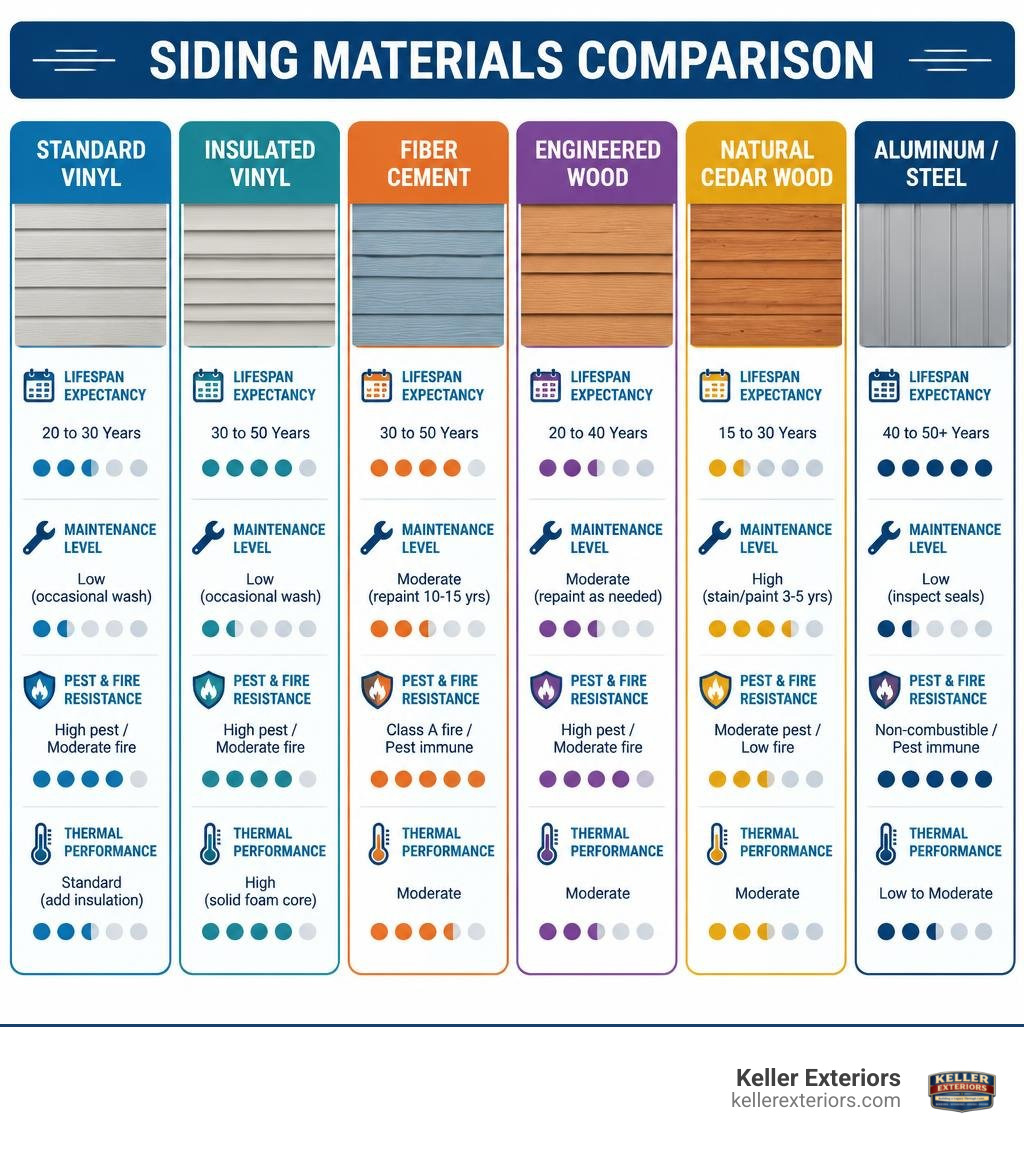
| Siding Material | Lifespan Expectancy | Maintenance Level | Pest & Fire Resistance | Thermal Performance |
|---|---|---|---|---|
| Standard Vinyl | 20 to 30 Years | Low (occasional wash) | High pest / Moderate fire | Standard (add insulation) |
| Insulated Vinyl | 30 to 50 Years | Low (occasional wash) | High pest / Moderate fire | High (solid foam core) |
| Fiber Cement | 30 to 50 Years | Moderate (repaint 10-15 yrs) | Class A fire / Pest immune | Moderate |
| Engineered Wood | 20 to 40 Years | Moderate (repaint as needed) | High pest / Moderate fire | Moderate |
| Natural Cedar Wood | 15 to 30 Years | High (stain/paint 3-5 yrs) | Moderate pest / Low fire | Moderate |
| Aluminum / Steel | 40 to 50+ Years | Low (inspect seals) | Non-combustible / Pest immune | Low to Moderate |
Vinyl and Insulated Vinyl Siding
Modern vinyl siding remains one of the most popular choices across Jenks, OK and Bixby, OK homes. Formulated from high-grade Polyvinyl Chloride (PVC) compounds and UV stabilizers, quality vinyl panels resist impact, rot, and insect damage. Manufacturer options range from standard builder-grade profiles to heavy-duty premium panels that feature deeper shadows and thicker wall profiles.
For maximum energy performance, consider upgrading to insulated vinyl siding. These systems feature factory-bonded rigid foam backing that fills air gaps behind the profile. The solid backing increases impact resistance against hail, reduces exterior noise, and raises total wall thermal efficiency.
If you prefer composite engineering, composite siding options provide the rich look of real timber without heavy wood maintenance.
Fiber Cement and Engineered Wood
Fiber cement siding combines Portland cement, sand, silica, and cellulose fibers to create an ultra-durable exterior cladding. It offers an impressive Class A fire rating and remains completely immune to termites and rot. Because fiber cement holds paint exceptionally well, factory-finished boards can go 10 to 15 years without needing a fresh coat.
Engineered wood siding offers another durable choice. Manufactured from wood strands treated with zinc borate and water-resistant resins, engineered timber boards deliver realistic wood grain textures while resisting moisture and insect decay better than raw lumber.
Natural Wood Lap and Metal Siding
Natural wood lap siding, such as Western Red Cedar clapboard or natural shingles, offers timeless architectural beauty. Natural wood allows for custom staining and traditional character. However, homeowners must commit to repainting or re-staining cedar every 3 to 5 years to keep moisture out. Wood siding options can help you compare maintenance needs before deciding whether natural timber fits your home.
Metal siding options, including aluminum and architectural steel panels, give homes strong fire resistance and weather durability. Metal siding performs exceptionally well in harsh weather zones, though impact from heavy hail can dent lighter aluminum grades.
How Much Does It Cost to Replace Siding on House Properties?
When budgeting to replace siding on a home, material selection and house footprint drive the total investment. Exterior contractors measure wall areas in siding squares, where one square equals 100 square feet of finished wall space.
Primary Cost Factors and Unexpected Expense Line Items
Overall replacement costs depend on several key variables:
- Home size and story height: Multi-story homes in Sand Springs, OK or Claremore, OK require specialized scaffolding, setup time, and additional safety gear.
- Architectural complexity: Complex rooflines, dormers, window trim details, and bump-outs require precise custom cuts and extra labor.
- Tear-off and disposal: Removing old materials and paying landfill fees adds labor and dumpster charges to the baseline estimate.
- Substrate framing repairs: Rotten plywood sheathing, rusted flashing, or decayed framing studs must be replaced before installing new weather barriers.
- Local permits: Municipality building permits ensure local code compliance across Glenpool, OK and Bartlesville, OK properties.
Return on Investment and Resale Impact
Updating your exterior delivers one of the highest returns on investment among residential renovation projects. Real estate studies show that modern exterior cladding restores home equity and dramatically boosts curb appeal. Beyond immediate resale value, new siding combined with breathable wall wrap seals air leaks, helping lower monthly utility bills year-round.
To help plan your exterior renovation, explore our current promotional offers and flexible financing plans designed to fit your project budget.
Siding Replacement Timeline and Full Project Workflow
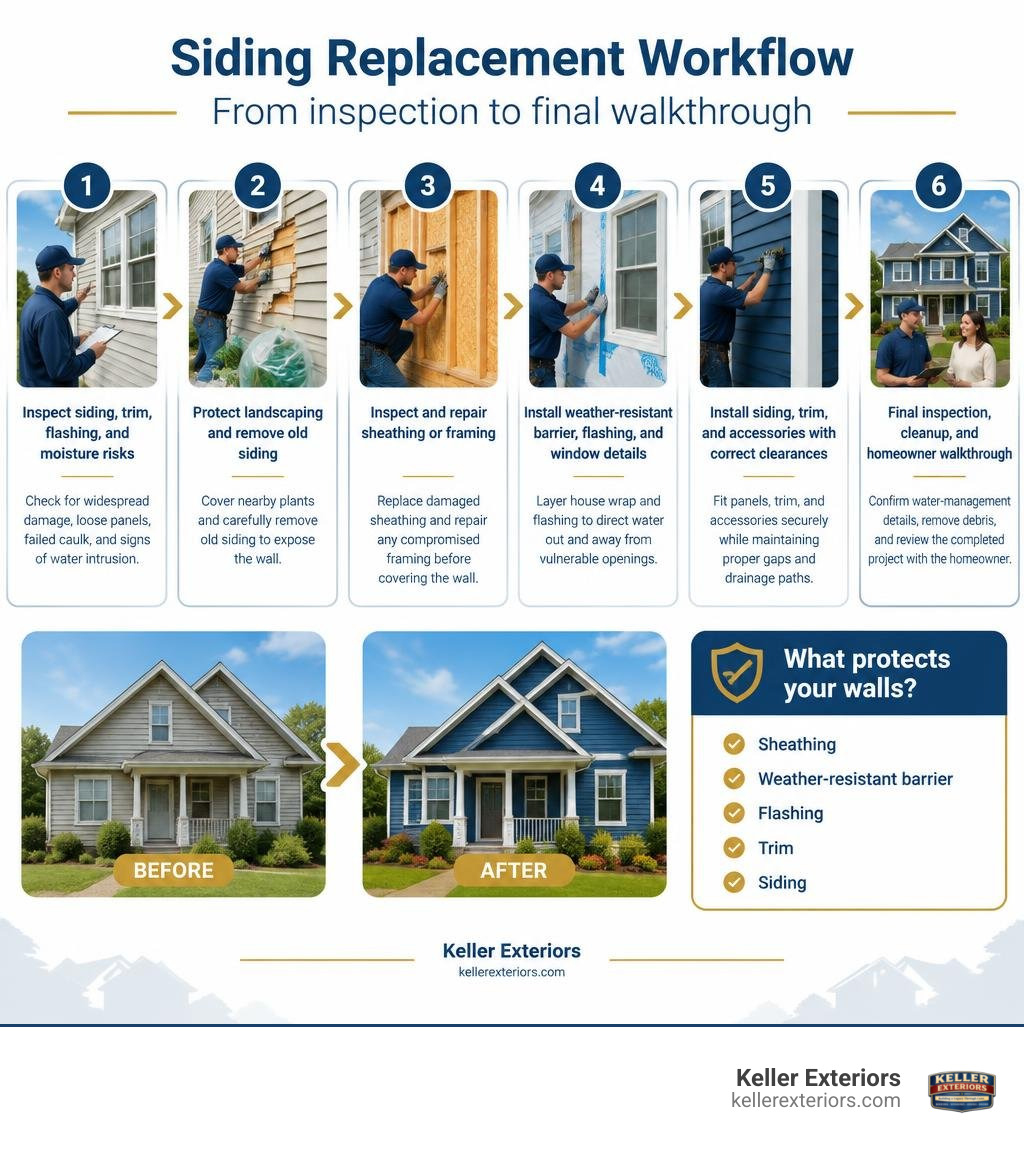
A typical full siding replacement takes between 1 and 3 weeks to complete, depending on home size, weather conditions, and material choice. Here is how our team manages the replacement sequence:
- Site setup: Setting up staging, delivery of materials, and laying protective tarps around plants and walkways.
- Tear-off: Stripping old siding down to the structural sheathing.
- Sheathing inspection: Replacing rotted plywood panels and leveling wall framing.
- Weatherproofing: Fastening a breathable weather-resistant barrier (WRB) and setting continuous Z-flashing around doors and windows.
- Trim and accessories: Securing corner posts, starter strips, and J-channels.
- Panel installation: Course-by-course panel installation following precise thermal expansion clearances.
- Caulking and cleanup: Applying exterior sealants at trim joints, magnetic sweeping for loose nails, and a final walkthrough inspection.
DIY vs. Hiring Professional Contractors
While replacing a single damaged panel is manageable for handy homeowners, replacing an entire home exterior requires professional trade knowledge. Improperly installed house wrap or incorrectly nailed panels can trap water behind walls, creating quiet decay inside structural studs.
Working with licensed professionals gives you 20+ years of local installation experience, proper fall protection gear, and strong manufacturer warranty coverage.
Step-by-Step Guide to Siding Installation and Panel Replacement
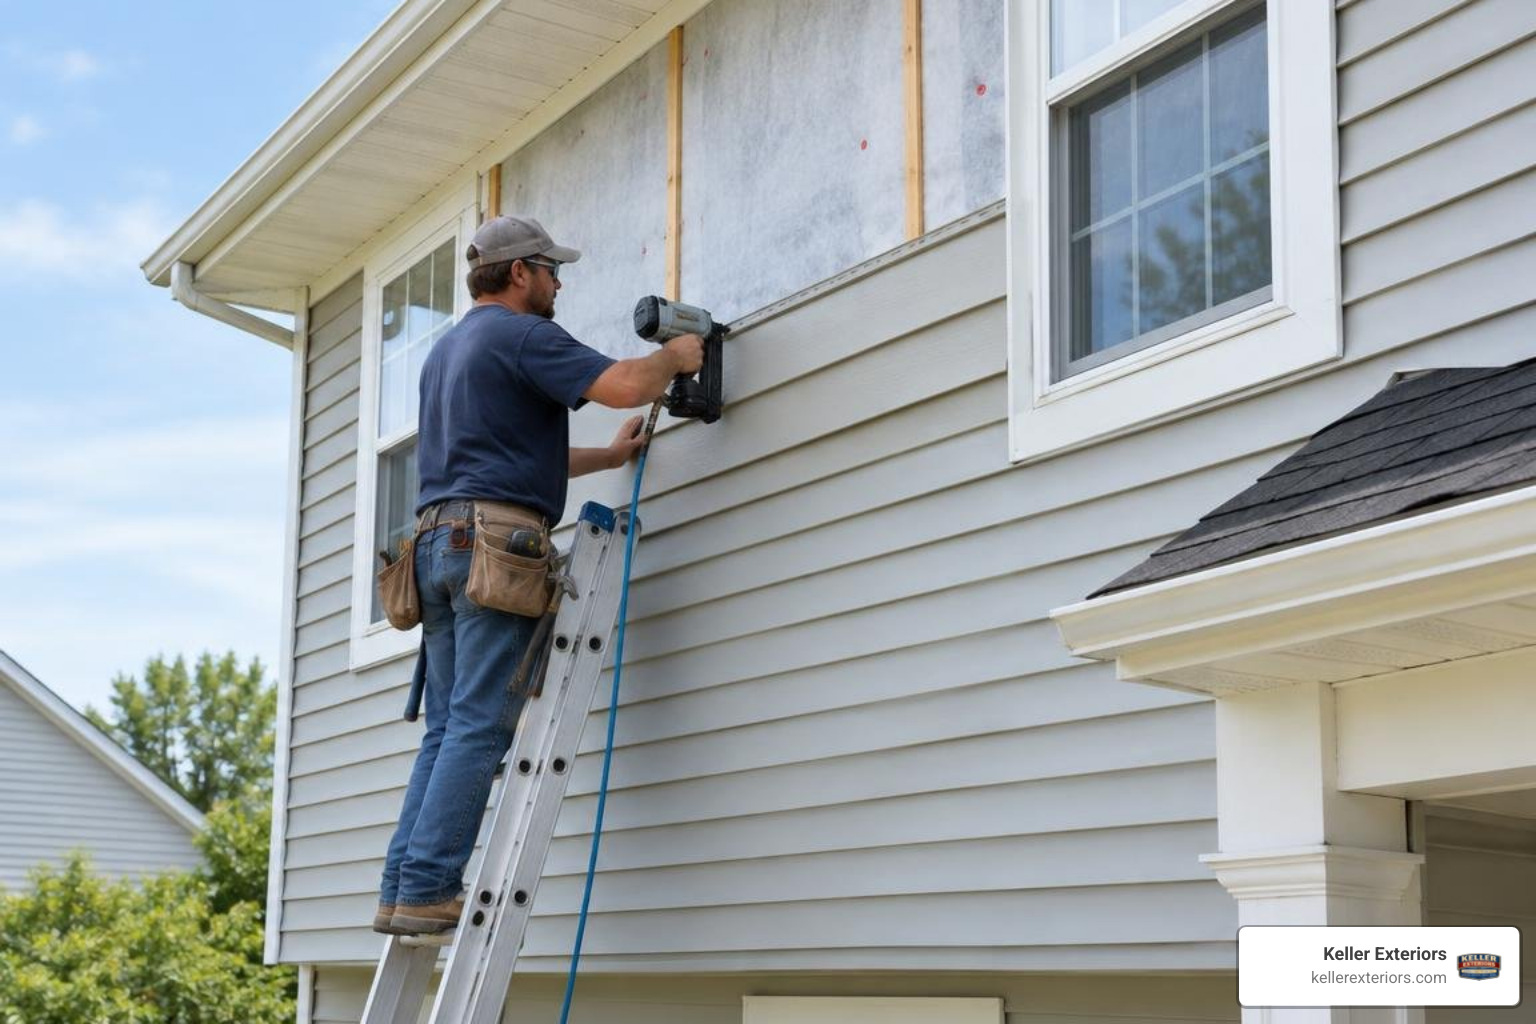
Proper wall preparation lays the foundation for any successful siding project. Before mounting new panels, installers must replace rotted sheathing boards, apply a continuous weather-resistant barrier, install window drip caps, and set plumb corner posts.
Step-by-Step Process to Replace Siding on House Vinyl Panels
If a single vinyl panel gets cracked by a stray lawnmower rock or branch, you can replace that section using basic hand tools:
- Unlock the damaged panel: Insert a vinyl zip tool beneath the bottom lip of the panel resting directly above the damaged piece. Slide the tool horizontally to unhook the interlock seam.
- Remove fasteners: Pull open the unlocked upper panel to expose the nail hem of the damaged piece. Use a flat pry bar to carefully pull the nails out.
- Measure and trim: Measure the damaged piece and cut a replacement panel to match. Keep the new panel 1/4 inch shorter on each side to leave room for thermal expansion inside corner trim.
- Position and nail: Slide the top edge of the replacement panel into the receiving channel. Drive roofing nails straight into the center of the pre-punched slots, leaving a 1/32-inch space under nail heads.
- Re-lock the course: Use the zip tool to pull the upper panel’s locking lip back down over the top lock of the new panel until it snaps securely in place.
Essential DIY Tools Needed to Replace Siding on House Exterior
If you plan to perform minor siding repairs, gather these essential safety and installation tools:
- Siding zip tool: Unlocks interlocking vinyl seams quickly without tearing the plastic.
- Flat pry bar and framing hammer: Pulls old nails and sets new fasteners cleanly.
- Tin snips and utility knife: Cuts vinyl panels, J-channels, and trim pieces to shape.
- Fine-tooth saw or reverse-blade saw: Produces clean cuts across vinyl and fiber cement without cracking edges.
- Chalk line and speed square: Keeps horizontal courses level across long wall elevations.
- Personal safety gear: Work gloves, safety glasses, and a dust mask.
Repairing Minor Holes and Matching Existing Colors
For small holes or cracks under one inch in diameter, you do not always need to swap out the entire panel. Clean the area with mild soap, sand rough edges with 220-grit sandpaper, and apply a high-grade exterior vinyl patch compound or color-matched exterior sealant. Smoothen the patch flush with the panel texture.
Matching aged panel colors can be tricky because UV light fades siding over time. You can take a small cut piece from the damaged panel to a paint store for standard color matching. Paint the dried patch using a 100 percent acrylic latex exterior paint mixed with a vinyl-safe color formula to keep the panel from warping in the summer heat.
Replacing Siding on Wood, Fiber Cement, and Aluminum
- Wood lap siding: Slide an oscillating multi-tool behind the damaged board to slice through hidden face nails. Remove the broken wood strip, cut a replacement piece to span at least two studs, nail it into place, countersink the nails, caulk edges, and apply primer and paint.
- Fiber cement: Slice hidden nails using an oscillating tool, remove the board, blind-nail the new pre-cut fiber cement plank to wall studs, apply elastomeric sealant at butt joints, and paint. Always wear a NIOSH-approved dust mask when cutting fiber cement products.
- Aluminum panels: Unhook top interlocking seams using a pry tool, back out original rivets or screws, fit the replacement aluminum section, and re-seal overlapping joints with high-grade exterior sealant.
Avoiding Common Mistakes and Ensuring Safety During Installation
Installing exterior cladding requires careful attention to weather management, material movement, and jobsite safety. Before starting, make sure the wall surface, flashing, and surrounding details are prepared correctly, and follow the installation requirements for the specific siding material. If the work involves extensive repairs, elevated access, or uncertainty about water protection, contact a professional.
Critical Vinyl Siding Nailing and Clearance Rules
Vinyl expands and contracts significantly as outdoor temperatures shift. To prevent unsightly panel warping, follow these foundational nailing guidelines:
- Leave expansion gaps: Leave a 1/4-inch gap at all corner posts, J-channels, and receiving stops. Increase this gap to 3/8 inch if installing in cold weather below 40 degrees Fahrenheit.
- Center nails in slots: Drive fasteners straight into the center of factory pre-punched nailing slots. Never drive nails through the solid vinyl panel face.
- Do not nail tightly: Leave a 1/32-inch space (roughly the thickness of a dime) between the nail head and the vinyl hem. Panels must slide horizontally under temperature changes.
Substrate and Flashing Errors That Cause Rot
Water intrusion usually happens when flashing or house wrap is installed incorrectly. Always overlap house wrap layers shingle-style, setting upper courses over lower courses so water drains outward.
Install metal Z-flashing along door and window headers to direct wind-driven rain away from openings. Finally, keep siding panels at least 6 inches above soil level to prevent ground moisture and hungry insects from reaching wall framing.
Ladder Safety and Power Tool Precautions
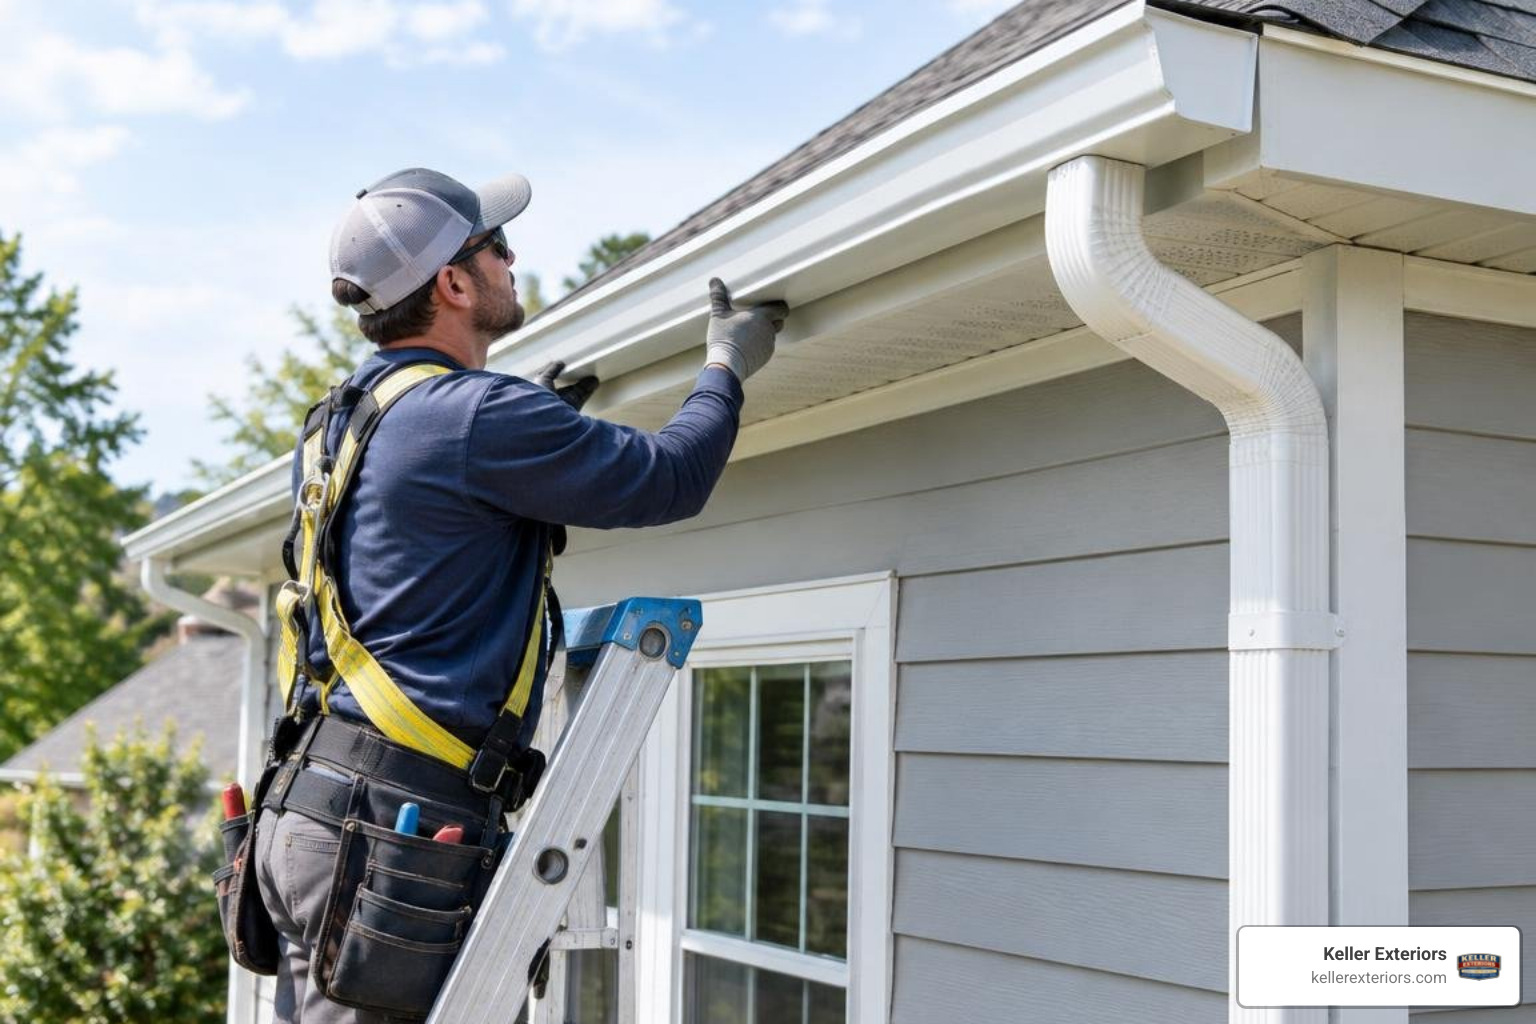
Multi-story siding projects present obvious fall risks. Always set extension ladders on firm, level ground using wide stabilizer arms to protect upper gutters. Keep a 4-to-1 ladder angle ratio and wear a safety harness when working at elevated heights.
When cutting fiber cement or composite products, wear impact-resistant safety glasses, heavy work gloves, and a dust mask to guard against airborne silica particles.
Frequently Asked Questions About Siding Replacement
1. How much does it cost to replace siding on a 2,000 sq ft house?
Total investment depends on material selection, wall complexity, tear-off needs, and substrate repairs. Standard vinyl is generally the most budget-friendly option, while insulated vinyl, fiber cement, and wood materials require higher investments. Removing old siding and replacing rotted sheathing will also add to the overall baseline project estimate.
2. How long does a full siding replacement project take?
An average single-family home project takes 1 to 3 weeks. Timeline factors include total house size, multi-story height, weather delays, sheathing repairs, and crew size.
3. Can you put new siding directly over old siding?
While installing new vinyl over single-layer wood or old vinyl can save short-term tear-off costs, professionals recommend complete removal. Full tear-off lets installers find hidden sheathing rot, upgrade house wrap, and maintain original door and window trim depth.
4. What is the most durable siding material for cold or wet climates?
Fiber cement and insulated composite siding perform exceptionally well in wet climates and freeze-thaw cycles. They resist moisture absorption, hold paint for years, and do not crack easily during severe winter cold.
5. Does replacing house siding increase property resale value?
Yes. Complete siding replacement delivers an excellent return on investment by instantly updating curb appeal, boosting energy performance, and helping prevent structural moisture damage.
6. How do I know if my wall sheathing has rot before removing siding?
Look for soft, spongy panel sections, persistent interior drywall water stains, musty indoor odors, visible mold near baseboards, or loose siding courses that pull away easily from exterior walls.
7. What is the cheapest option when replacing exterior siding?
Standard builder-grade vinyl siding is the most cost-effective upfront cladding material. Its lightweight design allows for rapid installation, helping minimize labor expenses.
8. How tight should nails be driven into vinyl siding panels?
Nails should never be driven tight against vinyl panels. Leave a 1/32-inch gap between the nail head and vinyl flange so the panel can expand and contract naturally without buckling.
9. Should I replace my windows at the same time as siding?
Replacing windows and siding together is highly efficient. Installing both at once allows installers to wrap weather barriers continuously around window frames and set proper head flashing, lowering overall labor costs.
10. Can siding replacement be completed during winter months?
Yes, crews install siding year-round across Tulsa, OK and Collinsville, OK. Installers leave wider thermal expansion gaps during cold weather cuts and handle cold vinyl carefully to prevent cracking.
Protecting Your Home Investment
Replacing your home’s exterior cladding protects your property against severe weather, stops moisture damage, lowers heating and cooling expenses, and transforms overall curb appeal. Selecting durable materials, incorporating breathable weather barriers, and following strict thermal installation rules ensures your exterior wall envelope lasts for decades.
Whether you need targeted panel repairs or a full exterior transformation, working with experienced local professionals gives you peace of mind throughout the process.
Our team brings over 20 years of trusted local trade craftsmanship to every home project across Coweta, OK, Catoosa, OK, Pryor, OK, Forest Ridge, OK, Stone Canyon, OK, Tulsa Hills, OK, Midtown, OK, and Brookside, OK. We oversee every detail, from substrate inspection and flashing integration to precise material mounting and finishing.
To upgrade your home, or if you need professional help with a siding replacement, schedule a free consultation with Keller Exteriors today!