Why Finding the Best Roof Patch Matters Before Your Next Rainstorm
Finding the best roof patch for your specific situation can mean the difference between a quick fix and a full roof replacement down the road.
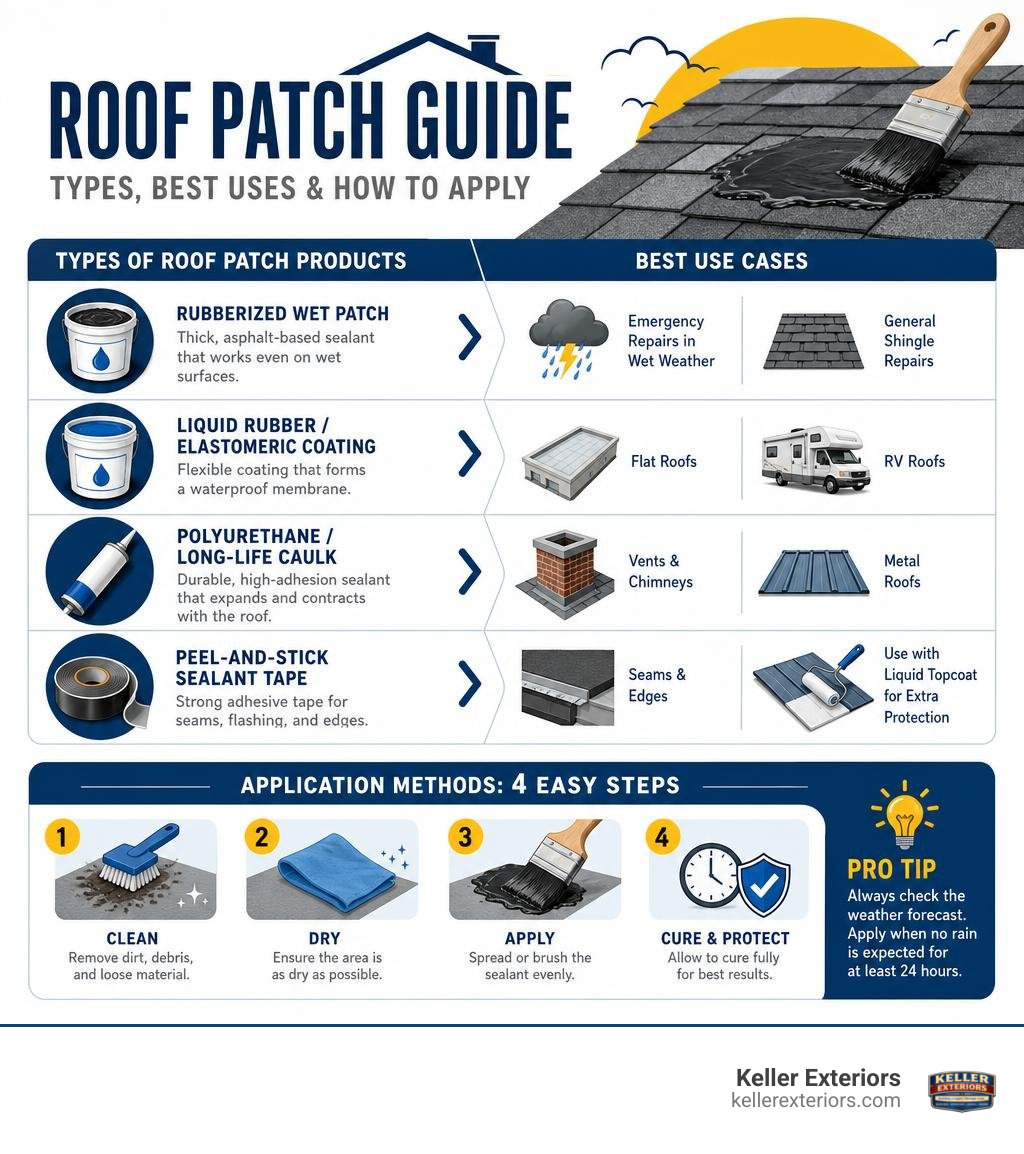
Quick Answer: Best Roof Patch Products by Use Case
| Use Case | Best Product Type |
|---|---|
| Emergency repairs in wet weather | Rubberized wet patch (e.g., asphalt-based sealant) |
| Flat roofs | Liquid rubber or elastomeric coating |
| RV roofs | Self-leveling lap sealant |
| Vents and chimneys | Polyurethane or long-life caulk |
| Seams and edges | Peel-and-stick sealant tape + liquid topcoat |
| Metal roofs | Silicone or polyurethane sealant |
| General shingle repairs | Rubberized asphalt mastic or wet patch |
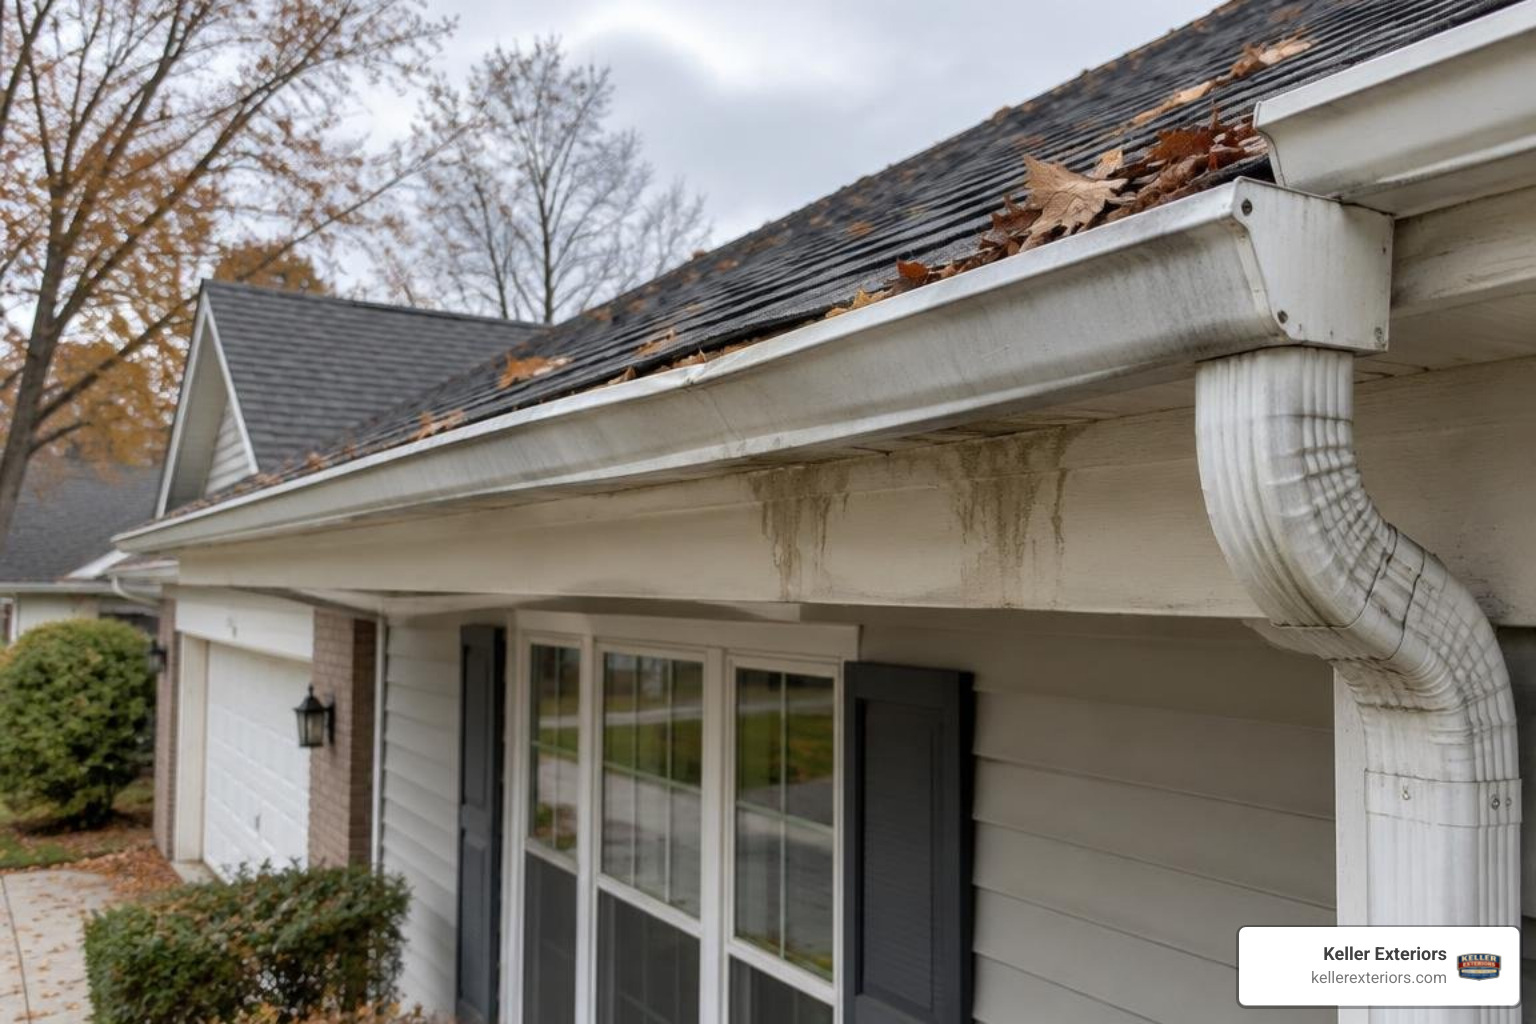
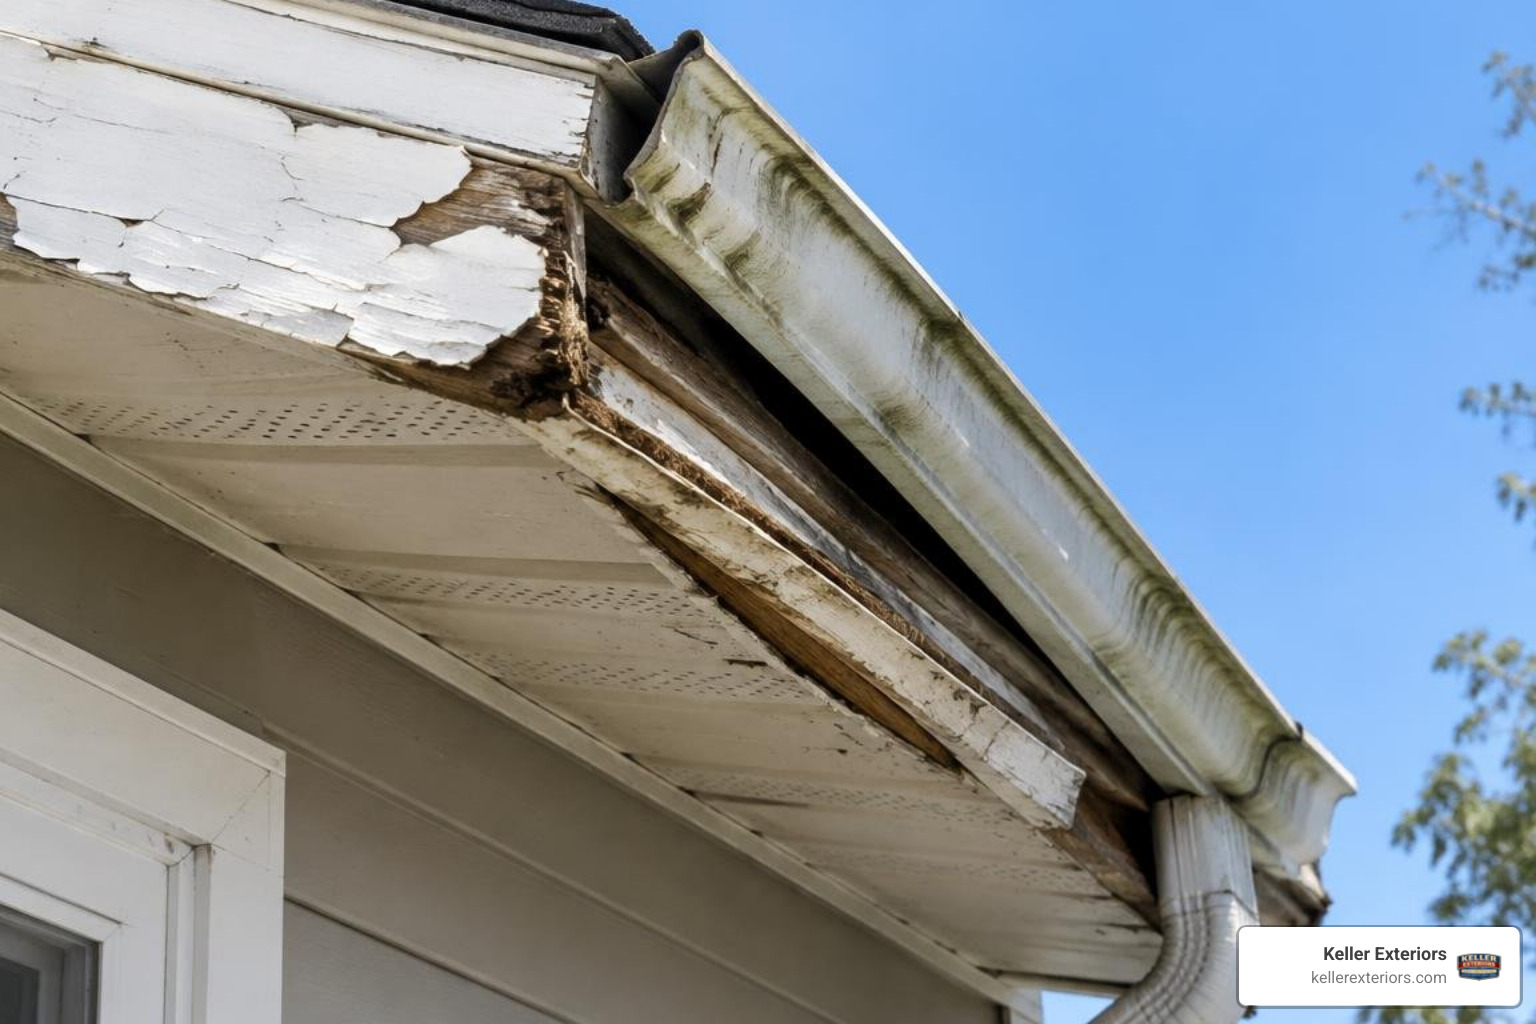
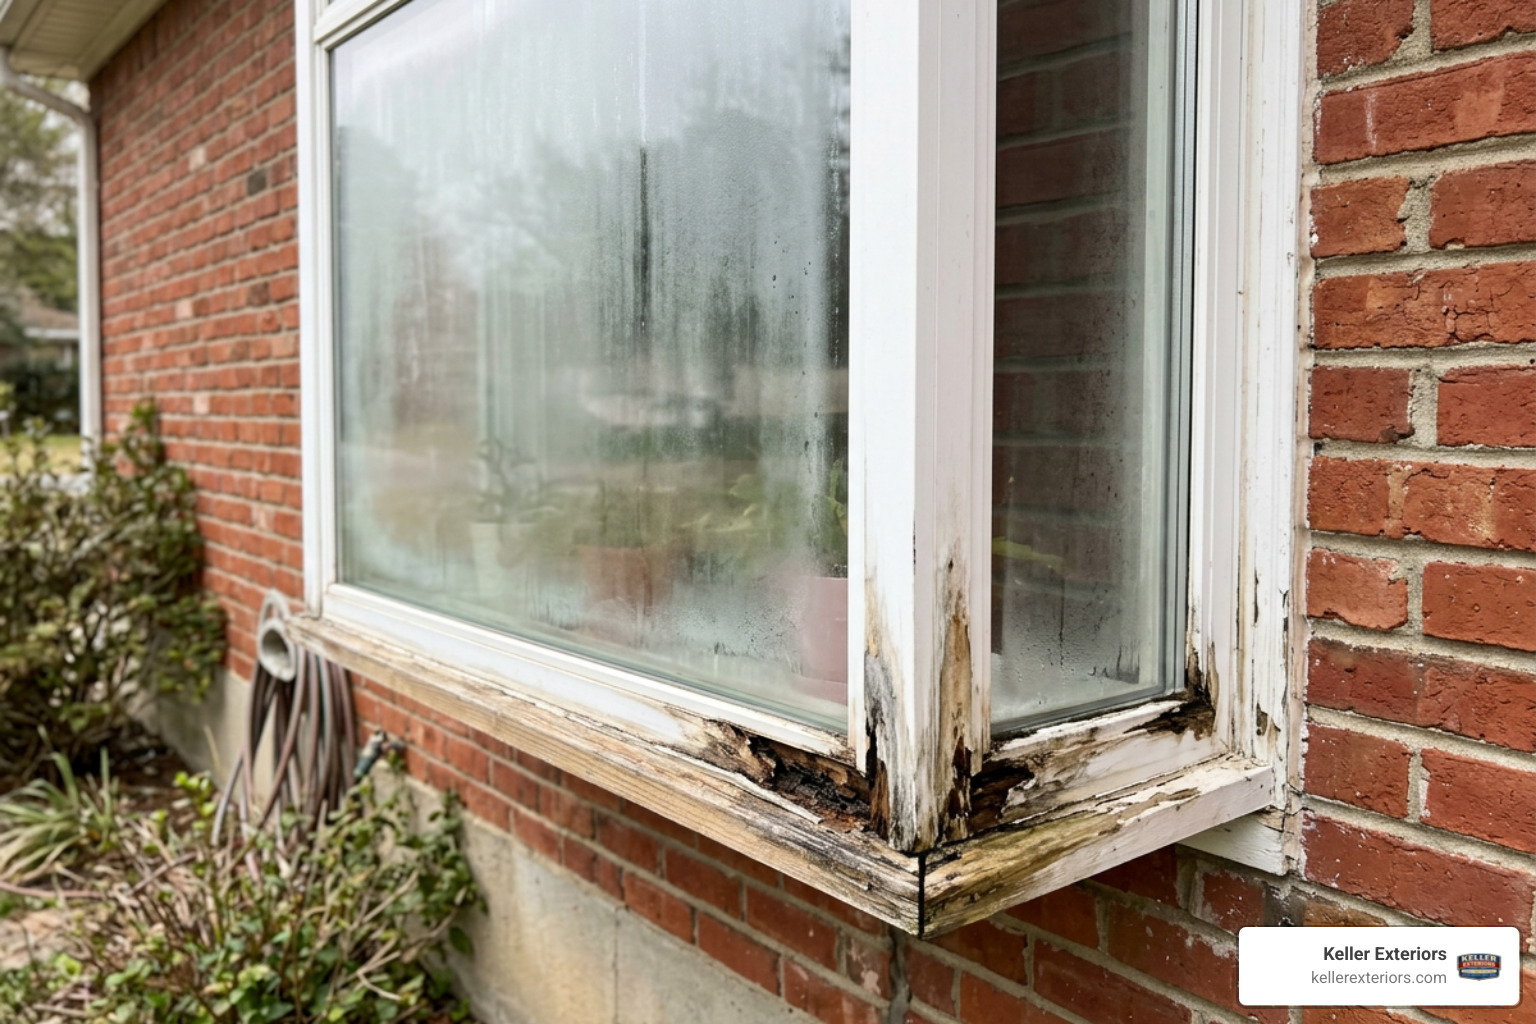
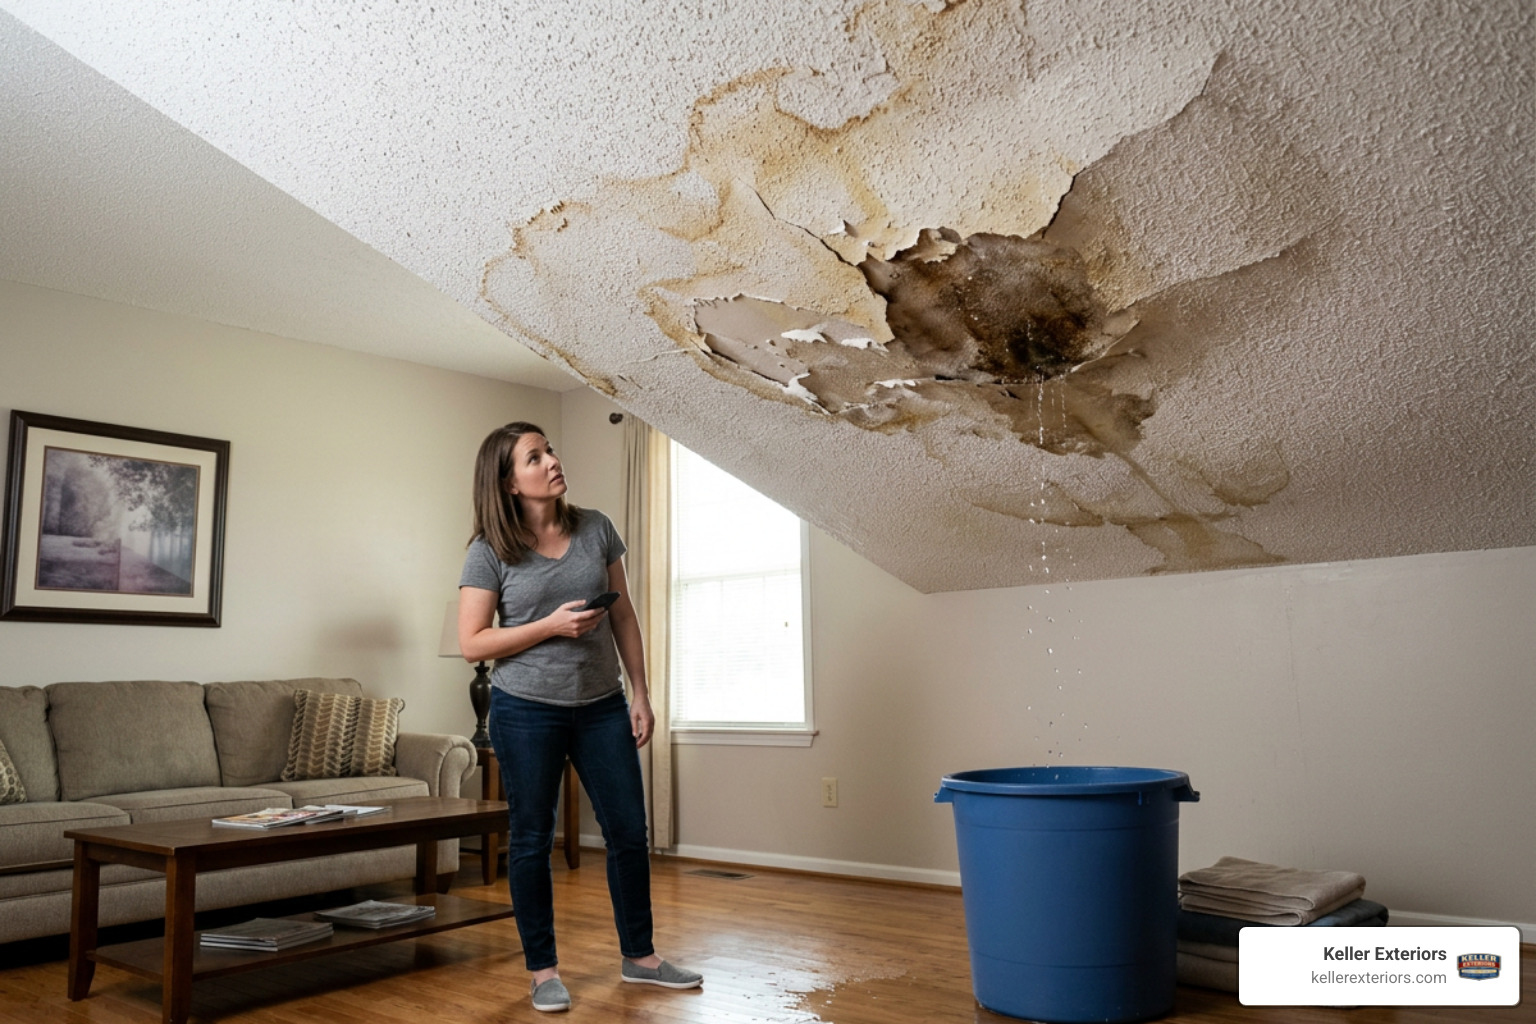
Roof leaks account for roughly 30% of all home insurance claims related to water damage in the United States. More than 70% of those leaks start around penetrations like chimneys, vents, and skylights. That means most roof leaks are small, localized problems that a quality patch product can fix before they turn into major damage.
The good news is that the right patch, applied correctly, can extend your roof’s lifespan by 5 to 10 years. The challenge is knowing which product fits your roof type, your climate, and the specific problem you’re dealing with.
I’m Robert Keller, owner of Keller Exteriors, and with more than 25 years of hands-on experience in home exteriors, I’ve seen which best roof patch products hold up in real conditions and which ones fail when it counts. In the sections below, I’ll walk you through everything you need to make a confident choice.
Understanding Different Types of Roof Patch Sealants
When you walk into a home improvement store, the sheer variety of patching products can feel overwhelming. Choosing the best roof patch starts with understanding the different categories of sealants. Each type has a unique chemical makeup that dictates how it behaves, how long it lasts, and where you should use it.
Liquid Rubber Sealants
Liquid rubber is a highly flexible, synthetic polymer sealant. It goes on thick and cures into a seamless, rubberized membrane. Because it can stretch and contract without cracking, it is ideal for areas that experience extreme temperature swings.
Sealant Tape
Sealant tape is a heavy duty, peel and stick product with an incredibly strong adhesive backing. It provides an instant waterproof barrier. While it is incredibly convenient for quick fixes, it works best on flat seams and requires a topcoat of liquid sealant if you want long term protection against solar damage.
Polyurethane Caulk
Polyurethane is a tough, durable, and highly adhesive caulk. It is the gold standard for sealing joints, flashing, and penetrations. It moves naturally with your home’s architecture without tearing, making it a reliable choice for sealing around vents and chimneys.
Asphalt Mastic
Also known as flashing cement or roof tar, asphalt mastic is a thick, solvent based compound. It is highly effective for traditional asphalt shingle roofs. Modern rubberized versions can even be applied directly to wet surfaces or completely underwater during emergency situations.
Here is a quick comparison table to help you visualize how these different patch sealants stack up:
| Sealant Type | Primary Material | Best Application | Expected Lifespan | Key Advantage |
|---|---|---|---|---|
| Liquid Rubber | Synthetic Rubber | Flat roofs, gutters, and large seams | 10 to 15 years | Extreme flexibility and seamless cure |
| Sealant Tape | Butyl / Rubberized | RV roofs, seams, and instant leaks | 5 to 10 years | Instant waterproof seal with zero dry time |
| Polyurethane Caulk | Polyurethane | Flashing, joints, and vents | 10 to 20 years | High durability and strong adhesion |
| Asphalt Mastic | Rubberized Asphalt | Shingle repairs and wet weather fixes | 5 to 10 years | Works in standing water and severe weather |
How to Choose the Best Roof Patch for Your Home
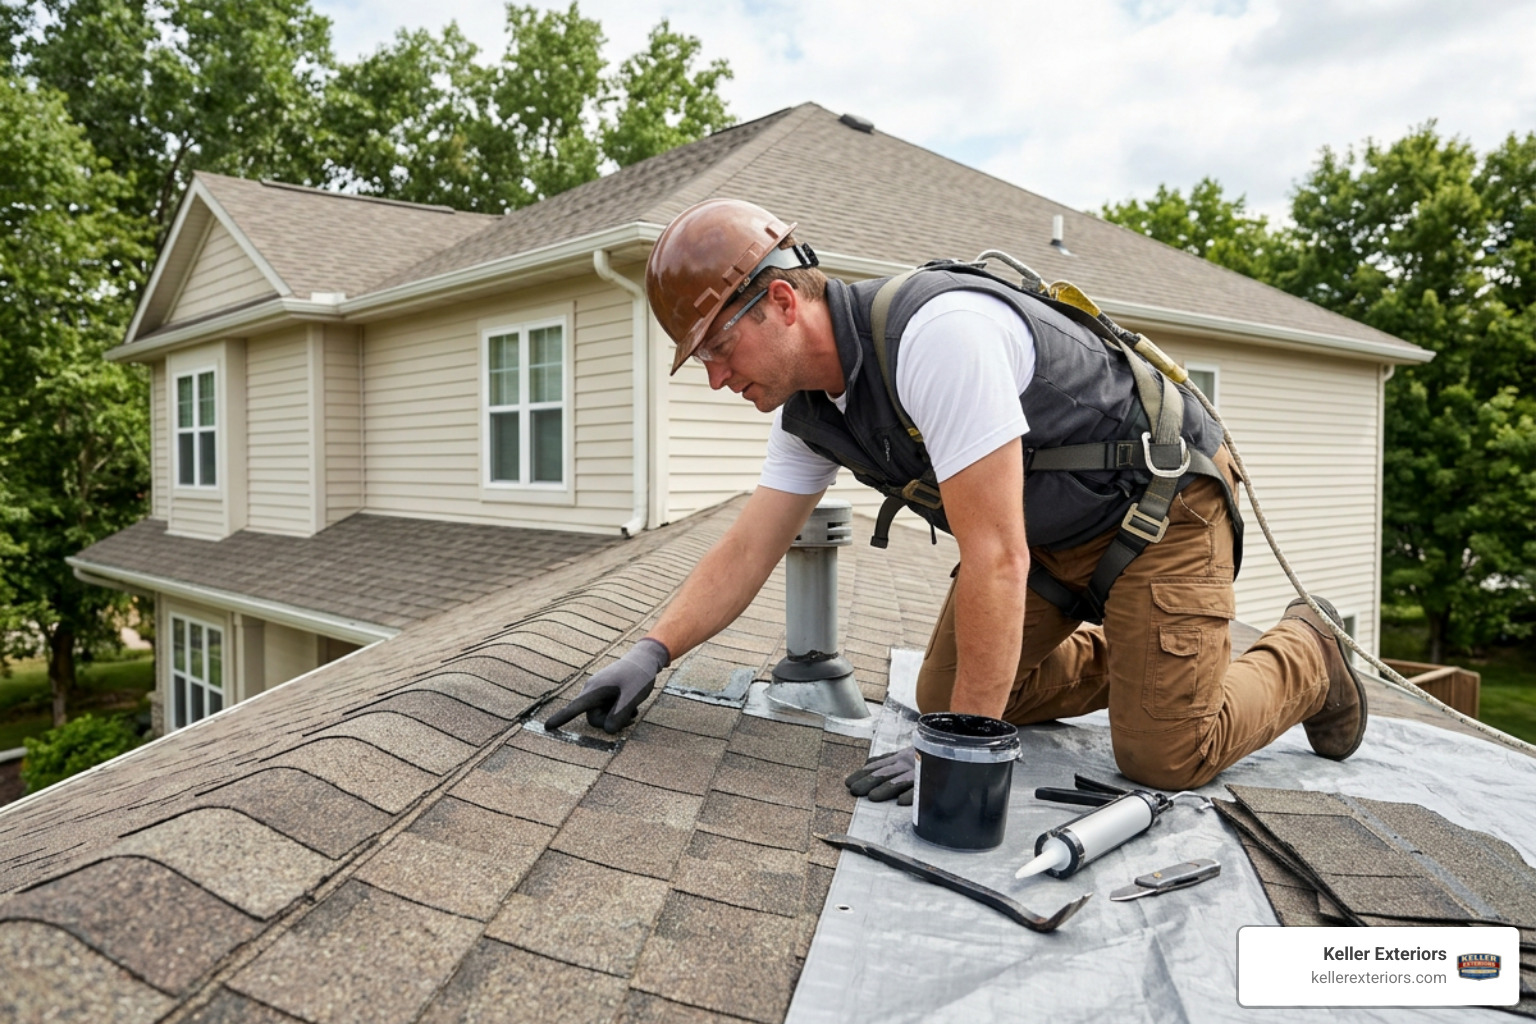
Choosing the right patching product is not a one size fits all decision. To find the best roof patch for your property, you must evaluate several critical factors before you begin.
Roof Material Compatibility
The first and most important rule of roof repair is material compatibility. Using the wrong sealant can cause chemical reactions that degrade your roofing material. For example, standard asphalt based products will destroy single ply rubber roofs like EPDM or TPO. Always check the manufacturer specifications to ensure your patch is rated for your specific roof type, whether it is asphalt shingles, metal panels, concrete, or a flat single ply membrane.
Weather and Temperature Conditions
Oklahoma weather is famous for its dramatic shifts, from freezing winter nights to blistering summer afternoons. If you live in areas like Tulsa, OK or Broken Arrow, OK, your roof patch must handle severe temperature swings.
Some sealants require completely dry surfaces and temperatures above 50°F to cure properly. Others, like rubberized wet patches, can be applied in freezing temperatures or during a heavy rainstorm. If you are dealing with an active leak during a spring storm, a wet weather product is mandatory.
UV Reflectivity and Color
In hot climates, solar heat can bake your roof and degrade patch materials quickly. White or light colored elastomeric patches provide excellent solar reflectivity, deflecting up to 92% of UV rays. This helps lower your roof temperature and extends the life of the patch. If you are patching highly visible areas on a shingle roof, you may prefer a clear or color matched product like the Rust-Oleum White Triple Thick Roof Patch & Sealer to ensure the repair blends in cleanly.
Longevity and Thickness
A patch that is 30 mils thick can last up to 10 years longer than a thin 20 mil layer. When evaluating products, consider how long you need the repair to hold. If you are planning a full roof replacement next year, a temporary, budget friendly patch is fine. If you want to squeeze another decade out of your current roof, invest in a premium, high build elastomeric or polyurethane product.
Top-Rated Products for Common Roof Repairs
When evaluating product performance, we look closely at application ease, durability under extreme weather, and overall cost efficiency. Below are our top recommendations based on real world performance and professional testing.
Best Roof Patch for Wet Weather and Emergency Repairs
Active leaks do not wait for a sunny day. When water is actively dripping into your living room during an Oklahoma thunderstorm, you need a product that bonds instantly to wet surfaces.
For these high stress situations, we recommend the Henry 208 Wet Patch Black Roof Leak Repair Sealant. This rubberized asphalt sealant is designed to stop leaks instantly, even in standing water or underwater. It remains highly flexible and can be applied in temperatures ranging from 20°F to 120°F, making it an essential tool for emergency winter or summer repairs.
Best Roof Patch for RV and Flat Roofs
Flat roofs and RV roofs present unique challenges because they are prone to ponding water and constant movement. Standard roof caulk will quickly crack under these conditions.
For flat residential structures and mobile homes, we recommend using high quality elastomeric liquid rubber coatings or specialized self leveling lap sealants. These products flow into tiny cracks and level out naturally to create a completely flat, waterproof barrier. If you are planning a larger renovation or repairing a flat surface, utilizing professional design layouts can help you plan and execute your maintenance projects with precision.
Step-by-Step Application Guide for Long-Lasting Repairs
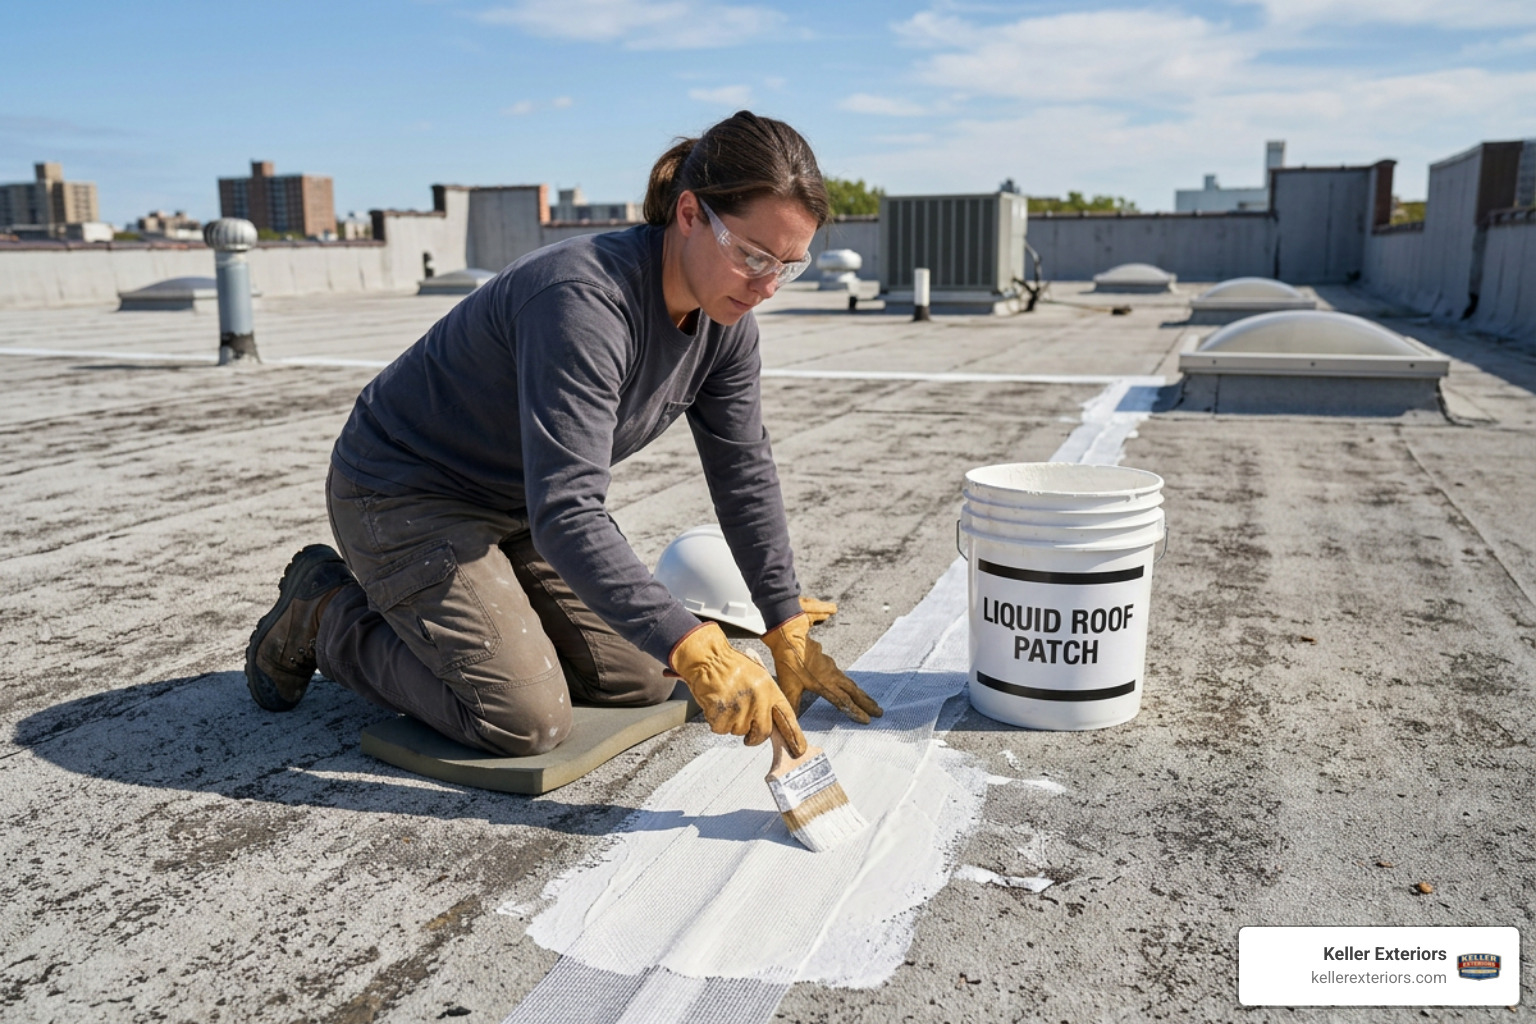
Even the best roof patch will fail if you do not prepare the surface and apply it correctly. Follow this professional step by step guide to ensure your repair stands up to the elements.
Step 1: Safety First
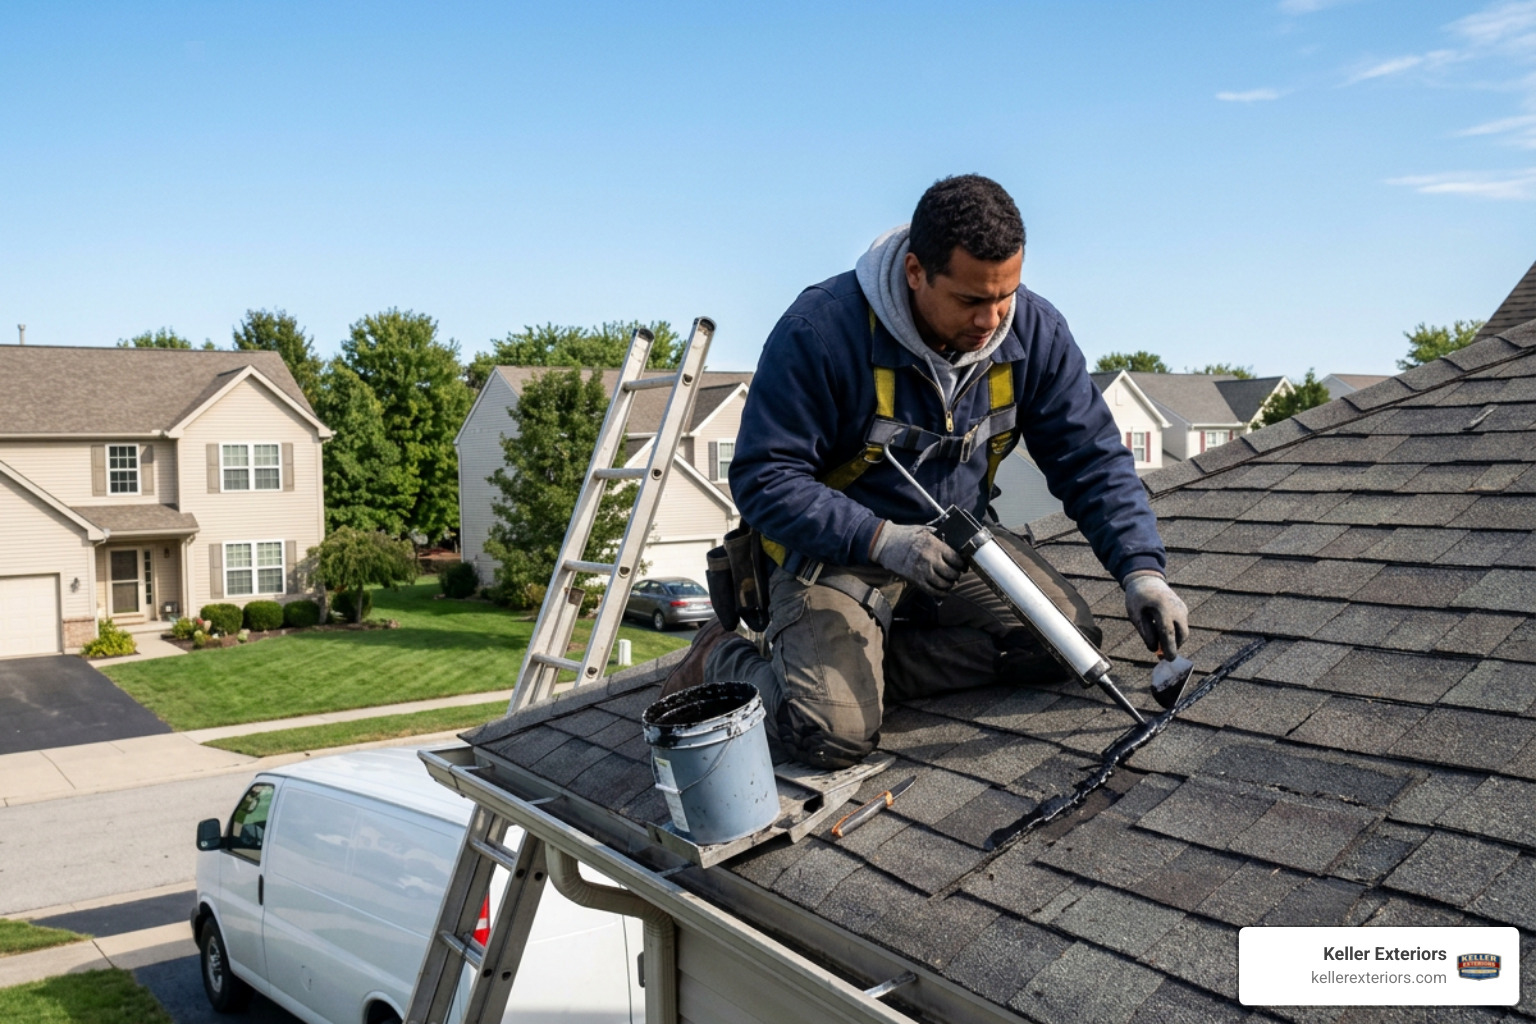
Before you step onto a ladder, prioritize your safety. Always wear slip resistant shoes, safety glasses, and heavy duty gloves. If you are working on a steep slope, use a safety harness and work with a spotter on the ground.
Step 2: Clean the Surface Thoroughly
Adhesion is the secret to a long lasting patch. Use a wire brush, scraper, or plastic putty knife to remove all old caulk, loose asphalt, dirt, rust, and algae. If the area is greasy, clean it with a mild detergent or acetone and let it dry completely unless you are using a specialized wet weather product.
Step 3: Apply the Three-Course Method
For cracks, seams, and holes wider than a quarter of an inch, the single layer method is not enough. Professionals use the three course method:
- Apply the Base Coat: Spread a thick layer of liquid roof patch or mastic over the leak area, extending at least two inches beyond the damage.
- Embed the Reinforcing Fabric: Press a strip of polyester or fiberglass reinforcing fabric directly into the wet sealant. Smooth out any wrinkles or air bubbles.
- Apply the Topcoat: Immediately apply a second thick layer of sealant over the fabric, completely encapsulating it. This creates a reinforced, flexible bridge that will not crack as your house settles.
Step 4: Let It Cure
Protect the area from direct foot traffic and debris while it cures. Most polyurethane and rubberized patches harden within 24 hours but can take up to seven days to reach full strength.
Frequently Asked Questions About Roof Patching
1. How long does a roof patch take to dry?
Most roof patches dry to the touch within 8 to 24 hours. However, the complete curing process can take anywhere from 3 to 7 days depending on the product thickness, humidity levels, and local temperatures. Solvent based products generally cure faster than water based elastomeric coatings, but they require proper ventilation during application.
2. Can I apply a roof patch in the rain?
Yes, but only if you use a product specifically formulated for wet surfaces, such as a rubberized wet patch or wet-R-dri asphalt mastic. Standard silicone, acrylic, and polyurethane sealants require a completely dry surface to adhere. Applying a dry weather sealant in the rain will result in immediate adhesion failure.
3. How do I remove old roof sealant?
The safest way to remove old, brittle sealant is with a plastic putty knife or a specialized scraping tool. Avoid using sharp metal chisels or screwdrivers, which can easily puncture your shingles or metal roofing panels. If the old sealant is stubborn, you can use a heat gun on a low setting to soften it before scraping.
4. What is the difference between self-leveling and non-sag sealants?
Self leveling sealants are highly fluid and designed to flow into horizontal cracks, making them perfect for flat roofs, RV roofs, and horizontal seams. Non sag sealants are much thicker and hold their shape without running, which makes them ideal for vertical joints, chimneys, vents, and steep sloped roofs.
5. How long does a typical roof patch last?
A high quality DIY roof patch can last anywhere from 5 to 10 years when applied correctly using the three course method with reinforcing fabric. Temporary emergency patches applied in wet conditions generally last 1 to 3 years and should be inspected regularly until a permanent repair can be made.
6. Can I use silicone caulk to patch an asphalt shingle roof?
We do not recommend using standard silicone caulk on asphalt shingles. Silicone does not bond well to the rough, granular surface of shingles and can peel away over time. Furthermore, the oils in asphalt can degrade silicone. It is much better to use a rubberized asphalt mastic or a high grade polyurethane sealant.
7. How do I patch a leak around a chimney or vent?
Leaks around chimneys and vents are usually caused by damaged flashing. To repair this, clean the area thoroughly, remove any loose old tar, and apply a premium polyurethane sealant along the seams where the flashing meets the brick or metal. For larger gaps, use the three course method with reinforcing fabric to ensure a durable seal.
8. Do I need to prime the roof before applying a patch?
For most standard shingle and plywood repairs, priming is not necessary. However, you should apply a primer when patching metals like copper, galvanized steel, and stainless steel to prevent rust and ensure proper adhesion. Always clean metal surfaces with acetone to remove manufacturing oils before priming.
9. What is the average cost of a DIY roof patch repair?
A basic DIY repair is highly cost effective. Purchasing a high quality tube of sealant, a putty knife, and a roll of reinforcing fabric is very affordable. This DIY route can save you a significant amount of money compared to hiring a professional for a minor leak, making it a great option for handy homeowners.
10. When should I hire a professional roofing contractor in Oklahoma?
You should call a professional if the leak is widespread, if you suspect structural wood rot in your attic, or if the repair requires working on a steep, multi story roof. Additionally, if your roof has suffered significant hail or wind damage from Oklahoma’s severe storms, a professional inspection is necessary to ensure your home remains safe and structurally sound.
Protect Your Home with Professional Roofing Solutions
While finding the best roof patch and performing a DIY repair is an excellent solution for minor leaks, some roof issues require a professional touch. Severe storms, aging materials, and structural damage demand the expertise of a trusted local team to ensure your home stays dry and secure.
If you are dealing with a complex leak, hard to reach damage, or suspect it is time for a full replacement, we can help. For homeowners looking to build or update their online presence, we even offer specialized digital tools l to showcase professional home exterior work.
At Keller Exteriors, we bring more than 20 years of local experience to every project. We proudly serve homeowners throughout Oklahoma, including Tulsa, OK, Broken Arrow, OK, Owasso, OK, Jenks, OK, Bixby, OK, and Claremore, OK. Our team handles everything from minor leak detection to complete storm damage restoration.
Whether you need a professional inspection, fast storm repairs, or professional roof replacement services, our experienced team is ready to deliver long term durability and peace of mind. Contact our team to schedule your professional roofing service today.